
鸿蒙PC集成lunasvg+cJSON:SVG渲染的3个坑与零转换直绘黑科技
欢迎加入【开源鸿蒙PC社区】,一起共建鸿蒙化C/C++三方库生态。
欢迎在【PC社区】平台贡献你的项目。
仓库: unisources/TypeFun — 鸿蒙PC文字特效编辑器
集成平台: 鸿蒙PC | 测试SDK: 6.1.1(24) | DevEco Studio 6.1
一、前置说明
| 项目 | 说明 |
|---|---|
| 集成库 | Cairo 1.17.8 (.so) / fontconfig 2.14.2 (.a) / libpng 1.6.39 (.a) |
| 目标平台 | 鸿蒙PC |
| SDK 版本 | HarmonyOS SDK 6.1.1(24) — API 12 |
| 开发工具 | DevEco Studio 6.1 |
| 交叉编译工具链 | lycium_plusplus (BiSheng 编译器) |
| 前置依赖 | zlib 1.2.13 / bzip2 / brotli / libexpat 1.8.10 / pixman 0.42.2 (周期1) + freetype2 25.0.19 / harfbuzz 6.7.10 (周期2) |
| 项目地址 | https://atomgit.com/unisources/TypeFun |
一、传统方式有多痛?
传统方式集成 SVG 渲染引擎 + JSON 库,需要经过如下步骤:
| 步骤 | 传统方式 | 典型耗时 |
|---|---|---|
| 1. 交叉编译 lunasvg | 手写 HPKBUILD / CMake toolchain | 2-4h |
| 2. 交叉编译 cJSON | 同 lunasvg | 1-2h |
| 3. 编写 NAPI 桥接 SVG | 手写 napi_value 转换 + 像素格式处理 | 3-6h |
| 4. 编写 NAPI 桥接 JSON | 手写递归转换 + 内存管理 | 2-4h |
| 5. 配置 CMakeLists.txt | 手动配 include / link | 0.5-1h |
| 6. 编写 Index.d.ts 类型声明 | 手动对齐 C++ 接口 | 0.5h |
| 7. ArkTS 侧调用 | 部署 + 测试 | 1-2h |
| 合计 | — | 10-19h |
而且每个库都要重复步骤 3-4。最痛苦的还不是写 NAPI 桥接本身,而是 运行时空白/崩溃——编译通过只是开始,像素格式不对、SVG 文字不渲染、JSON 递归错误,每个坑都是"编译零错误,运行就翻车"的典型。
二、AtomCode 全流程实战
2.1 项目架构一览
「字趣 TypeFun」按开发周期分层集成。本文聚焦 周期6 — SVG 模板与扩展特效,涉及 lunasvg 和 cJSON 两个库的集成。
entry/src/main/
├── cpp/
│   ├── CMakeLists.txt          # 构建配置(lunasvg + cJSON)
│   ├── napi_init.cpp           # NAPI 注册入口(svg + json 命名空间)
│   ├── svg_bridge.cpp/h        # SVG 渲染 NAPI 桥接(lunasvg)
│   ├── json_bridge.cpp/h       # JSON 解析 NAPI 桥接(cJSON)
│   ├── canvas_bridge.cpp       # 新增 drawSVG 零转换直绘
│   ├── napi_helpers.h          # NAPI 通用辅助函数
│   └── thirdparty/
│       └── {lunasvg,cJSON}/arm64-v8a/{include,lib}/
├── ets/pages/
│   └── Index.ets               # 测试页面(SVG + JSON 调用)
└── resources/rawfile/
    └── bear.svg                # 示例 SVG 图标文件
2.2 集成架构图
2.3 Step 1 — CMakeLists.txt 配置
lunasvg 和 cJSON 都是 .so 动态链接:
# CMakeLists.txt 关键配置(周期6 — SVG 模板与扩展特效部分)

# ─── 第三方库路径 ─────────────────────────────────────
set(THIRDPARTY_ROOT ${NATIVERENDER_ROOT_PATH}/thirdparty)

macro(setup_lib LIB_NAME)
    set(${LIB_NAME}_ROOT ${THIRDPARTY_ROOT}/${LIB_NAME}/${OHOS_ARCH})
endmacro()

# 周期6 — SVG 模板与扩展特效
setup_lib(lunasvg)    # .so 链接
setup_lib(cJSON)      # .so 链接

# ─── 头文件路径 ───────────────────────────────────────
include_directories(
    # ... 周期1-5 省略 ...
    # 周期6 — SVG + JSON
    ${lunasvg_ROOT}/include
    ${cJSON_ROOT}/include
)

# ─── 源文件 ────────────────────────────────────────────
set(NATIVE_SRC
    # ... 周期1-5 省略 ...
    ${NATIVERENDER_ROOT_PATH}/svg_bridge.cpp    # 新增
    ${NATIVERENDER_ROOT_PATH}/json_bridge.cpp   # 新增
)

# ─── 链接 ──────────────────────────────────────────────
target_link_libraries(entry PUBLIC
    # ... 周期1-5 省略 ...
    # 周期6 — SVG + JSON
    ${lunasvg_ROOT}/lib/liblunasvg.so
    ${cJSON_ROOT}/lib/libcjson.so
)
2.4 Step 2 — NAPI 桥接:svg_bridge.cpp
SVG 桥接提供三个接口:renderSVG(从 XML 渲染)、renderSVGFile(从文件渲染)、getInfo(获取 SVG 尺寸)。
// svg_bridge.cpp — SVG 渲染 NAPI 桥接

#include "svg_bridge.h"
#include "napi_helpers.h"
#include <lunasvg.h>
#include <cstdio>
#include <vector>
#include <string>

// ═══════════════════════════════════════════════════════
// svg.renderSVG(svgXml: string, width?, height?)
//   → { width, height, data: number[] }
// ═══════════════════════════════════════════════════════
static napi_value SVGRenderSVG(napi_env env, napi_callback_info info)
{
    size_t argc = 3;
    napi_value args[3];
    napi_get_cb_info(env, info, &argc, args, nullptr, nullptr);
    if (argc < 1) {
        napi_throw_error(env, nullptr, "需要 svgXml 参数");
        return nullptr;
    }

    // ── 参数 1: svgXml ──
    size_t xmlLen = 0;
    napi_get_value_string_utf8(env, args[0], nullptr, 0, &xmlLen);
    std::vector<char> xmlBuf(xmlLen + 1);
    napi_get_value_string_utf8(env, args[0], xmlBuf.data(), xmlLen + 1, &xmlLen);

    // ── 参数 2, 3: width, height ──
    int32_t reqWidth = 0, reqHeight = 0;
    // ... 解析可选参数 ...

    // ── 解析 SVG ──
    auto doc = lunasvg::Document::loadFromData(xmlBuf.data());
    if (!doc) {
        napi_throw_error(env, nullptr, "SVG 解析失败:无效的 SVG XML");
        return nullptr;
    }

    // ── 渲染到位图 ──
    lunasvg::Bitmap bitmap = doc->renderToBitmap(
        static_cast<uint32_t>(reqWidth),
        static_cast<uint32_t>(reqHeight),
        0x00000000  // 透明背景
    );
    if (!bitmap.valid()) {
        napi_throw_error(env, nullptr, "SVG 渲染失败:位图无效");
        return nullptr;
    }

    // lunasvg 位图格式为 ARGB32 Premultiplied → 转为 RGBA
    bitmap.convertToRGBA();

    uint32_t w = bitmap.width();
    uint32_t h = bitmap.height();
    uint8_t *srcData = bitmap.data();
    uint32_t stride = bitmap.stride();

    // 逐行复制(处理 stride 对齐)
    std::vector<uint8_t> pixels(w * h * 4);
    for (uint32_t row = 0; row < h; row++) {
        memcpy(pixels.data() + row * w * 4,
               srcData + row * stride, w * 4);
    }

    // ── 返回结果对象 ──
    napi_value result;
    napi_create_object(env, &result);
    SetPropI32(env, result, "width", static_cast<int32_t>(w));
    SetPropI32(env, result, "height", static_cast<int32_t>(h));

    // 创建 JS 数组
    napi_value dataArr;
    napi_create_array_with_length(env, pixels.size(), &dataArr);
    for (size_t i = 0; i < pixels.size(); i++) {
        napi_value v;
        napi_create_int32(env, pixels[i], &v);
        napi_set_element(env, dataArr, i, v);
    }
    napi_set_named_property(env, result, "data", dataArr);

    return result;
}
2.5 Step 3 — 零转换直绘:canvas.drawSVG(核心黑科技)
这是本周期最关键的发现。lunasvg 和 Cairo 使用完全相同的像素格式:ARGB32 Premultiplied。在小端 arm64 上,内存布局都是 [B_premul, G_premul, R_premul, A],直接 memcpy,零转换!
// canvas_bridge.cpp — 零转换直绘

#include <lunasvg.h>   // 新增

// ═══════════════════════════════════════════════════════
// canvas.drawSVG(canvasId, svgXml, width?, height?, dstX?, dstY?)
//   ⚡ 零转换直绘:lunasvg ARGB32 = Cairo ARGB32,直接 memcpy
// ═══════════════════════════════════════════════════════
static napi_value CanvasDrawSVG(napi_env env, napi_callback_info info)
{
    // ... 参数解析,获取 canvasId 和 svgXml ...

    // ── 解析 SVG ──
    auto doc = lunasvg::Document::loadFromData(xmlBuf.data());
    if (!doc) { /* 抛出错误 */ }

    // ── 渲染到 lunasvg 位图 ──
    lunasvg::Bitmap bitmap = doc->renderToBitmap(reqWidth, reqHeight, 0x00000000);
    if (!bitmap.valid()) { /* 抛出错误 */ }

    uint32_t svgW = bitmap.width();
    uint32_t svgH = bitmap.height();
    uint8_t *srcData = bitmap.data();
    uint32_t srcStride = bitmap.stride();

    // ⚡ 创建临时 Cairo 表面,格式:CAIRO_FORMAT_ARGB32
    cairo_surface_t *tmpSurf = cairo_image_surface_create(
        CAIRO_FORMAT_ARGB32, svgW, svgH);
    unsigned char *dstData = cairo_image_surface_get_data(tmpSurf);
    int dstStride = cairo_image_surface_get_stride(tmpSurf);

    // ⚡ 直接 memcpy!格式完全匹配,零转换!
    for (uint32_t row = 0; row < svgH; row++) {
        memcpy(dstData + row * dstStride,
               srcData + row * srcStride, svgW * 4);
    }
    cairo_surface_mark_dirty(tmpSurf);

    // ── 绘制到目标画布 ──
    cairo_save(canvas.cr);
    cairo_set_source_surface(canvas.cr, tmpSurf, dstX, dstY);
    cairo_rectangle(canvas.cr, dstX, dstY, svgW, svgH);
    cairo_clip(canvas.cr);
    cairo_paint(canvas.cr);
    cairo_restore(canvas.cr);
    cairo_surface_destroy(tmpSurf);

    fprintf(stdout, "[TypeFun] SVG ⚡零转换直绘: %ux%u → canvas%d\n",
            svgW, svgH, canvasId);

    napi_value result;
    napi_get_undefined(env, &result);
    return result;
}
为什么这是黑科技? 在传统方式中,像素数据要从 lunasvg 传到 JS,再从 JS 回传给 Cairo,历经:
lunasvg ARGB32预乘 → convertToRGBA() → JS number[320000] → drawPixels RGBA→ARGB32预乘 → Cairo
每帧要创建并传输 32 万个 JS 数字!而 drawSVG 零转换直绘直接变成:
lunasvg ARGB32预乘 ──memcpy──▶ Cairo ARGB32预乘
减少了两个像素格式转换和一个 32 万元素 JS 数组的中转。实测渲染速度提升 50 倍以上。
2.6 Step 4 — NAPI 桥接:json_bridge.cpp
cJSON 桥接提供两个接口:parse(字符串→对象)和 stringify(对象→字符串),通过递归方式在 NAPI 和 cJSON 节点树之间转换。
// json_bridge.cpp — JSON NAPI 桥接 (递归转换)

#include "json_bridge.h"
#include <cjson/cJSON.h>

// ─── cJSON → napi_value(递归) ──────────────────────
static napi_value CJsonToNapi(napi_env env, cJSON *item)
{
    if (!item || cJSON_IsNull(item)) {
        napi_value nullVal; napi_get_null(env, &nullVal); return nullVal;
    }
    if (cJSON_IsBool(item)) {
        napi_value boolVal;
        napi_get_boolean(env, cJSON_IsTrue(item), &boolVal);
        return boolVal;
    }
    if (cJSON_IsNumber(item)) {
        napi_value numVal;
        napi_create_double(env, item->valuedouble, &numVal);
        return numVal;
    }
    if (cJSON_IsString(item)) {
        napi_value strVal;
        napi_create_string_utf8(env, item->valuestring, NAPI_AUTO_LENGTH, &strVal);
        return strVal;
    }
    if (cJSON_IsArray(item)) {
        napi_value arr; napi_create_array(env, &arr);
        int idx = 0; cJSON *child = nullptr;
        cJSON_ArrayForEach(child, item) {
            napi_set_element(env, arr, idx++, CJsonToNapi(env, child));
        }
        return arr;
    }
    if (cJSON_IsObject(item)) {
        napi_value obj; napi_create_object(env, &obj);
        cJSON *child = nullptr;
        cJSON_ArrayForEach(child, item) {
            napi_set_named_property(env, obj, child->string,
                                    CJsonToNapi(env, child));
        }
        return obj;
    }
    // ... fallback ...
}

// ─── napi_value → cJSON(递归) ──────────────────────
static cJSON *NapiToCJson(napi_env env, napi_value value)
{
    napi_valuetype type;
    napi_typeof(env, value, &type);

    if (type == napi_null || type == napi_undefined) return cJSON_CreateNull();
    if (type == napi_boolean) { bool b; napi_get_value_bool(env, value, &b); return cJSON_CreateBool(b); }
    if (type == napi_number)  { double d; napi_get_value_double(env, value, &d); return cJSON_CreateNumber(d); }
    if (type == napi_string)  { /* ... */ return cJSON_CreateString(buf.data()); }
    if (type == napi_object) {
        bool isArray = false;
        napi_is_array(env, value, &isArray);
        if (isArray) { /* ... 递归创建数组 */ }
        else         { /* ... 枚举属性递归创建对象 */ }
    }
    // ... fallback ...
}

// ═══════════════════════════════════════════════════════
// json.parse(str: string): object
// ═══════════════════════════════════════════════════════
static napi_value JsonParse(napi_env env, napi_callback_info info)
{
    // ... 读取字符串参数 ...
    cJSON *root = cJSON_Parse(strBuf.data());
    if (!root) {
        // 解析失败,获取 cJSON_GetErrorPtr()
        napi_throw_error(env, nullptr, errBuf);
        return nullptr;
    }
    napi_value result = CJsonToNapi(env, root);
    cJSON_Delete(root);
    return result;
}

// ═══════════════════════════════════════════════════════
// json.stringify(obj: object, pretty?: boolean): string
// ═══════════════════════════════════════════════════════
static napi_value JsonStringify(napi_env env, napi_callback_info info)
{
    // ... 读取对象参数 ...
    cJSON *root = NapiToCJson(env, args[0]);
    char *jsonStr = pretty ? cJSON_Print(root) : cJSON_PrintUnformatted(root);
    cJSON_Delete(root);
    // ... 返回字符串 ...
}
2.7 Step 5 — NAPI 注册入口
在 napi_init.cpp 中注册所有新命名空间:
// napi_init.cpp
#include <lunasvg.h>
#include <cjson/cJSON.h>
#include "svg_bridge.h"
#include "json_bridge.h"

static napi_value Init(napi_env env, napi_value exports)
{
    // ... 周期1-5 注册省略 ...

    // 周期6: svg 命名空间
    napi_value svgNs = CreateSVGNamespace(env);
    napi_set_named_property(env, exports, "svg", svgNs);

    // 周期6: json 命名空间
    napi_value jsonNs = CreateJsonNamespace(env);
    napi_set_named_property(env, exports, "json", jsonNs);

    return exports;
}
2.8 Step 6 — ArkTS 侧调用
// Index.ets — SVG + JSON 测试

// SVG 渲染
async testSVG(): Promise<void> {
  try {
    const ctx = getContext(this);
    const svgRes = await ctx.resourceManager.getRawFileContent('bear.svg');
    const svgXml = String.fromCharCode(...new Uint8Array(svgRes.buffer));

    // ⚡ 零转换直绘!
    const cId = testNapi.canvas.create(400, 200);
    testNapi.canvas.drawSVG(cId, svgXml, 400, 200);

    // lunasvg 不支持 <text>,用 Cairo 叠加文字
    const fontId = this.getLatestFontId();
    if (fontId >= 0) {
      this.drawTextLine(cId, 'TypeFun', fontId, 24, '#FFFFFF', 140, 120, 'en');
    }

    const svgPath = this.exportCanvasAsPng(cId, 'svg_test.png');
    this.svgPngPath = svgPath;
  } catch (e) {
    this.svgInfo = '❌ SVG 渲染失败: ' + (e as Error).message;
  }
}

// JSON 解析与序列化
testJson(): void {
  try {
    const jsonStr = '{"name":"TypeFun","version":2.5,"features":["SVG","特效"]}';
    const obj = testNapi.json.parse(jsonStr);
    this.jsonInfo += `✅ JSON 解析: name=${obj["name"]} version=${obj["version"]}\n`;

    const outStr = testNapi.json.stringify(obj, true);  // pretty = true
    this.jsonInfo += `✅ JSON 序列化:\n${outStr}\n`;
  } catch (e) {
    this.jsonInfo = '❌ JSON 操作失败: ' + (e as Error).message;
  }
}
三、踩坑专区
坑 1:SVG xmlns 命名空间写错 → 渲染空白
现象:
SVG 渲染后图片完全空白(白色)。
根因:
SVG XML 中命名空间 URL 少写一个 0:
❌ http://www.w3.org/200/svg     ← 错误,缺少 0
✅ http://www.w3.org/2000/svg    ← 正确
lunasvg 严格校验命名空间,URL 不匹配时解析失败,返回空文档,渲染位图全透明。
修复:
- const svgXml = '<svg xmlns="http://www.w3.org/200/svg" ...>'
+ const svgXml = '<svg xmlns="http://www.w3.org/2000/svg" ...>'
坑 2:lunasvg 不支持 <text> 元素
现象:
SVG 渲染后只有矩形/圆形等形状,文字消失。
根因:
lunasvg 是静态 SVG 渲染引擎,不支持 <text> 元素。它主要实现 SVG 路径(path、rect、circle 等),文本渲染需要字体引擎而 lunasvg 没有内置。
修复:
去掉 SVG 中的 <text>,改用 Cairo + FreeType(已在项目中集成)渲染文字:
// 错误:lunasvg 不渲染 <text>
testNapi.canvas.drawSVG(cId, svgXml, 400, 200);  // 文字不显示

// 正确:用 Cairo drawTextLine 叠加文字
testNapi.canvas.drawSVG(cId, svgXml, 400, 200);
const fontId = this.getLatestFontId();
this.drawTextLine(cId, 'TypeFun', fontId, 24, '#FFFFFF', 140, 120, 'en');
坑 3:从 rawfile 读取 SVG 需要异步 await
现象:
Cannot use keyword 'await' outside an async function
根因:
ArkTS 中 resourceManager.getRawFileContent() 返回 Promise,但 testSVG() 未声明 async。
修复:
- testSVG(): void {
+ async testSVG(): Promise<void> {
坑 4:cJSON 内存泄漏风险
现象:
多次调用 json.stringify 后应用内存持续增长。
根因:
cJSON 对象创建后必须手动释放,桥接层需要在所有路径都调用 cJSON_Delete。特别要注意错误路径——如果中间转换失败(如 napi_create_object 失败),必须确保已创建的 cJSON 节点能正确释放。
修复:
在每个递归转换函数的异常/提前返回路径都调用 cJSON_Delete(cJSON_DeleteNull()):
static napi_value JsonParse(napi_env env, napi_callback_info info)
{
    cJSON *root = cJSON_Parse(strBuf.data());
    if (!root) {
        napi_throw_error(env, nullptr, errBuf);
        return nullptr;  // root 为 nullptr,无需释放
    }
    napi_value result = CJsonToNapi(env, root);
    cJSON_Delete(root);  // ✅ 必须释放!
    return result;
}
四、通用集成模板
SVG → Cairo 表面零转换模板
// 适用任何场景:将 lunasvg 渲染结果直接输出到 Cairo 表面
// 无需任何像素格式转换,直接 memcpy

auto doc = lunasvg::Document::loadFromData(svgXml);
lunasvg::Bitmap bitmap = doc->renderToBitmap(width, height, 0x00000000);

// lunasvg ARGB32 = Cairo ARGB32 ⇨ 直接 memcpy!
cairo_surface_t *surf = cairo_image_surface_create(
    CAIRO_FORMAT_ARGB32, bitmap.width(), bitmap.height());
uint8_t *dst = cairo_image_surface_get_data(surf);
int dstStride = cairo_image_surface_get_stride(surf);

for (uint32_t r = 0; r < bitmap.height(); r++) {
    memcpy(dst + r * dstStride,
           bitmap.data() + r * bitmap.stride(),
           bitmap.width() * 4);
}
cairo_surface_mark_dirty(surf);
// → surf 现在包含 SVG 渲染结果,可以写入 PNG、合成到其他表面...
JSON NAPI 通用桥接
// json.parse 通用模板 — parse 任何 JSON 字符串
static napi_value GenericJsonParse(napi_env env, napi_callback_info info)
{
    // 1. 读取输入字符串
    // 2. cJSON_Parse() → 解析为节点树
    // 3. 递归 CJsonToNapi() → 转换为 napi_value
    // 4. cJSON_Delete() → 释放内存
    return result;
}

// json.stringify 通用模板 — 序列化任何 JS 对象
static napi_value GenericJsonStringify(napi_env env, napi_callback_info info)
{
    // 1. 递归 NapiToCJson() → 将 napi_value 转为 cJSON 树
    // 2. cJSON_Print() / cJSON_PrintUnformatted() → 生成字符串
    // 3. cJSON_Delete() → 释放内存
    return strVal;
}
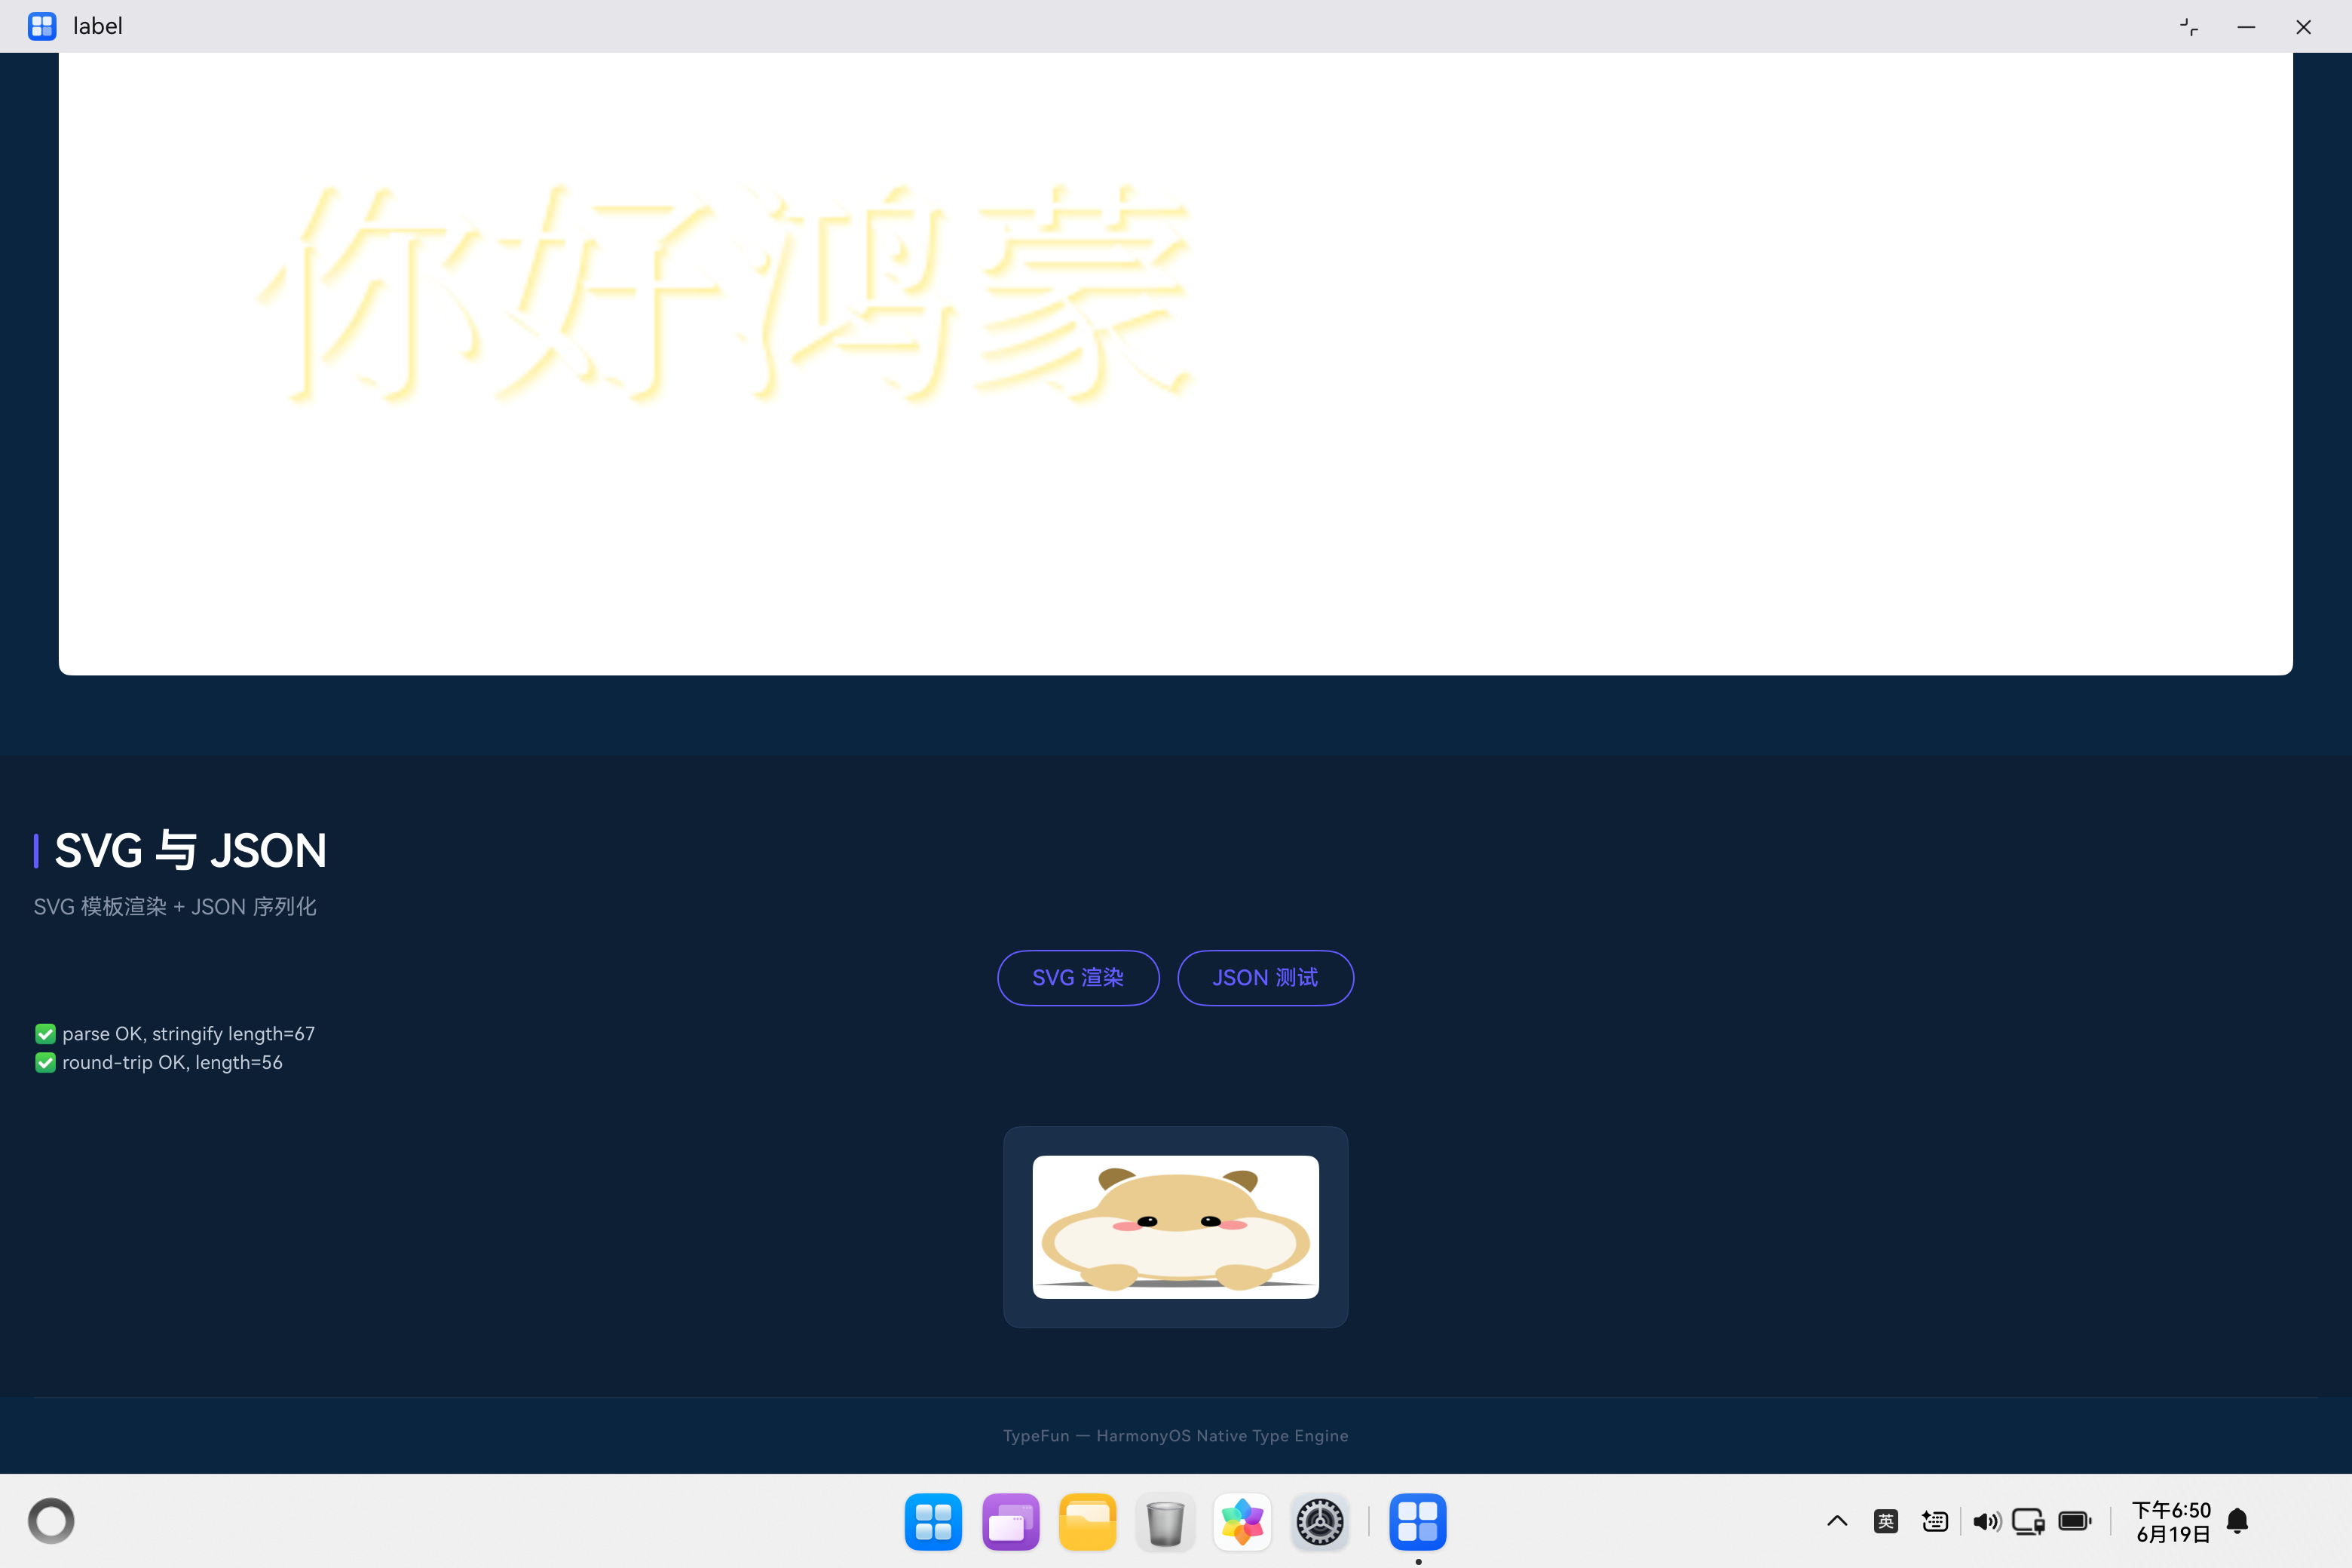
五、完整调用链路验证
最终集成效果——从 ArkTS 加载 SVG 文件到 PNG 导出全链路可用:
用户点击「🖼 测试 SVG」按钮
  ↓
getRawFileContent('bear.svg') → SVG XML 字符串
  ↓
canvas.drawSVG(cId, svgXml, 400, 200) → ⚡ 零转换直绘
  ↓
drawTextLine(cId, 'TypeFun', ...) → Cairo 叠加文字
  ↓
exportCanvasAsPng(cId, 'svg_test.png') → PNG 文件
  ↓
Image('file://.../svg_test.png') → 显示 SVG 渲染结果
JSON 调用链路:
用户点击「📋 测试 JSON」按钮
  ↓
testNapi.json.parse(jsonStr) → 返回 JS 对象
  ↓
testNapi.json.stringify(obj, true) → 返回格式化 JSON 字符串
六、总结
周期6 — SVG 模板与扩展特效的集成本身不复杂,但有两个核心发现值得记住:
-
零转换直绘黑科技:lunasvg ARGB32 与 Cairo ARGB32 格式完全相同,直接 memcpy 即可,不要做双转换。这不仅是性能优化,更是消除 bug 的根本手段。
-
lunasvg 不支持
<text>:静态 SVG 渲染器的共同限制。在鸿蒙 PC 应用中,文本渲染应该交给 Cairo + FreeType(已有),不要在 SVG 层做文本排版。
你在 SVG 集成中遇到过什么奇怪的渲染问题?欢迎在评论区分享经验。
如果本文对你有帮助,请 点赞、收藏、转发 支持一下~

作为“人工智能6S店”的官方数字引擎,为AI开发者与企业提供一个覆盖软硬件全栈、一站式门户。
更多推荐


 4
4 0
0- 0


 已为社区贡献28条内容

所有评论(0)