
DVKit 设备虚拟化实战:调用另一台设备摄像头做扫码工具
平板扫码对焦慢、PC端没有后置摄像头、收银台设备扫码不方便——这些场景在多设备协同中非常常见。鸿蒙 7 的 DVKit(设备虚拟化套件) 彻底解决了这个问题:它能把同组网内手机的摄像头,直接虚拟成本地设备的标准相机资源。应用层不用写一行分布式传输代码,用和本地摄像头完全一致的 API,就能调用远端设备的相机完成扫码、拍照、录像等操作。
本文就以「跨设备扫码工具」为实战案例,带你从零实现:在平板/大屏设备上,调用手机的后置摄像头进行扫码识别,全程基于鸿蒙 7 @kit 标准体系,底层由 DVKit 硬件虚拟化 + 分布式软总线支撑,代码可直接复制运行。
一、先搞懂核心:DVKit 与分布式相机
1.1 什么是 DVKit 设备虚拟化
DVKit(Device Virtualization Kit)是鸿蒙 7 分布式互联体系的核心套件之一,核心理念是硬件资源池化:同一可信组网内的设备,可以把自身的摄像头、麦克风、显示屏、传感器等外设能力共享出来,被其他设备虚拟化为本地硬件资源直接调用。
它的核心优势在于对应用透明:底层由分布式软总线负责设备发现、数据传输、低延迟编解码,上层应用完全感知不到远端硬件的存在,调用方式和本地硬件完全一致,无需额外学习分布式开发知识。
1.2 分布式相机:DVKit 的影像落地
我们要实现的跨设备扫码,本质上就是 DVKit 在相机场景的落地应用:
- 远端手机开启相机共享后,摄像头会被 DVKit 虚拟成一个标准相机设备
- 本地设备的
@kit.CameraKit相机服务会自动发现这个虚拟相机 - 开发者通过标准相机 API 就能打开预览、获取帧数据、执行拍照
- 所有视频流通过分布式软总线实时传输,延迟可控制在 50ms 以内
简单理解:远端摄像头就像插在本地设备上的外接 USB 摄像头一样,开箱即用。
1.3 适用与不适用场景
✅ 典型适用场景:
- 大屏设备调用手机扫码(收银、签到、登录)
- 平板调用手机后置摄像头拍文档、扫名片
- 多机位直播、多视角监控
- 远程专家协作、远程定损
❌ 不适用场景:
- 超高清 4K 实时录像(带宽限制)
- 高帧率慢动作拍摄
- 需要深度调参的专业摄影
二、前置准备与权限配置
2.1 环境要求
- SDK 版本:API 26(HarmonyOS 7.0)及以上
- 开发工具:DevEco Studio 5.0 及以上
- 运行环境:两台鸿蒙实体设备,模拟器不支持分布式硬件虚拟化
- 组网条件:两台设备登录同一华为账号、连接同一 Wi-Fi、开启蓝牙与华为分享、亮屏解锁
2.2 权限配置
打开 entry/src/main/module.json5,在 requestPermissions 中添加以下必选权限:
"requestPermissions": [
  {
    "name": "ohos.permission.CAMERA",
    "reason": "$string:permission_camera",
    "usedScene": {
      "abilities": ["EntryAbility"],
      "when": "inuse"
    }
  },
  {
    "name": "ohos.permission.DISTRIBUTED_DATASYNC",
    "reason": "$string:permission_distributed_camera",
    "usedScene": {
      "abilities": ["EntryAbility"],
      "when": "inuse"
    }
  }
]
CAMERA:调用相机硬件的基础权限,本地和远端相机都需要DISTRIBUTED_DATASYNC:分布式数据同步权限,跨设备传输视频流必须
注意:这两个权限都需要动态申请用户授权,不能仅在清单文件中声明。
三、完整实战:跨设备扫码工具
3.1 实现思路
整个功能分为五层,层层递进,核心逻辑和本地扫码几乎一致:
- 权限校验:动态申请相机和分布式权限
- 设备枚举:通过 CameraManager 获取所有相机,筛选出远端设备
- 预览渲染:用 XComponent 渲染远端相机的实时预览画面
- 扫码解码:对预览帧进行二维码/条形码识别
- 结果处理:识别成功后返回结果,释放相机资源
扫码识别能力我们使用鸿蒙原生 @kit.ScanKit 核心解码模块,无需第三方依赖,识别速度快、兼容性好。
3.2 完整可运行代码
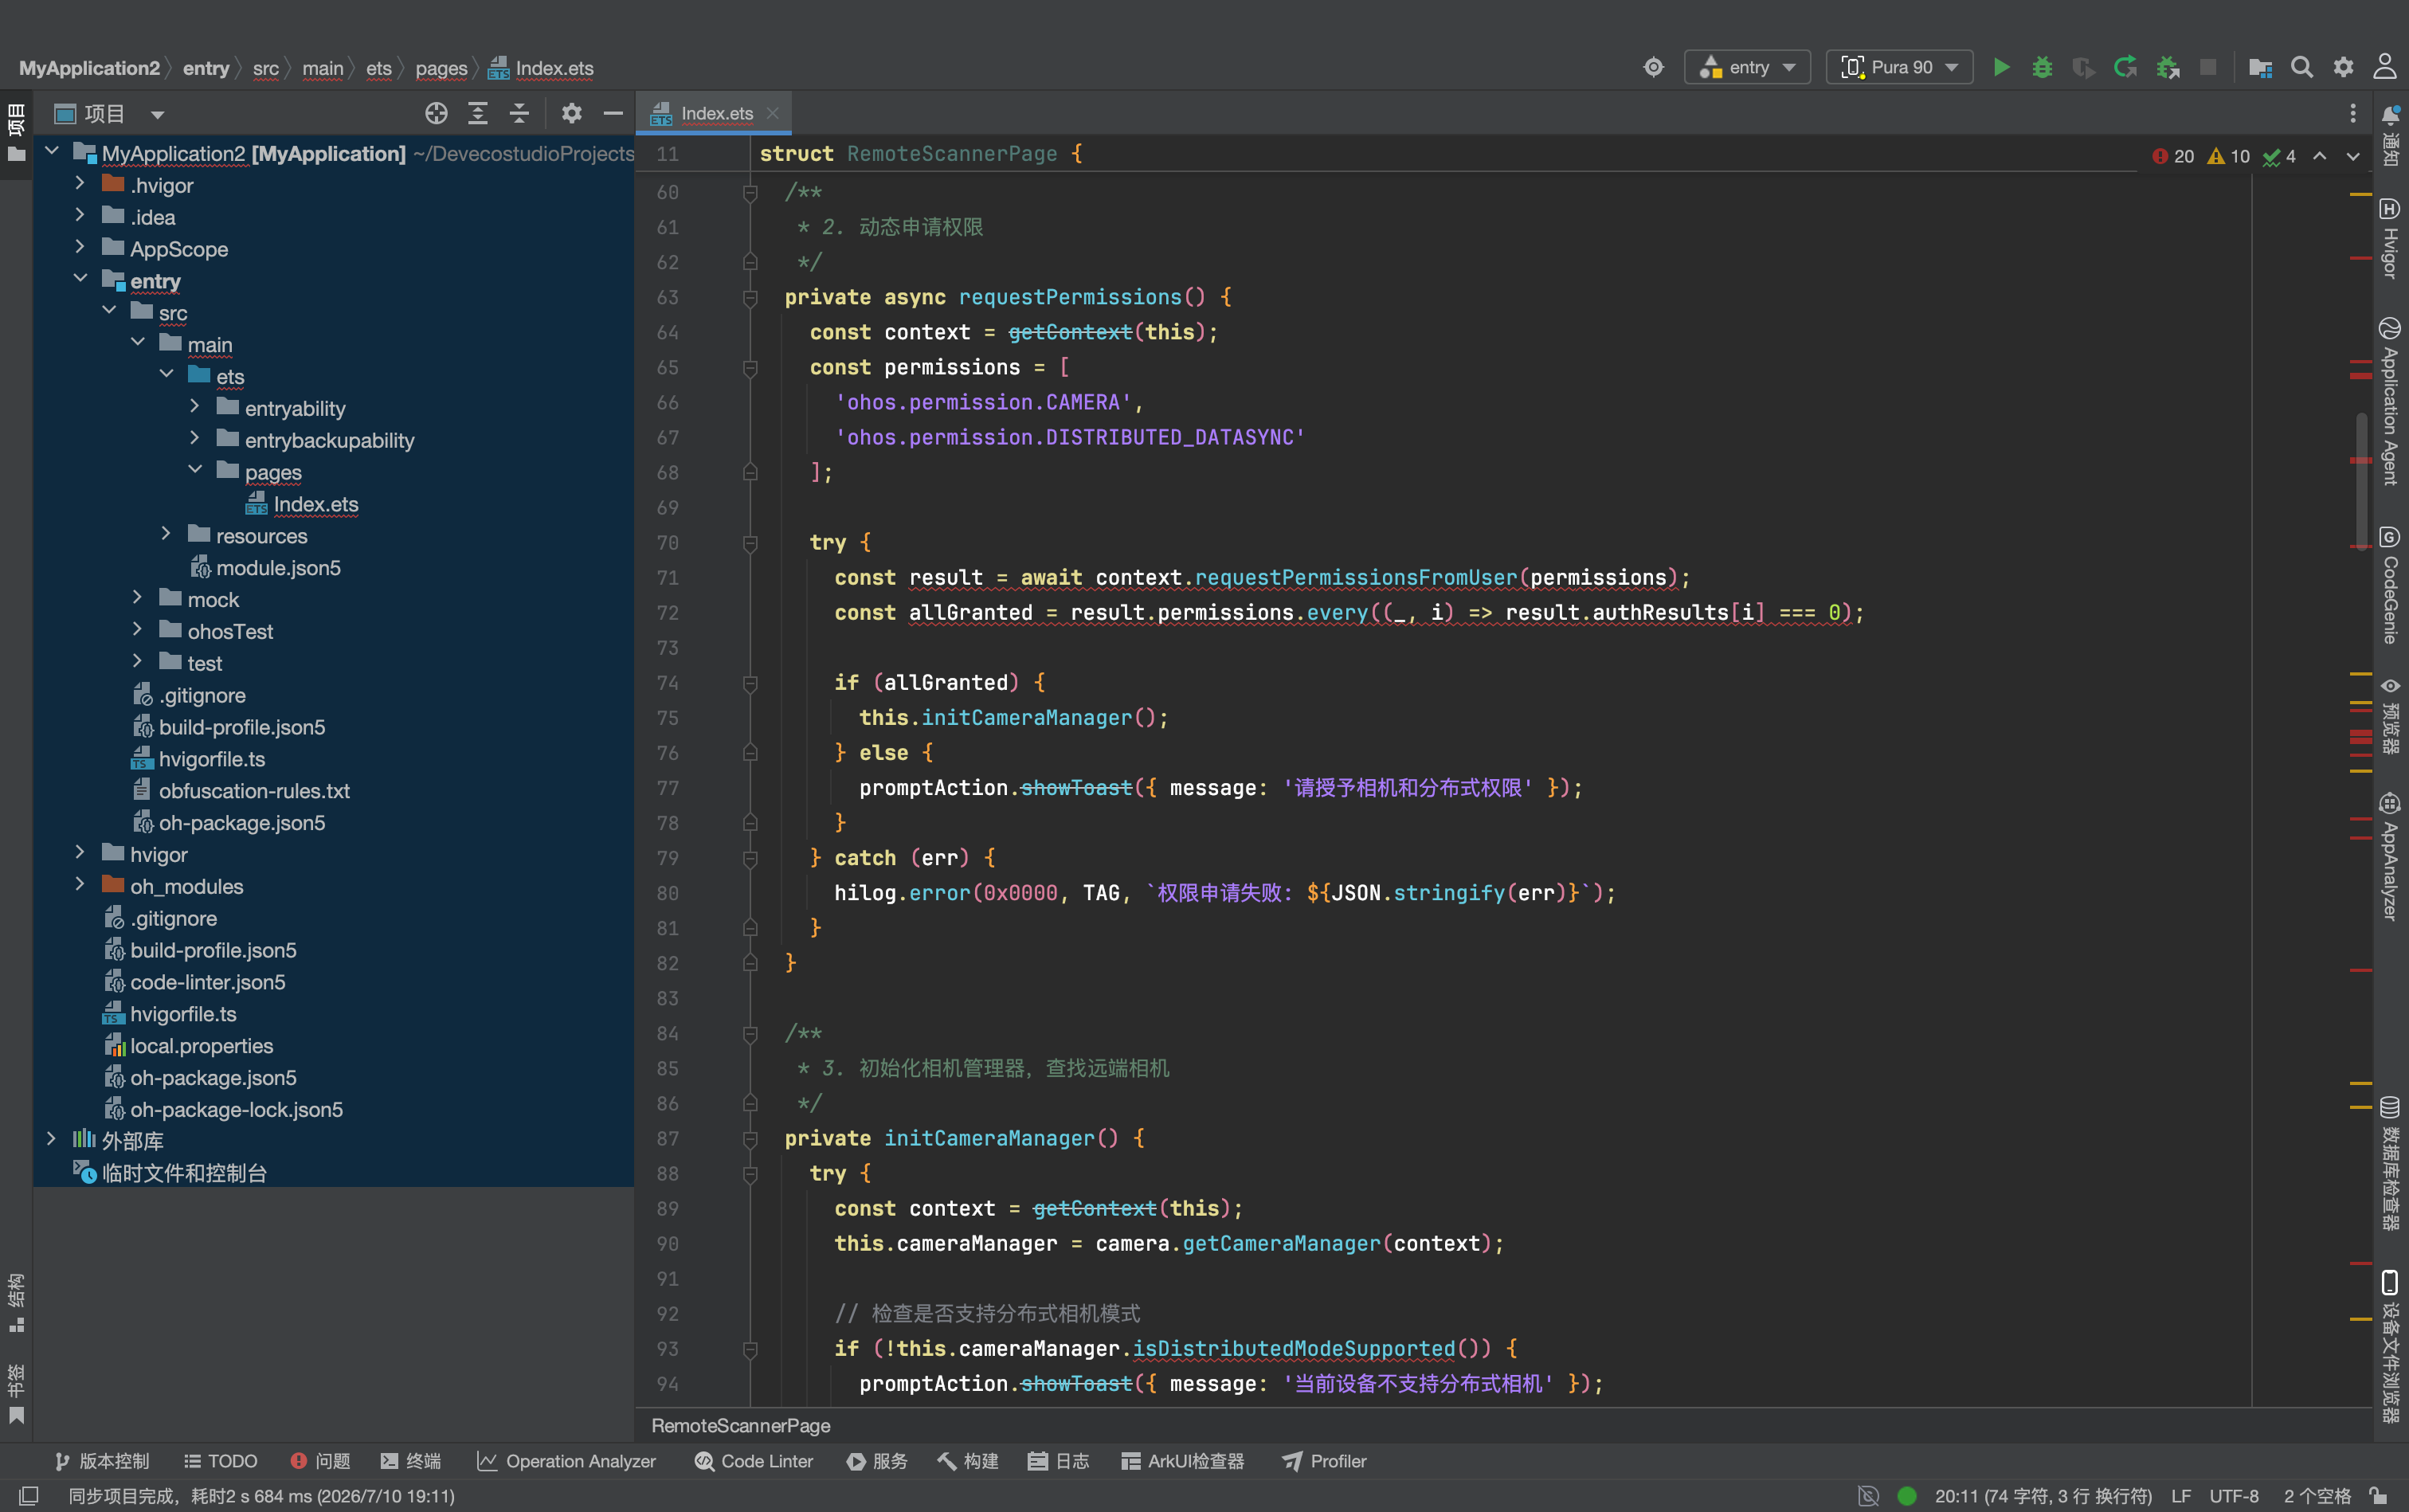
打开 entry/src/main/ets/pages/Index.ets,替换为以下完整代码: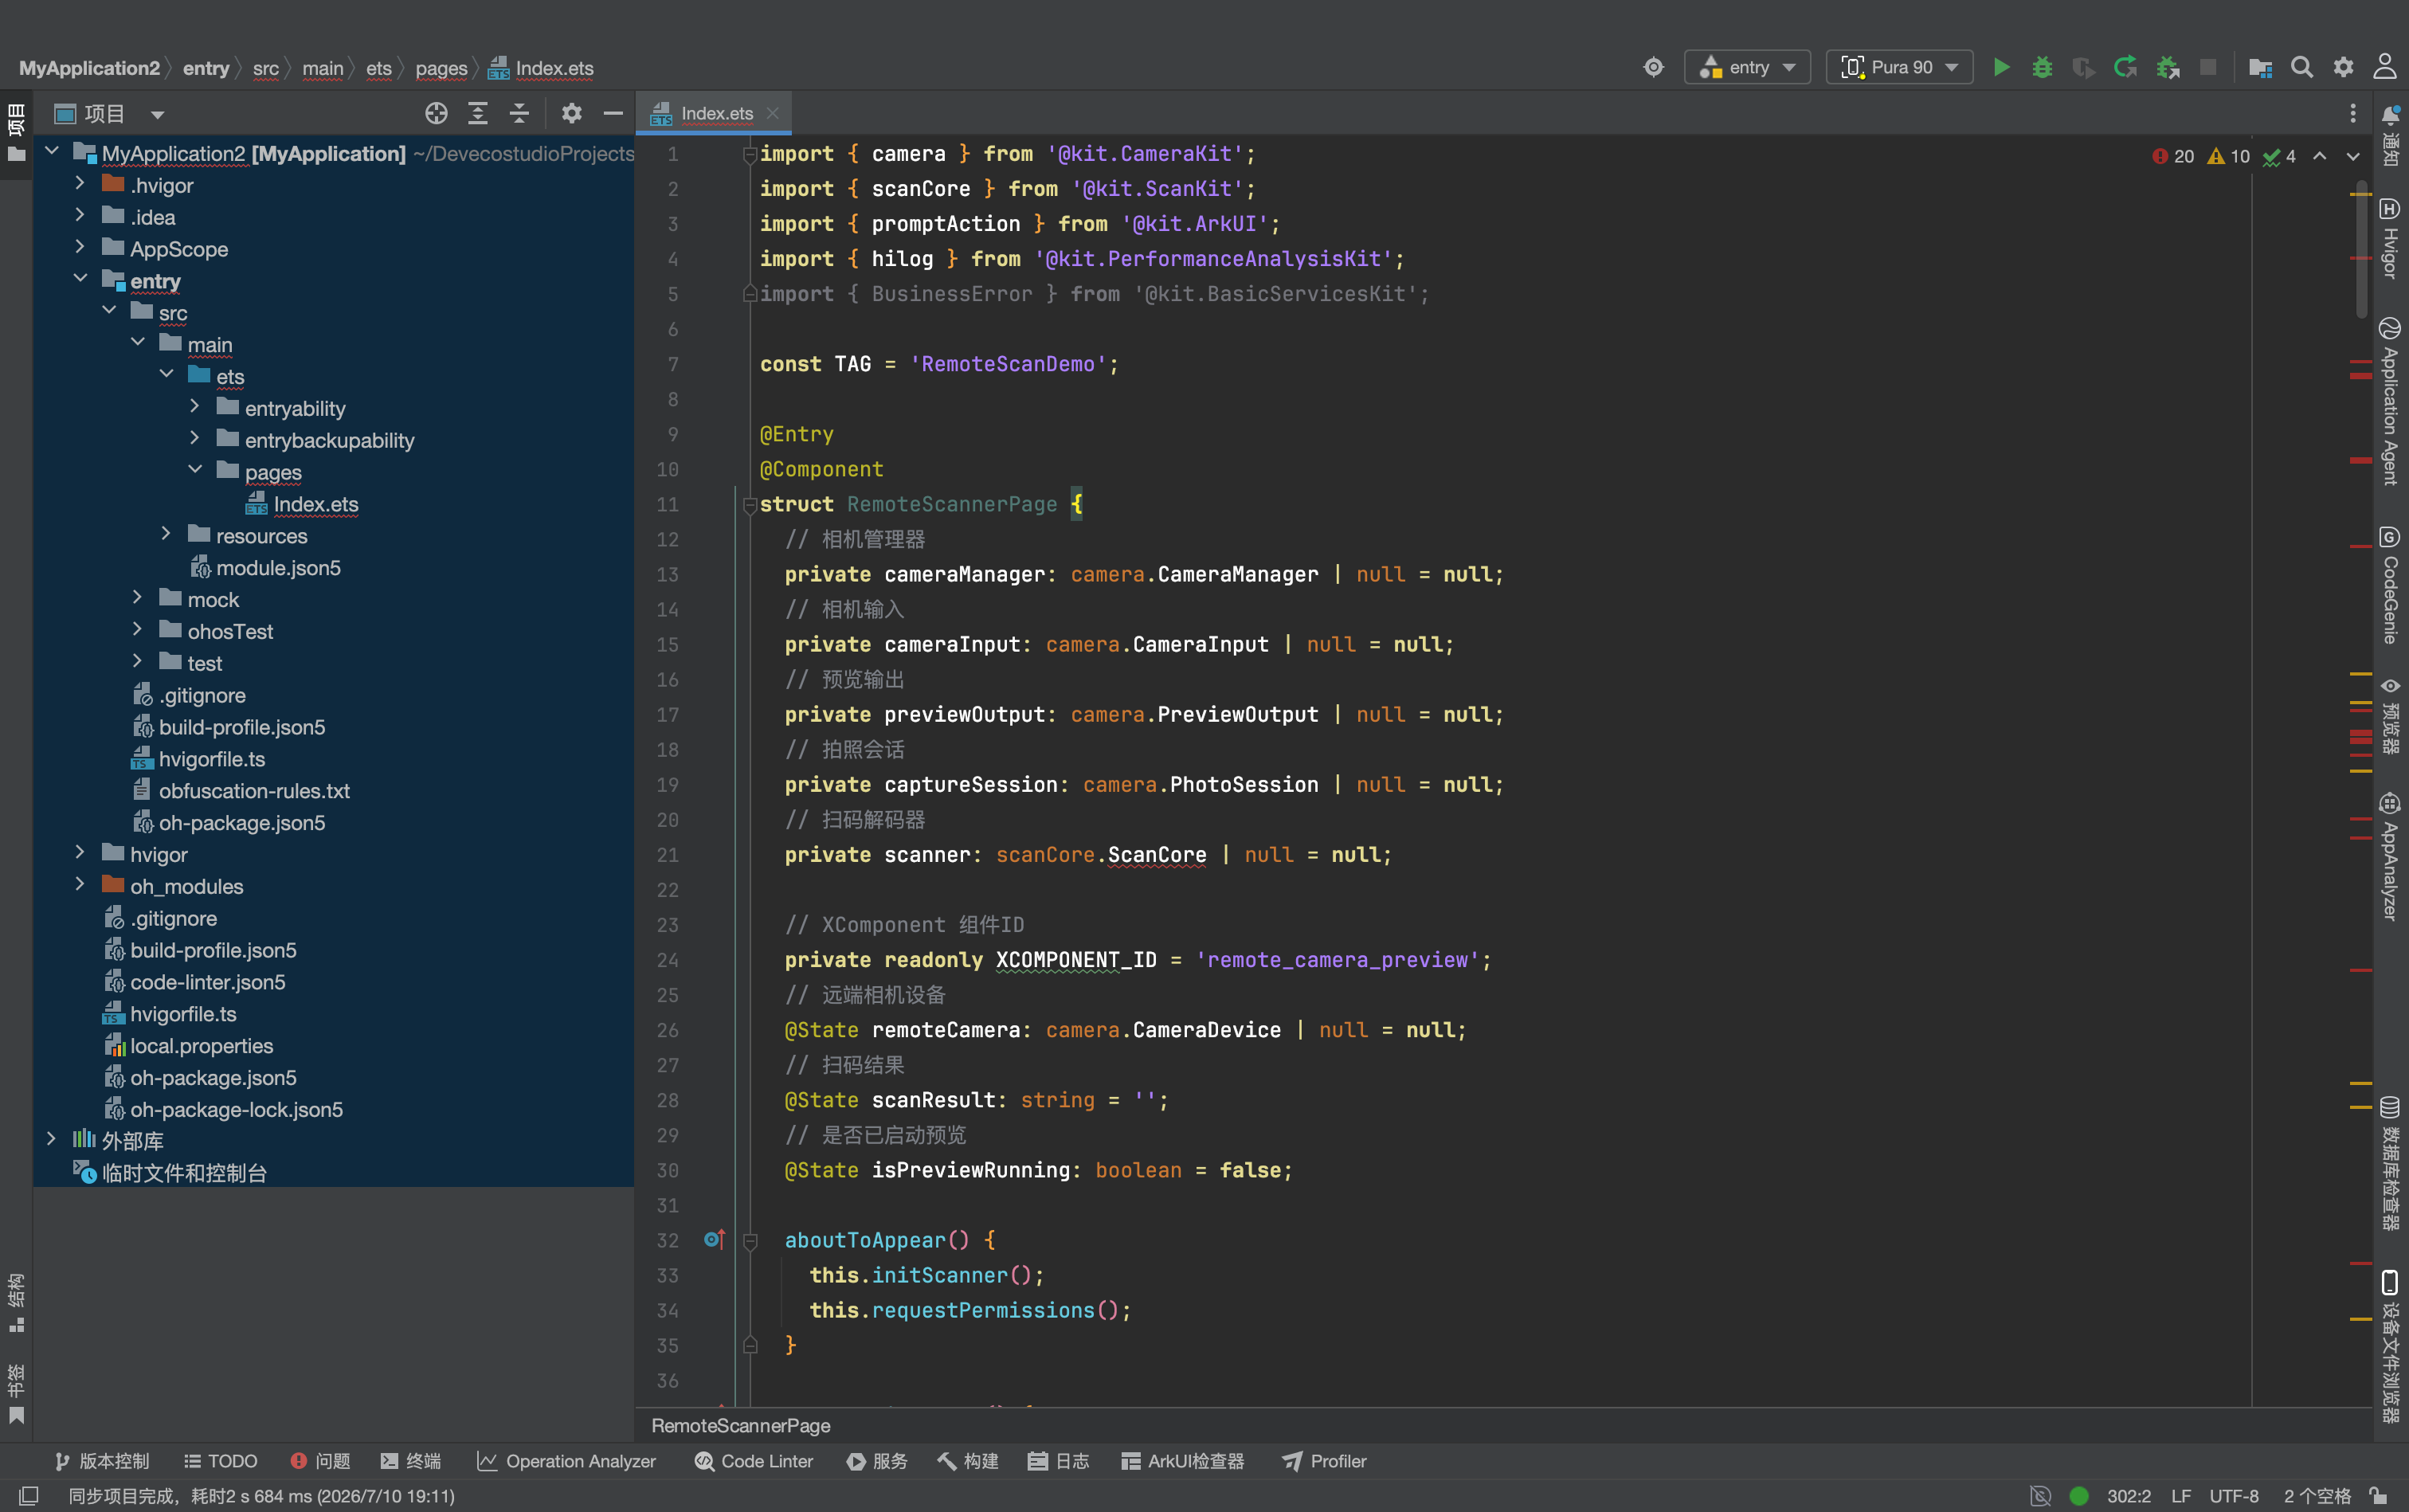
import { camera } from '@kit.CameraKit';
import { scanCore } from '@kit.ScanKit';
import { promptAction } from '@kit.ArkUI';
import { hilog } from '@kit.PerformanceAnalysisKit';
import { BusinessError } from '@kit.BasicServicesKit';

const TAG = 'RemoteScanDemo';

@Entry
@Component
struct RemoteScannerPage {
  // 相机管理器
  private cameraManager: camera.CameraManager | null = null;
  // 相机输入
  private cameraInput: camera.CameraInput | null = null;
  // 预览输出
  private previewOutput: camera.PreviewOutput | null = null;
  // 拍照会话
  private captureSession: camera.PhotoSession | null = null;
  // 扫码解码器
  private scanner: scanCore.ScanCore | null = null;

  // XComponent 组件ID
  private readonly XCOMPONENT_ID = 'remote_camera_preview';
  // 远端相机设备
  @State remoteCamera: camera.CameraDevice | null = null;
  // 扫码结果
  @State scanResult: string = '';
  // 是否已启动预览
  @State isPreviewRunning: boolean = false;

  aboutToAppear() {
    this.initScanner();
    this.requestPermissions();
  }

  aboutToDisappear() {
    this.releaseCamera();
  }

  /**
   * 1. 初始化扫码解码器
   */
  private initScanner() {
    try {
      // 创建扫码核心实例,支持所有码制
      this.scanner = scanCore.createScanCore({
        scanTypes: [
          scanCore.ScanType.QR_CODE,
          scanCore.ScanType.BARCODE_EAN13,
          scanCore.ScanType.BARCODE_CODE128
        ]
      });
      hilog.info(0x0000, TAG, '扫码解码器初始化成功');
    } catch (err) {
      hilog.error(0x0000, TAG, `扫码初始化失败: ${JSON.stringify(err)}`);
    }
  }

  /**
   * 2. 动态申请权限
   */
  private async requestPermissions() {
    const context = getContext(this);
    const permissions = [
      'ohos.permission.CAMERA',
      'ohos.permission.DISTRIBUTED_DATASYNC'
    ];

    try {
      const result = await context.requestPermissionsFromUser(permissions);
      const allGranted = result.permissions.every((_, i) => result.authResults[i] === 0);

      if (allGranted) {
        this.initCameraManager();
      } else {
        promptAction.showToast({ message: '请授予相机和分布式权限' });
      }
    } catch (err) {
      hilog.error(0x0000, TAG, `权限申请失败: ${JSON.stringify(err)}`);
    }
  }

  /**
   * 3. 初始化相机管理器,查找远端相机
   */
  private initCameraManager() {
    try {
      const context = getContext(this);
      this.cameraManager = camera.getCameraManager(context);

      // 检查是否支持分布式相机模式
      if (!this.cameraManager.isDistributedModeSupported()) {
        promptAction.showToast({ message: '当前设备不支持分布式相机' });
        return;
      }

      // 获取所有可用相机(含本地+远端)
      const cameras = this.cameraManager.getSupportedCameras();

      // 筛选远端相机
      this.remoteCamera = cameras.find(cam =>
        cam.connectionType === camera.ConnectionType.CAMERA_CONNECTION_REMOTE
      ) || null;

      if (!this.remoteCamera) {
        promptAction.showToast({ message: '未发现可用的远端相机设备' });
        hilog.warn(0x0000, TAG, '未找到远端相机,请检查设备组网');
        return;
      }

      hilog.info(0x0000, TAG, `找到远端相机: ${this.remoteCamera.cameraId}`);
      promptAction.showToast({ message: '已连接远端相机' });
    } catch (err) {
      hilog.error(0x0000, TAG, `相机初始化失败: ${JSON.stringify(err)}`);
      promptAction.showToast({ message: '相机初始化失败' });
    }
  }

  /**
   * 4. 开启远端相机预览
   */
  async startRemotePreview() {
    if (!this.remoteCamera || !this.cameraManager) {
      promptAction.showToast({ message: '无可用远端相机' });
      return;
    }
    if (this.isPreviewRunning) return;

    try {
      // 创建相机输入
      this.cameraInput = this.cameraManager.createCameraInput(this.remoteCamera);
      // 创建拍照会话
      this.captureSession = this.cameraManager.createPhotoSession(getContext(this));
      // 创建预览输出,绑定XComponent
      this.previewOutput = this.cameraManager.createPreviewOutput(this.XCOMPONENT_ID);

      // 配置会话
      await this.captureSession.beginConfig();
      await this.captureSession.addInput(this.cameraInput);
      await this.captureSession.addOutput(this.previewOutput);
      await this.captureSession.commitConfig();

      // 启动预览
      await this.captureSession.start();
      this.isPreviewRunning = true;

      // 注册帧回调,用于扫码识别
      this.previewOutput.on('frameStart', this.onFrameAvailable.bind(this));

      hilog.info(0x0000, TAG, '远端相机预览已启动');
    } catch (err) {
      hilog.error(0x0000, TAG, `启动预览失败: ${JSON.stringify(err)}`);
      promptAction.showToast({ message: '启动预览失败' });
    }
  }

  /**
   * 5. 处理预览帧,执行扫码识别
   */
  private onFrameAvailable(frame: camera.Frame) {
    if (!this.scanner || this.scanResult) return;

    try {
      // 将相机帧数据传给扫码解码器
      const result = this.scanner.decode(frame);
      if (result && result.length > 0) {
        this.scanResult = result[0].value;
        promptAction.showToast({ message: '扫码成功' });
        hilog.info(0x0000, TAG, `扫码结果: ${this.scanResult}`);
        // 识别成功后停止预览
        this.stopPreview();
      }
    } catch (err) {
      // 帧识别失败是正常现象,静默处理即可
    }
  }

  /**
   * 停止预览
   */
  async stopPreview() {
    if (this.captureSession && this.isPreviewRunning) {
      try {
        await this.captureSession.stop();
        this.isPreviewRunning = false;
      } catch (err) {
        hilog.error(0x0000, TAG, `停止预览失败: ${JSON.stringify(err)}`);
      }
    }
  }

  /**
   * 释放相机资源
   */
  private releaseCamera() {
    this.stopPreview();
    if (this.cameraInput) {
      this.cameraInput.release();
      this.cameraInput = null;
    }
    this.captureSession = null;
    this.previewOutput = null;
    this.cameraManager = null;
    this.remoteCamera = null;
    this.isPreviewRunning = false;
  }

  build() {
    Column({ space: 20 }) {
      Text('跨设备扫码工具')
        .fontSize(24)
        .fontWeight(FontWeight.Bold)
        .width('90%')
        .margin({ top: 20 });

      // 预览区域
      Stack() {
        XComponent({
          id: this.XCOMPONENT_ID,
          type: 'surface',
          libraryname: ''
        })
        .width('100%')
        .aspectRatio(4 / 3)
        .borderRadius(12)
        .backgroundColor('#000000');

        if (!this.isPreviewRunning) {
          Column({ space: 12 }) {
            Text('点击下方按钮启动远端相机')
              .fontSize(16)
              .fontColor('#FFFFFF');
          }
          .width('100%')
          .height('100%')
          .justifyContent(FlexAlign.Center);
        }
      }
      .width('90%')
      .borderRadius(12)
      .clip(true);

      // 操作按钮
      Button(this.isPreviewRunning ? '停止扫码' : '启动远端相机扫码')
        .width('90%')
        .height(50)
        .borderRadius(25)
        .backgroundColor(this.isPreviewRunning ? '#FF4D4F' : '#0A59F7')
        .onClick(() => {
          if (this.isPreviewRunning) {
            this.stopPreview();
          } else {
            this.startRemotePreview();
          }
        });

      // 扫码结果
      if (this.scanResult) {
        Column({ space: 10 }) {
          Text('扫码结果')
            .fontSize(16)
            .fontWeight(FontWeight.Medium)
            .width('100%');

          Text(this.scanResult)
            .width('100%')
            .padding(12)
            .backgroundColor('#F0F7FF')
            .borderRadius(8)
            .fontSize(15)
            .wordBreak(WordBreak.BreakAll);

          Button('重新扫码')
            .width('100%')
            .height(44)
            .borderRadius(22)
            .backgroundColor('#00B578')
            .onClick(() => {
              this.scanResult = '';
              this.startRemotePreview();
            });
        }
        .width('90%')
        .padding(16)
        .backgroundColor('#FFFFFF')
        .borderRadius(12)
        .shadow({ radius: 4, color: '#1A000000' });
      }

      Blank();

      Text('💡 需两台同账号同网鸿蒙设备,调用远端摄像头扫码')
        .fontSize(12)
        .fontColor('#AAAAAA')
        .margin({ bottom: 20 });
    }
    .width('100%')
    .height('100%')
    .backgroundColor('#F8F9FA');
  }
}
3.3 核心逻辑说明
- 透明调用:除了筛选相机时通过
connectionType区分远端设备,打开相机、创建会话、预览渲染的全部代码,和调用本地相机完全一致——这就是 DVKit 硬件虚拟化的价值。 - 帧回调扫码:通过预览输出的
frameStart事件获取每一帧画面,交给 ScanKit 核心解码器识别,无需额外处理图像格式转换。 - 资源管理:页面销毁时主动释放相机资源,避免远端设备相机一直被占用。
四、运行验证步骤
- 设备准备:两台鸿蒙设备登录同一华为账号,连接同一 Wi-Fi,开启蓝牙和华为分享,保持亮屏解锁。
- 安装应用:将应用安装到需要扫码的大屏设备(平板/备用机)上。
- 授权验证:打开应用,授予相机和分布式权限。
- 设备发现:应用会自动查找组网内的远端相机,找到后提示连接成功。
- 扫码测试:点击启动预览,将远端手机的摄像头对准二维码,本地设备会自动识别并返回结果。
五、新手高频踩坑避坑指南
1. 找不到远端相机设备
- 排查顺序:
- 确认两台设备登录同一华为账号,这是最高优先级
- 确认连接同一 Wi-Fi 局域网,开启蓝牙
- 确认两台设备都开启了「华为分享」和分布式开关
- 确认远端设备亮屏、未锁屏
- 确认应用已申请
DISTRIBUTED_DATASYNC权限
2. 预览画面卡顿、延迟高
- 原因:网络带宽不足,或距离过远导致信号差
- 优化建议:保持设备在同一 5G Wi-Fi 环境下,距离尽量近;降低预览分辨率可以大幅提升流畅度
3. 扫码识别率低
- 优化建议:
- 远端设备尽量使用后置摄像头,对焦更快更准
- 保持光线充足,避免逆光、反光
- 二维码尽量占满预览画面,不要太远
4. 退出页面后远端相机还在工作
- 原因:未正确释放相机资源
- 解决:在页面
aboutToDisappear生命周期中必须调用释放逻辑,主动关闭远端相机,避免资源泄露
5. 误以为要单独集成 DVKit SDK
很多新手到处找 DVKit 的导入包,其实不用。应用层开发不需要直接调用 DVKit 底层接口,DVKit 的虚拟化能力由系统服务接管,上层直接使用 CameraKit 的标准分布式相机 API 即可,所有虚拟化细节对应用透明。
六、总结
DVKit 设备虚拟化最迷人的地方,在于它把「跨设备调用硬件」这件复杂的事,做到了对开发者几乎零感知。你不用懂分布式传输、不用处理设备连接、不用写编解码逻辑,只要会用本地相机 API,就能天然支持远端硬件调用。
这个跨设备扫码工具只是最基础的落地场景,基于这套架构还可以扩展出很多玩法:
- 调用远端高像素摄像头做高清文档扫描
- 多台设备同时取景,实现多机位切换
- 结合 AI 能力做远程物体识别、文字识别
- 远程视频监控、家庭看护
掌握了分布式相机的用法,你就掌握了鸿蒙分布式硬件开发的核心钥匙,能把单设备的能力边界,拓展到整个组网设备的硬件池。

作为“人工智能6S店”的官方数字引擎,为AI开发者与企业提供一个覆盖软硬件全栈、一站式门户。
更多推荐



 9
9 0
0- 0


 已为社区贡献12条内容

所有评论(0)