
Flutter三方库适配OpenHarmony【flutter_speech】— iOS/macOS 端实现分析
欢迎加入开源鸿蒙跨平台社区:https://openharmonycrossplatform.csdn.net分析完Android端之后,今天来看看iOS和macOS端的实现。苹果平台用的是框架,和Android的设计思路差异挺大的。说实话,我平时主要做Android和Flutter开发,对iOS原生开发不算特别熟。但为了做好OpenHarmony适配,我还是硬着头皮把iOS端的Objective
前言
欢迎加入开源鸿蒙跨平台社区:https://openharmonycrossplatform.csdn.net
分析完Android端之后,今天来看看iOS和macOS端的实现。苹果平台用的是SFSpeechRecognizer框架,和Android的SpeechRecognizer设计思路差异挺大的。
说实话,我平时主要做Android和Flutter开发,对iOS原生开发不算特别熟。但为了做好OpenHarmony适配,我还是硬着头皮把iOS端的Objective-C代码啃了一遍。结果发现,苹果的语音识别API设计得确实优雅——权限管理更细粒度,音频处理更灵活,回调设计也更现代化。
这篇文章的重点不是教大家写iOS代码,而是通过三个平台的横向对比,找出共性和差异,为OpenHarmony适配建立更全面的参考框架。
💡 阅读建议:即使你不做iOS开发,也建议看看本文的对比表格部分,对理解跨平台适配的思路很有帮助。
一、iOS SFSpeechRecognizer 框架概述
1.1 框架组成
苹果的语音识别框架由几个核心类组成:
#import <Speech/Speech.h>

// 核心类
SFSpeechRecognizer          // 语音识别器(管理识别能力)
SFSpeechAudioBufferRecognitionRequest  // 识别请求(音频输入)
SFSpeechRecognitionTask     // 识别任务(管理识别过程)
SFSpeechRecognitionResult   // 识别结果(包含文本和置信度)
| 类名 | 职责 | Android对应 | OpenHarmony对应 |
|---|---|---|---|
| SFSpeechRecognizer | 识别器管理 | SpeechRecognizer | speechRecognizer模块 |
| SFSpeechAudioBufferRecognitionRequest | 音频输入 | Intent参数 | StartParams.audioInfo |
| SFSpeechRecognitionTask | 任务管理 | (隐式管理) | sessionId |
| SFSpeechRecognitionResult | 结果封装 | Bundle | SpeechRecognitionResult |
1.2 与Android和OpenHarmony的架构对比
三个平台的语音识别架构有着本质的不同:
Android:    SpeechRecognizer → RecognitionListener (回调模式)
iOS/macOS:  SFSpeechRecognizer → Task + Block (闭包模式)
OpenHarmony: speechRecognizer → setListener (回调模式)
🤔 有意思的发现:OpenHarmony的设计更接近Android(都是回调模式),而不是iOS(闭包模式)。这可能是因为ArkTS的语言特性更接近Java/Kotlin。
1.3 iOS独有的特性
iOS的语音识别有几个其他平台没有的特性:
- 音频引擎集成:iOS使用
AVAudioEngine直接处理音频流,开发者可以对音频做预处理 - 识别置信度:每个识别结果都带有
confidence值(0.0-1.0),可以用来判断识别质量 - 多候选结果:
SFSpeechRecognitionResult包含多个transcriptions,按置信度排序 - 离线识别:iOS 13+支持设备端离线识别,不需要网络
// iOS获取识别置信度
SFTranscription *transcription = result.bestTranscription;
for (SFTranscriptionSegment *segment in transcription.segments) {
    NSLog(@"Text: %@, Confidence: %f", segment.substring, segment.confidence);
}
这些特性在flutter_speech的当前实现中并没有完全暴露给Dart层,只用了最基本的文本结果。
二、FlutterSpeechRecognitionPlugin(iOS)实现解析
2.1 插件类结构
iOS端的插件用Objective-C实现:
@interface FlutterSpeechRecognitionPlugin : NSObject<FlutterPlugin>

@property (nonatomic, strong) FlutterMethodChannel *channel;
@property (nonatomic, strong) SFSpeechRecognizer *speechRecognizer;
@property (nonatomic, strong) SFSpeechAudioBufferRecognitionRequest *recognitionRequest;
@property (nonatomic, strong) SFSpeechRecognitionTask *recognitionTask;
@property (nonatomic, strong) AVAudioEngine *audioEngine;
@property (nonatomic, assign) BOOL isListening;

@end
对比三个平台的成员变量:
| 功能 | Android | iOS | OpenHarmony |
|---|---|---|---|
| 通信通道 | MethodChannel | FlutterMethodChannel | MethodChannel |
| 识别引擎 | SpeechRecognizer | SFSpeechRecognizer | SpeechRecognitionEngine |
| 音频引擎 | (系统管理) | AVAudioEngine | (系统管理) |
| 识别请求 | Intent | SFSpeechAudioBufferRecognitionRequest | StartParams |
| 识别任务 | (隐式) | SFSpeechRecognitionTask | sessionId |
| 监听状态 | boolean | BOOL | boolean |
📌 注意:iOS多了一个
AVAudioEngine和recognitionRequest,因为iOS需要开发者自己管理音频输入流。Android和OpenHarmony都是系统自动处理音频采集的。
2.2 插件注册
+ (void)registerWithRegistrar:(NSObject<FlutterPluginRegistrar>*)registrar {
    FlutterMethodChannel* channel = [FlutterMethodChannel
        methodChannelWithName:@"com.flutter.speech_recognition"
              binaryMessenger:[registrar messenger]];
    FlutterSpeechRecognitionPlugin* instance =
        [[FlutterSpeechRecognitionPlugin alloc] initWithChannel:channel];
    [registrar addMethodCallDelegate:instance channel:channel];
}
iOS的插件注册方式和Android/OpenHarmony有所不同:
- Android/OpenHarmony:实现
FlutterPlugin接口的onAttachedToEngine方法 - iOS:通过静态方法
registerWithRegistrar注册
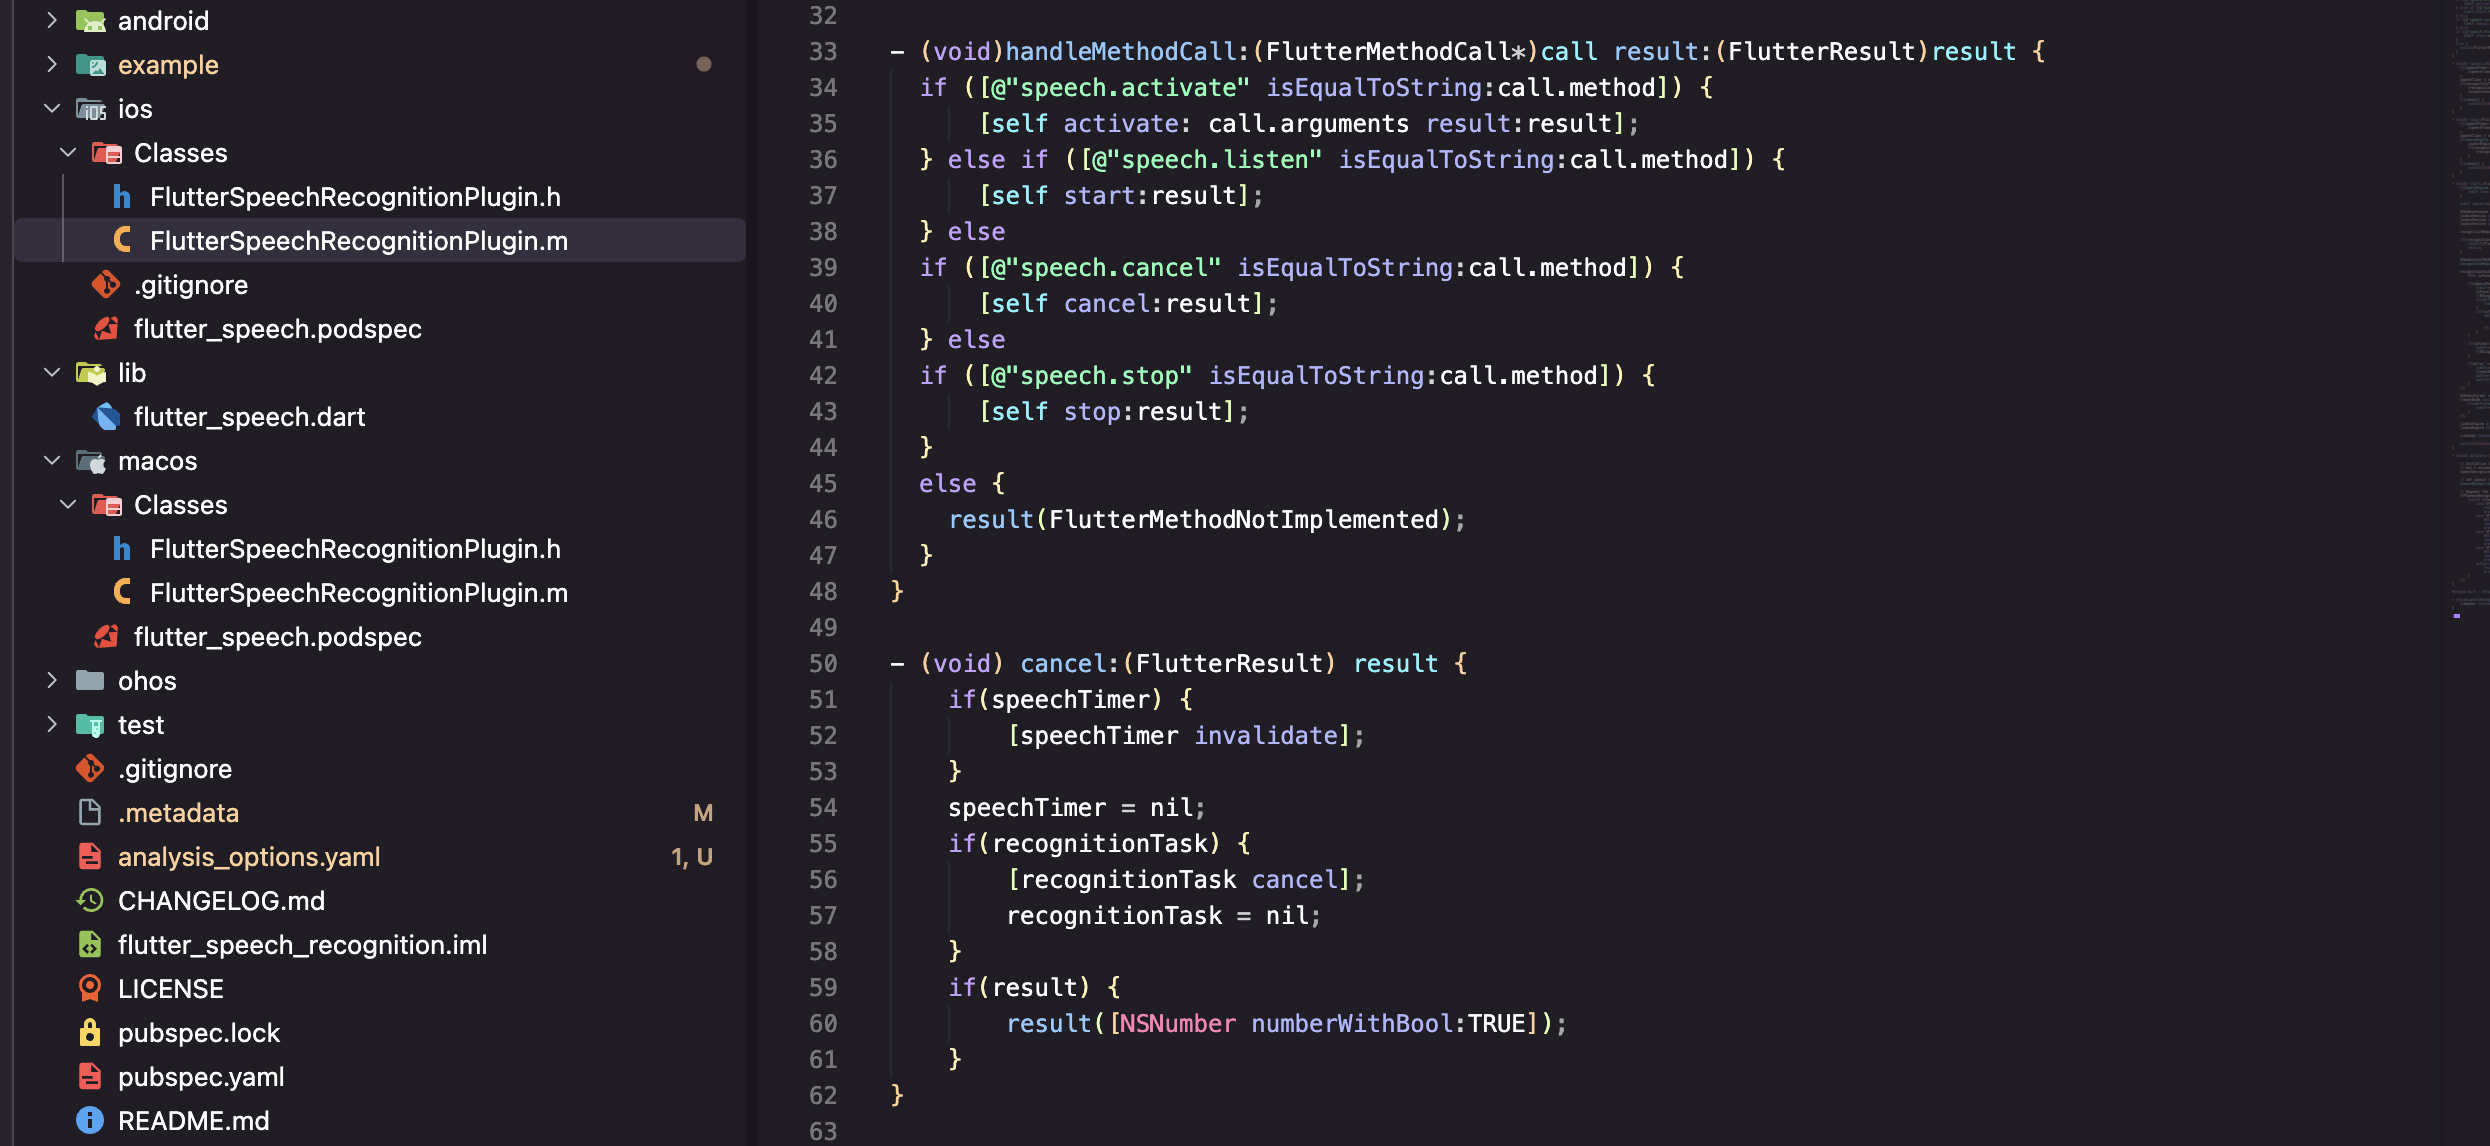
2.3 方法调用处理
- (void)handleMethodCall:(FlutterMethodCall*)call result:(FlutterResult)result {
    if ([@"speech.activate" isEqualToString:call.method]) {
        [self activate:call.arguments result:result];
    } else if ([@"speech.listen" isEqualToString:call.method]) {
        [self startListening:result];
    } else if ([@"speech.cancel" isEqualToString:call.method]) {
        [self cancelRecognition:result];
    } else if ([@"speech.stop" isEqualToString:call.method]) {
        [self stopRecognition:result];
    } else {
        result(FlutterMethodNotImplemented);
    }
}
三个平台的方法分发逻辑完全一致,只是语法不同:
// Android - switch语句
switch (call.method) {
    case "speech.activate": ...
    case "speech.listen": ...
}
// iOS - if-else链
if ([@"speech.activate" isEqualToString:call.method]) ...
else if ([@"speech.listen" isEqualToString:call.method]) ...
// OpenHarmony - switch语句
switch (call.method) {
    case "speech.activate": ...
    case "speech.listen": ...
}
三、macOS 端语音识别的差异与适配
3.1 macOS与iOS的共性
macOS和iOS共享同一个语音识别框架(Speech.framework),大部分代码可以复用:
// 这段代码在iOS和macOS上都能运行
SFSpeechRecognizer *recognizer = [[SFSpeechRecognizer alloc]
    initWithLocale:[NSLocale localeWithLocaleIdentifier:locale]];
3.2 macOS的特殊处理
但macOS有几个独特的限制:
| 差异点 | iOS | macOS | 影响 |
|---|---|---|---|
| 音频输入 | 内置麦克风 | 可能需要外接 | 需要检测音频设备 |
| 权限弹窗 | 系统自动弹出 | 需要手动触发 | 首次使用体验不同 |
| 沙盒限制 | App Store要求 | 更严格 | 需要额外的entitlement |
| 后台运行 | 支持 | 受限 | 不能在后台持续识别 |
3.3 Info.plist 配置
iOS和macOS都需要在Info.plist中声明权限:
<!-- iOS/macOS Info.plist -->
<key>NSSpeechRecognitionUsageDescription</key>
<string>This app needs access to speech recognition</string>
<key>NSMicrophoneUsageDescription</key>
<string>This app needs access to microphone for speech recognition</string>
注意iOS需要两个权限声明:
NSSpeechRecognitionUsageDescription- 语音识别权限NSMicrophoneUsageDescription- 麦克风权限
而Android只需要一个RECORD_AUDIO,OpenHarmony也只需要一个ohos.permission.MICROPHONE。
💡 苹果的权限粒度更细:把"使用麦克风"和"进行语音识别"分成了两个独立的权限。从隐私保护的角度来说,这种设计更合理——用户可以允许App录音但不允许进行语音识别。
四、iOS权限申请流程
4.1 双重权限申请
iOS的权限申请比Android和OpenHarmony都复杂,因为需要申请两个权限:
- (void)activate:(NSString *)locale result:(FlutterResult)result {
    // 第1步:申请语音识别权限
    [SFSpeechRecognizer requestAuthorization:^(SFSpeechRecognizerAuthorizationStatus status) {
        switch (status) {
            case SFSpeechRecognizerAuthorizationStatusAuthorized:
                // 第2步:申请麦克风权限
                [[AVAudioSession sharedInstance] requestRecordPermission:^(BOOL granted) {
                    if (granted) {
                        // 两个权限都获得了,初始化识别器
                        [self setupRecognizer:locale];
                        [self.channel invokeMethod:@"speech.onSpeechAvailability"
                                         arguments:@YES];
                        result(@YES);
                    } else {
                        result([FlutterError errorWithCode:@"PERMISSION_DENIED"
                                                   message:@"Microphone permission denied"
                                                   details:nil]);
                    }
                }];
                break;
            case SFSpeechRecognizerAuthorizationStatusDenied:
                result([FlutterError errorWithCode:@"PERMISSION_DENIED"
                                           message:@"Speech recognition denied"
                                           details:nil]);
                break;
            default:
                result(@NO);
                break;
        }
    }];
}
4.2 三平台权限对比
| 对比维度 | Android | iOS | OpenHarmony |
|---|---|---|---|
| 权限数量 | 1个 | 2个 | 1个 |
| 权限名称 | RECORD_AUDIO | Speech + Microphone | MICROPHONE |
| 申请方式 | 同步检查+异步申请 | 嵌套回调 | async/await |
| 代码复杂度 | 中等 | 较高(嵌套) | 较低 |
| 用户体验 | 一次弹窗 | 两次弹窗 | 一次弹窗 |
😅 吐槽一下:iOS的嵌套回调写法真的很难看。如果用Swift的async/await重写会好很多,但flutter_speech的iOS端还是用的Objective-C。
五、与 Android 实现的对比与共性总结
5.1 三平台实现对比总表
这张表我花了不少时间整理,建议收藏:
| 对比维度 | Android | iOS/macOS | OpenHarmony |
|---|---|---|---|
| 开发语言 | Java/Kotlin | ObjC/Swift | ArkTS (.ets) |
| 识别引擎 | SpeechRecognizer | SFSpeechRecognizer | Core Speech Kit |
| 音频管理 | 系统自动 | AVAudioEngine手动 | 系统自动 |
| 权限数量 | 1个 | 2个 | 1个 |
| 语言支持 | 多语言 | 多语言 | 仅中文 |
| 离线识别 | 部分支持 | iOS 13+支持 | 仅在线 |
| 回调模式 | Listener接口 | Block闭包 | Listener对象 |
| 引擎创建 | 同步 | 同步 | 异步 |
| 结果格式 | Bundle(ArrayList) | SFSpeechRecognitionResult | SpeechRecognitionResult |
| 置信度 | 有(confidence) | 有(confidence) | 无 |
| 部分结果 | onPartialResults | isFinal=false | isLast=false |
| 最终结果 | onResults | isFinal=true | isLast=true |
5.2 共性总结
尽管三个平台的API设计各不相同,但核心流程是一致的:
1. 检查/申请权限
2. 创建识别引擎
3. 配置识别参数
4. 开始监听
5. 接收部分结果(实时)
6. 接收最终结果
7. 停止/取消识别
8. 释放资源
这个流程就是flutter_speech插件的通用抽象。不管底层用什么API,上层的Dart代码都是:
_speech.activate('zh_CN');  // 步骤1-2
_speech.listen();           // 步骤3-4
// 回调接收结果              // 步骤5-6
_speech.stop();             // 步骤7
// 引擎自动释放              // 步骤8
5.3 差异对OpenHarmony适配的影响
| 差异点 | 影响 | 应对策略 |
|---|---|---|
| 语言限制(仅中文) | 用户选择非中文语言时需要提示 | Dart层做语言校验 |
| 仅在线识别 | 无网络时无法使用 | 错误处理中增加网络检测 |
| 无置信度信息 | 无法判断识别质量 | 暂时忽略,后续版本可能支持 |
| 异步引擎创建 | activate方法需要await | 已在实现中处理 |
| 音频参数需手动配置 | 需要指定PCM格式等参数 | 使用合理的默认值 |
六、iOS端的音频处理机制
6.1 AVAudioEngine 工作流程
iOS端最复杂的部分是音频处理,需要手动管理AVAudioEngine:
- (void)startAudioEngine {
    AVAudioEngine *audioEngine = [[AVAudioEngine alloc] init];
    AVAudioInputNode *inputNode = audioEngine.inputNode;

    // 配置音频格式
    AVAudioFormat *recordingFormat = [inputNode
        outputFormatForBus:0];

    // 安装音频tap(拦截音频数据)
    [inputNode installTapOnBus:0
                    bufferSize:1024
                        format:recordingFormat
                         block:^(AVAudioPCMBuffer *buffer, AVAudioTime *when) {
        // 将音频数据送入识别请求
        [self.recognitionRequest appendAudioPCMBuffer:buffer];
    }];

    // 启动音频引擎
    [audioEngine prepare];
    NSError *error;
    [audioEngine startAndReturnError:&error];
}
6.2 为什么Android和OpenHarmony不需要这么做
Android和OpenHarmony的语音识别引擎内部集成了音频采集,开发者不需要手动处理音频流:
// Android - 直接startListening,系统自动采集音频
speechRecognizer.startListening(intent);
// OpenHarmony - 直接startListening,系统自动采集音频
this.asrEngine.startListening(recognizerParams);
📌 这是iOS独有的复杂度。从适配的角度来说,OpenHarmony更接近Android的设计,不需要处理音频流,这简化了不少工作。
6.3 音频参数对比
虽然Android和OpenHarmony不需要手动采集音频,但OpenHarmony需要在StartParams中指定音频参数:
const audioParam: speechRecognizer.AudioInfo = {
  audioType: 'pcm',
  sampleRate: 16000,
  soundChannel: 1,
  sampleBit: 16
};
| 参数 | iOS (AVAudioEngine) | OpenHarmony (AudioInfo) | 说明 |
|---|---|---|---|
| 格式 | AVAudioPCMBuffer | pcm | 都是PCM格式 |
| 采样率 | 自动匹配 | 16000 Hz | OHOS需要显式指定 |
| 声道 | 自动匹配 | 1 (单声道) | 语音识别通常用单声道 |
| 位深 | 自动匹配 | 16 bit | 标准位深 |
七、跨平台适配的方法论
7.1 我总结的适配三步法
通过分析三个平台的实现,我总结出了一套跨平台适配方法论:
第一步:找共性
- 所有平台都需要:权限申请 → 引擎创建 → 开始监听 → 接收结果 → 停止释放
- 这个流程就是Dart层API的设计基础
第二步:列差异
- 把每个平台的独特之处列出来(语言限制、API差异、参数格式等)
- 评估哪些差异需要在原生端处理,哪些需要在Dart层处理
第三步:做映射
- 把新平台的API映射到已有的通信协议上
- 确保Dart层代码不需要任何修改
7.2 适配决策树
新平台的某个功能
    │
    ├── 和现有平台完全一致?
    │   └── 是 → 直接实现,参考Android代码
    │
    ├── 功能存在但API不同?
    │   └── 是 → 做API映射,保持协议一致
    │
    ├── 功能受限(如语言限制)?
    │   └── 是 → 原生端返回错误码,Dart层做降级处理
    │
    └── 功能完全不支持?
        └── 是 → 返回notImplemented或合理的默认值
7.3 flutter_speech适配的具体决策
| 功能 | 决策 | 理由 |
|---|---|---|
| 语音识别 | 直接实现 | Core Speech Kit完全支持 |
| 多语言 | 降级处理 | 仅支持中文,非中文返回错误 |
| 离线识别 | 使用在线模式 | Core Speech Kit当前仅支持在线 |
| 置信度 | 暂不支持 | API未提供,不影响核心功能 |
| 音量回调 | 不实现 | 原插件也未暴露此功能 |
八、三平台代码风格对比
8.1 同一功能的三种写法
以"停止识别"为例,看看三个平台的代码风格差异:
// Android - Java
private void stopListening(MethodChannel.Result result) {
    try {
        if (speechRecognizer != null && isListening) {
            speechRecognizer.stopListening();
            isListening = false;
        }
        result.success(true);
    } catch (Exception e) {
        result.success(true);
    }
}
// iOS - Objective-C
- (void)stopRecognition:(FlutterResult)result {
    if (self.audioEngine.isRunning) {
        [self.audioEngine stop];
        [self.recognitionRequest endAudio];
        self.isListening = NO;
    }
    result(@YES);
}
// OpenHarmony - ArkTS
private stop(result: MethodResult): void {
  try {
    if (this.asrEngine && this.isListening) {
      this.asrEngine.finish(this.sessionId);
      this.isListening = false;
    }
    result.success(true);
  } catch (e) {
    console.error(TAG, `stop error: ${JSON.stringify(e)}`);
    result.success(true);
  }
}
💡 有趣的细节:Android用
stopListening(),iOS用endAudio(),OpenHarmony用finish()。三个平台对"停止"这个动作的命名都不一样,但语义是一致的。
8.2 错误处理风格对比
// Android - 传统try-catch
try {
    speechRecognizer.startListening(intent);
} catch (Exception e) {
    result.error("ERROR", e.getMessage(), null);
}
// iOS - NSError模式
NSError *error;
[audioEngine startAndReturnError:&error];
if (error) {
    result([FlutterError errorWithCode:@"ERROR"
                               message:error.localizedDescription
                               details:nil]);
}
// OpenHarmony - try-catch + JSON序列化
try {
  this.asrEngine.startListening(recognizerParams);
} catch (e) {
  console.error(TAG, `error: ${JSON.stringify(e)}`);
  result.error('ERROR', `Failed: ${JSON.stringify(e)}`, null);
}
三种风格各有特点,但最终都是把错误信息通过result.error()传回Dart层。
总结
通过对iOS/macOS端实现的分析,以及与Android和OpenHarmony的横向对比,我们得到了以下关键结论:
- 三个平台的核心流程一致:权限→引擎→监听→结果→释放,这是跨平台抽象的基础
- iOS最复杂:需要手动管理AVAudioEngine,权限申请也是双重的
- OpenHarmony最接近Android:回调模式、音频自动管理、单权限,适配难度相对较低
- 语言限制是最大差异:iOS/Android支持多语言,OpenHarmony目前仅支持中文
- 适配方法论:找共性→列差异→做映射,三步走完成适配
到这里,基础篇(第1-6篇)就全部完成了。从下一篇开始,我们正式进入OpenHarmony适配实战,第7篇将讲解如何创建OpenHarmony插件工程。
如果这篇文章对你有帮助,欢迎点赞👍、收藏⭐、关注🔔,你的支持是我持续创作的动力!
相关资源:

作为“人工智能6S店”的官方数字引擎,为AI开发者与企业提供一个覆盖软硬件全栈、一站式门户。
更多推荐


 37
37 0
0- 0


 已为社区贡献51条内容

所有评论(0)