
Flutter 框架跨平台鸿蒙开发 ——Paint绘制流程详解
Paint流程是Flutter渲染管道的第三个阶段,负责将RenderObject树绘制到Canvas上。Paint流程通过图层合成和光栅化,将抽象的UI描述转换为屏幕像素。Paint流程通过图层合成和光栅化实现高效绘制。合理使用RepaintBoundary、CustomPaint等工具,结合Impeller渲染管线,可以显著提升绘制性能。
·
一、知识点概述
Paint流程是Flutter渲染管道的第三个阶段,负责将RenderObject树绘制到Canvas上。Paint流程通过图层合成和光栅化,将抽象的UI描述转换为屏幕像素。
📊 二、绘制流程阶段
| 阶段 | 操作 | 耗时 | 优化点 |
|---|---|---|---|
| Paint | 绘制到PictureRecorder | 1-5ms | 减少绘制命令 |
| Composite | 图层合成 | 0.5-2ms | 使用RepaintBoundary |
| Rasterize | 光栅化生成位图 | 2-8ms | Impeller加速 |
🔍 Paint流程机制
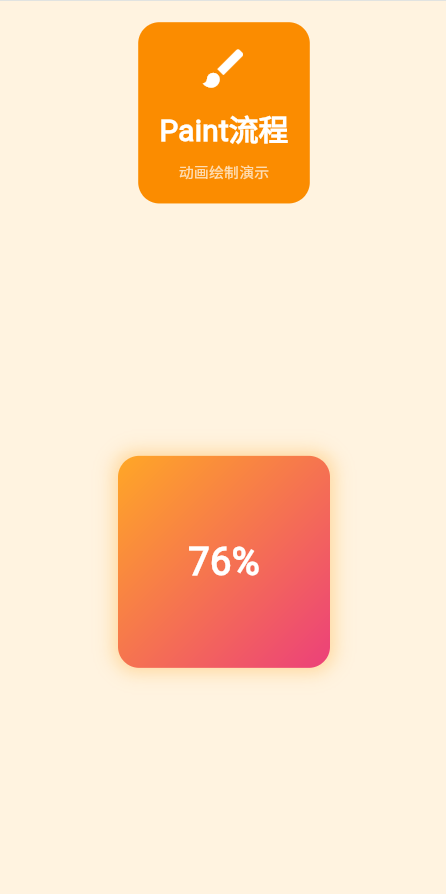
💡 三、实际示例:动画绘制
以下是一个动画绘制示例,展示Paint流程如何实现流畅动画:
class _PaintProcessPageState extends State<_PaintProcessPage>
with SingleTickerProviderStateMixin {
late AnimationController _controller;
late Animation<double> _animation;
void initState() {
super.initState();
_controller = AnimationController(
duration: const Duration(seconds: 2),
vsync: this,
)..repeat();
_animation = Tween<double>(begin: 0, end: 1).animate(
CurvedAnimation(parent: _controller, curve: Curves.easeInOut),
);
}
void dispose() {
_controller.dispose();
super.dispose();
}
Widget build(BuildContext context) {
return Container(
color: Colors.orange.shade50,
padding: const EdgeInsets.all(20),
child: Center(
child: AnimatedBuilder(
animation: _animation,
builder: (context, child) {
return Container(
width: 200,
height: 200,
decoration: BoxDecoration(
gradient: LinearGradient(
colors: [
Colors.orange.shade400,
Colors.pink.shade400,
],
begin: Alignment.topLeft,
end: Alignment.bottomRight,
),
borderRadius: BorderRadius.circular(20),
boxShadow: [
BoxShadow(
color: Colors.orange.withOpacity(0.3),
blurRadius: 20 * _animation.value,
spreadRadius: 5 * _animation.value,
),
],
),
child: Center(
child: Text(
'${(_animation.value * 100).toInt()}%',
style: const TextStyle(
fontSize: 36,
fontWeight: FontWeight.bold,
color: Colors.white,
),
),
),
);
},
),
),
);
}
}
🎨 四、绘制优化技巧
1. 使用RepaintBoundary隔离重绘
// ❌ 不推荐:父元素重绘时子元素也会重绘
Column(
  children: [
    ExpensiveWidget(),  // 每次都重绘
    StaticWidget(),
  ],
)

// ✅ 推荐:隔离重绘区域
Column(
  children: [
    RepaintBoundary(
      child: ExpensiveWidget(),  // 只在自身变化时重绘
    ),
    StaticWidget(),
  ],
)
2. 减少透明度操作
// ❌ 不推荐:频繁改变透明度
Opacity(
  opacity: 0.5,
  child: ComplexWidget(),
)

// ✅ 推荐:使用color.withOpacity
Container(
  color: Colors.blue.withOpacity(0.5),
  child: ComplexWidget(),
)
3. 使用CustomPaint优化自定义绘制
class CirclePainter extends CustomPainter {
final double progress;
CirclePainter(this.progress);
void paint(Canvas canvas, Size size) {
final paint = Paint()
..color = Colors.blue
..strokeWidth = 10
..style = PaintingStyle.stroke;
final center = Offset(size.width / 2, size.height / 2);
final radius = size.width / 2 - 10;
canvas.drawArc(
Rect.fromCircle(center: center, radius: radius),
-math.pi / 2,
2 * math.pi * progress,
false,
paint,
);
}
bool shouldRepaint(CirclePainter oldDelegate) {
return oldDelegate.progress != progress;
}
}
📐 绘制命令优化
1. 批量绘制
// ❌ 不推荐:逐个绘制
for (int i = 0; i < 100; i++) {
  canvas.drawCircle(Offset(i * 10.0, i * 10.0), 5, paint);
}

// ✅ 推荐:批量绘制到Picture
void batchCircles(Canvas canvas, List<Offset> positions) {
  final recorder = PictureRecorder();
  final pictureCanvas = Canvas(recorder);

  for (final pos in positions) {
    pictureCanvas.drawCircle(pos, 5, paint);
  }

  final picture = recorder.endRecording();
  canvas.drawPicture(picture);
}
2. 使用saveLayer优化
// ✅ 推荐:对复杂效果使用saveLayer
void paintWithLayer(Canvas canvas) {
  canvas.saveLayer(
    Rect.fromLTWH(0, 0, width, height),
    Paint(),
  );

  // 绘制内容
  drawContent(canvas);

  // 应用混合模式
  canvas.drawColor(
    Colors.black.withOpacity(0.3),
    BlendMode.srcATop,
  );

  canvas.restore();
}
🎯 Impeller渲染管线
Flutter 3.13+引入的Impeller渲染管线通过GPU加速提升性能:
// Impeller自动优化以下场景:
// 1. 阴影渲染
// 2. 混合模式
// 3. 渐变效果
// 4. 滤镜效果

Container(
  decoration: BoxDecoration(
    boxShadow: [
      BoxShadow(
        color: Colors.black.withOpacity(0.2),
        blurRadius: 10,
        offset: const Offset(0, 5),
      ),
    ],
  ),
  child: Image.network('https://example.com/image.png'),
)
📈 五、绘制性能监控
class PaintProfiler extends RenderProxyBox {
void paint(PaintingContext context, Offset offset) {
final stopwatch = Stopwatch()..start();
super.paint(context, offset);
stopwatch.stop();
print('Paint: ${stopwatch.elapsedMicroseconds}μs');
}
}
🎓 总结
Paint流程通过图层合成和光栅化实现高效绘制。合理使用RepaintBoundary、CustomPaint等工具,结合Impeller渲染管线,可以显著提升绘制性能。
欢迎加入开源鸿蒙跨平台社区:https://openharmonycrossplatform.csdn.net

作为“人工智能6S店”的官方数字引擎,为AI开发者与企业提供一个覆盖软硬件全栈、一站式门户。
更多推荐
 12
12 0
0- 0


 已为社区贡献8条内容

所有评论(0)