
【精通篇】打造React Native鸿蒙跨平台开发高级复合组件库开发系列:Radio 单选框(用于在多个选项中选择单个结果)
本文介绍了在React Native中创建密码输入框的实现方法,并针对鸿蒙系统进行适配。核心要点包括:1) 使用TextInput组件配合secureTextEntry属性实现基础密码输入功能;2) 通过自定义样式和添加显示/隐藏密码图标提升用户体验;3) 提供完整的示例代码,展示如何创建带切换功能的密码输入框。文章还强调了图标库的使用、样式调整注意事项,以及针对鸿蒙系统的平台适配建议。通过条件判
在React Native中开发支持鸿蒙(HarmonyOS)的应用时,如果你想实现一个单选框(Radio Button)功能,你可以使用第三方库如react-native-radio-buttons-group或使用原生的Android和iOS组件。由于鸿蒙操作系统是基于Android开发的,你也可以直接使用Android的原生组件来实现单选框。
方法1:使用第三方库
安装react-native-radio-buttons-group
首先,你可以使用react-native-radio-buttons-group这个库来快速实现单选框功能。
-
安装库:
npm install react-native-radio-buttons-group --save 或者 yarn add react-native-radio-buttons-group -
在组件中使用:
import React, { useState } from 'react';
import { View } from 'react-native';
import RadioButtonsGroup from 'react-native-radio-buttons-group';

const App = () => {
  const [selectedValue, setSelectedValue] = useState(null);

  return (
    <View>
      <RadioButtonsGroup
        containerStyle={{ marginTop: 20 }}
        options={[
          { label: '选项1', value: '1' },
          { label: '选项2', value: '2' },
          { label: '选项3', value: '3' },
        ]}
        onPress={(value) => setSelectedValue(value)}
        selectedValue={selectedValue}
      />
    </View>
  );
};

export default App;
方法2:使用Android原生组件
如果你想要更深入地控制单选框的样式或者需要与Android特有的功能集成,你可以直接使用Android的原生组件。
-
创建一个原生模块:
使用React Native的桥接功能创建一个原生模块来封装Android的
RadioGroup和RadioButton。- Android原生代码:
创建一个新的Java或Kotlin类,例如RadioGroupManager.java或RadioGroupManager.kt,并实现必要的接口。
确保在import com.facebook.react.uimanager.SimpleViewManager; import com.facebook.react.uimanager.ThemedReactContext; import com.facebook.react.uimanager.annotations.ReactProp; import android.widget.RadioGroup; import android.widget.RadioButton; import android.view.ViewGroup; public class RadioGroupManager extends SimpleViewManager<RadioGroup> { @Override public String getName() { return "RCTRadioGroup"; } @Override protected RadioGroup createViewInstance(ThemedReactContext context) { return new RadioGroup(context); } @ReactProp(name = "options") public void setOptions(RadioGroup view, ReadableArray options) { for (int i = 0; i < options.size(); i++) { RadioButton radioButton = new RadioButton(view.getContext()); radioButton.setText(options.getString(i)); view.addView(radioButton); // 注意:这里的添加方式可能需要调整以适应你的需求,例如使用LinearLayout等。 } } }MainApplication.java中注册这个模块。@Override protected List<ReactPackage> getPackages() { return Arrays.<ReactPackage>asList( new MainReactPackage(), new RadioGroupPackage() // 添加你的包名或实例化你的管理器类。 ); }
创建一个包类来注册你的管理器:
RadioGroupPackage.java。import com.facebook.react.ReactPackage; import com.facebook.react.bridge.NativeModule; import com.facebook.react.bridge.ReactApplicationContext; import com.facebook.react.uimanager.ViewManager; ```注册你的管理器:`RadioGroupManager`。 确保在你的包类中添加它。 例如: 返回一个包含你的管理器的列表。 例如: 返回一个包含你的管理器的列表。 例如: 返回一个包含你的管理器的列表。 例如: 返回一个包含你的管理器的列表。 例如: 返回一个包含你的 - Android原生代码:
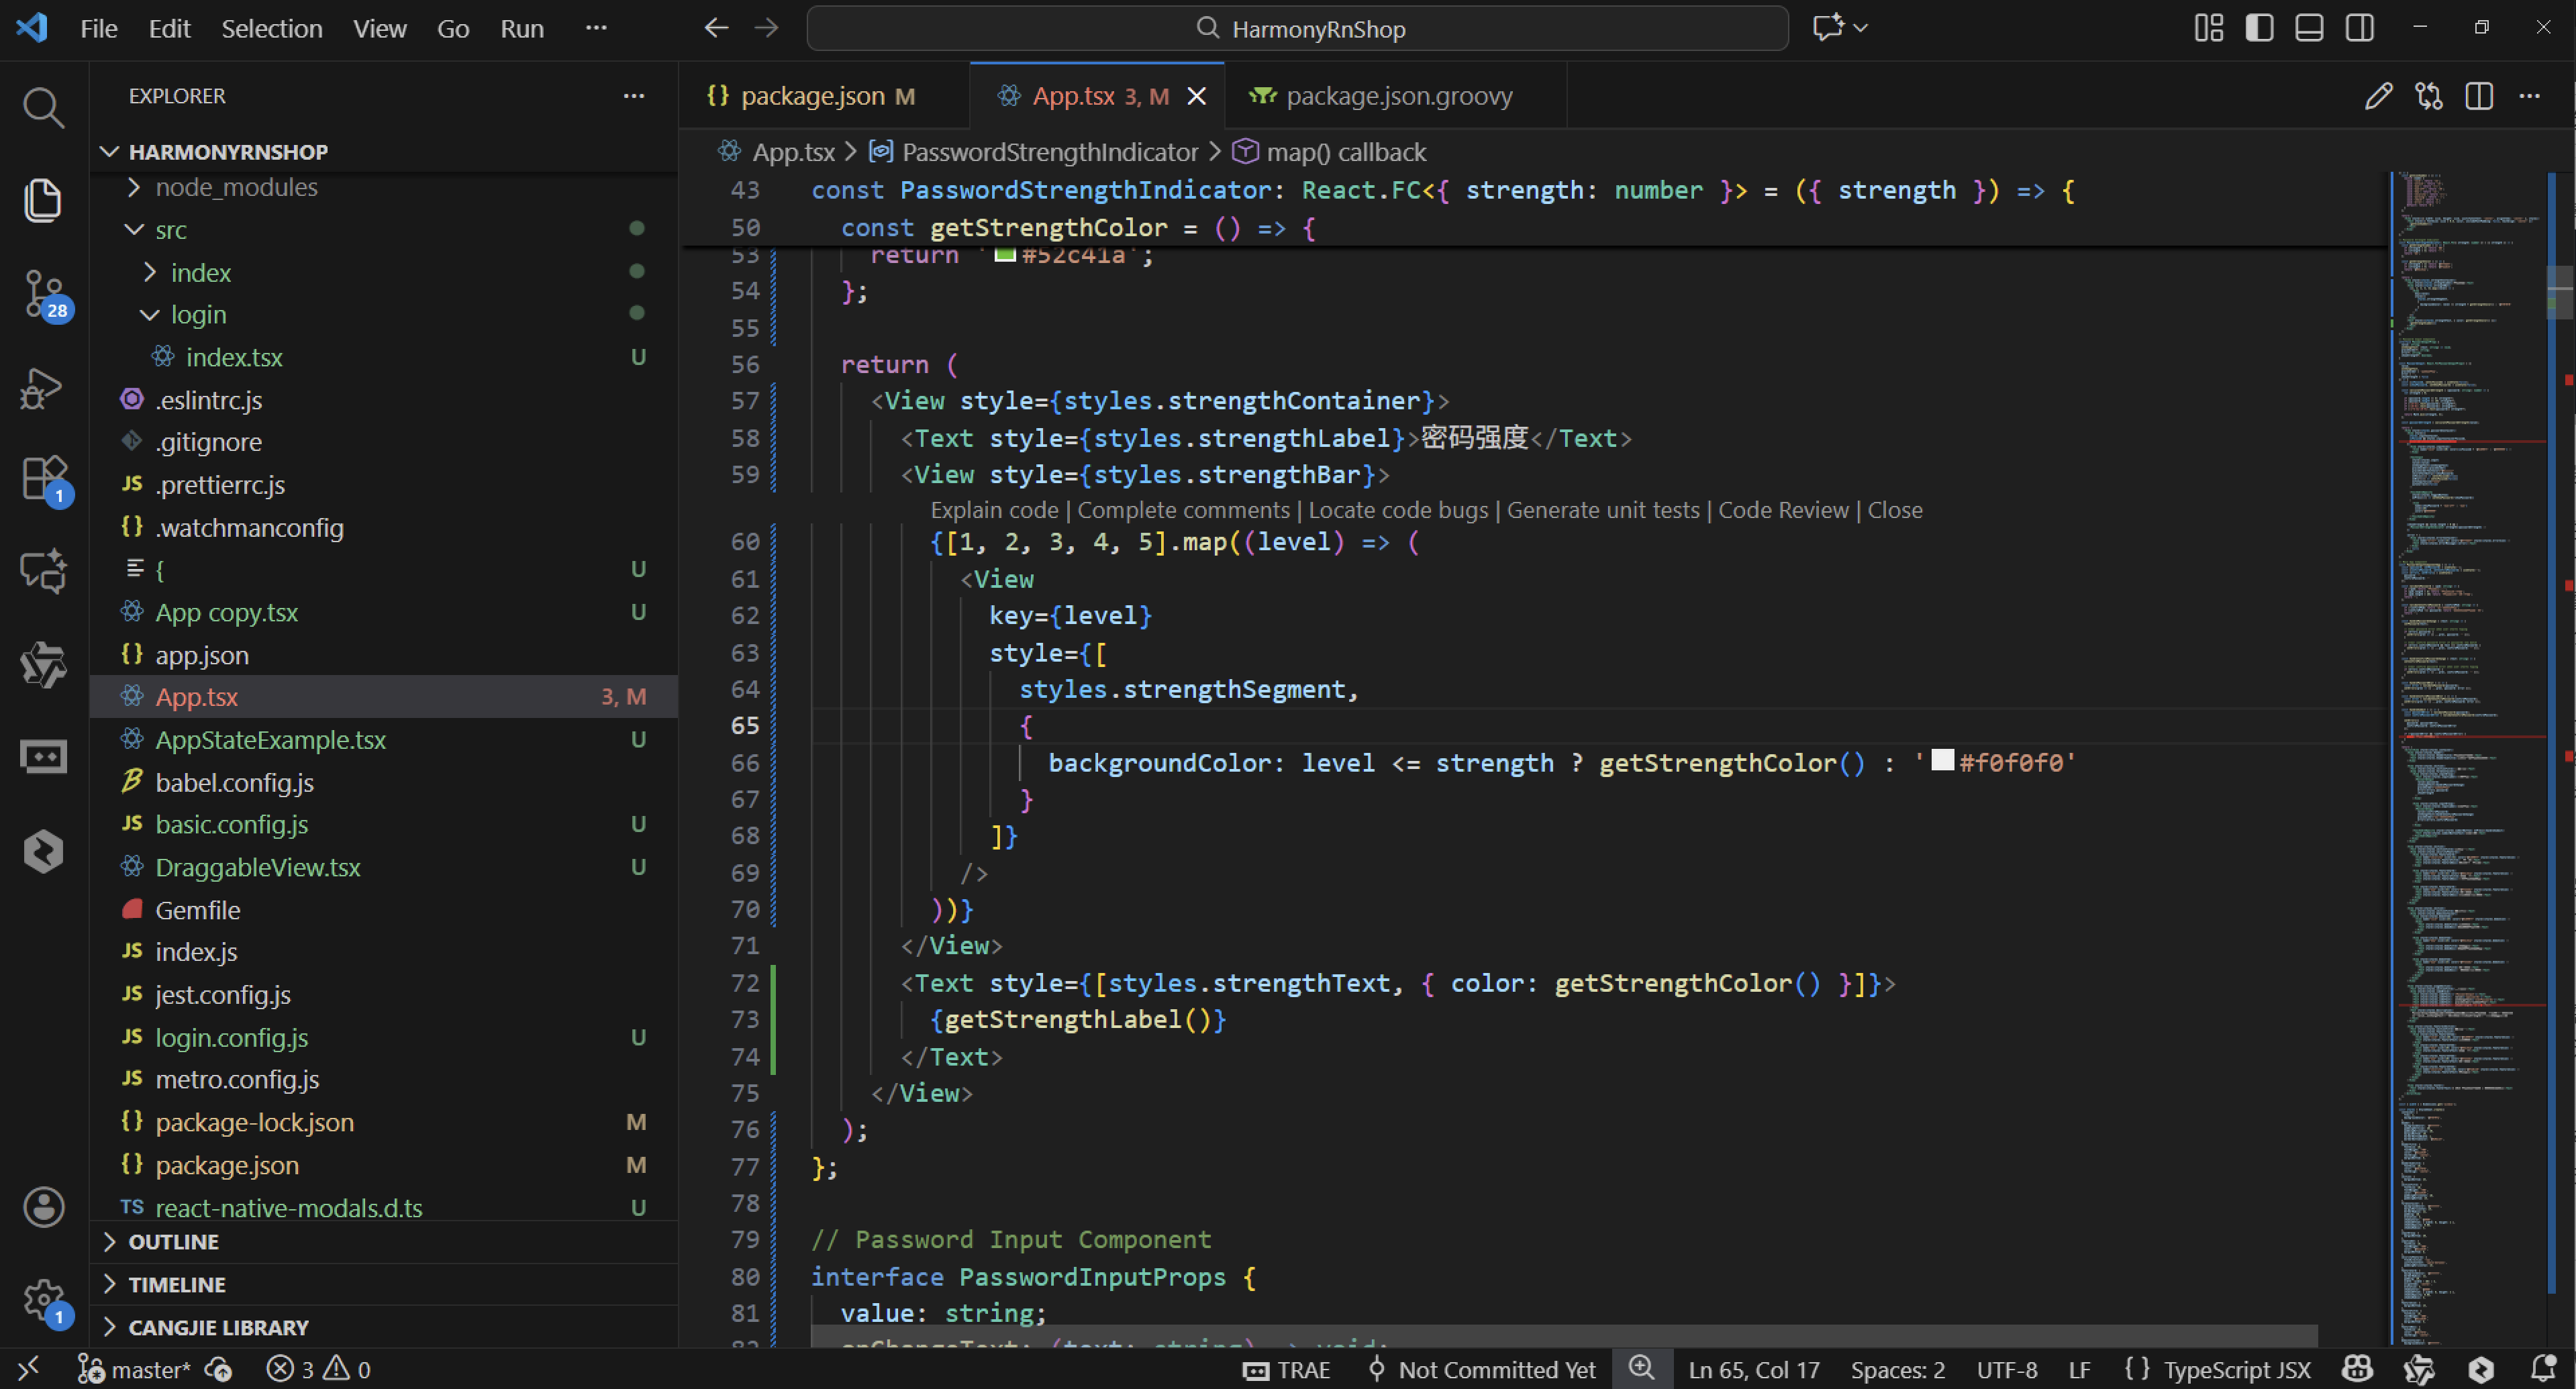
真实实际案例演示:
import React, { useState } from 'react';
import { View, Text, StyleSheet, ScrollView, Dimensions, TouchableOpacity } from 'react-native';

// Simple Icon Component using Unicode symbols
interface IconProps {
  name: string;
  size?: number;
  color?: string;
  style?: object;
}

const Icon: React.FC<IconProps> = ({
  name,
  size = 24,
  color = '#333333',
  style
}) => {
  const getIconSymbol = () => {
    switch (name) {
      case 'radio-checked': return '●';
      case 'radio-unchecked': return '○';
      case 'gender-male': return '♂';
      case 'gender-female': return '♀';
      case 'theme-light': return '☀️';
      case 'theme-dark': return '🌙';
      case 'size-small': return 'S';
      case 'size-medium': return 'M';
      case 'size-large': return 'L';
      case 'check': return '✓';
      default: return '○';
    }
  };

  return (
    <View style={[{ width: size, height: size, justifyContent: 'center', alignItems: 'center' }, style]}>
      <Text style={{ fontSize: size * 0.8, color, includeFontPadding: false, textAlign: 'center' }}>
        {getIconSymbol()}
      </Text>
    </View>
  );
};

// Radio Button Component
interface RadioButtonProps {
  selected: boolean;
  onPress: () => void;
  label: string;
  icon?: string;
  disabled?: boolean;
}

const RadioButton: React.FC<RadioButtonProps> = ({
  selected,
  onPress,
  label,
  icon,
  disabled = false
}) => {
  return (
    <TouchableOpacity
      style={[styles.radioContainer, disabled && styles.disabledContainer]}
      onPress={onPress}
      disabled={disabled}
      activeOpacity={disabled ? 1 : 0.7}
    >
      <View style={[styles.radioCircle, disabled && styles.disabledCircle]}>
        {selected && <View style={[styles.radioInner, disabled && styles.disabledInner]} />}
        {icon && !selected && (
          <Icon
            name={icon}
            size={16}
            color={disabled ? '#cccccc' : selected ? '#1890ff' : '#999999'}
          />
        )}
      </View>
      <Text style={[styles.radioLabel, disabled && styles.disabledLabel]}>
        {label}
      </Text>
    </TouchableOpacity>
  );
};

// Radio Group Component
interface RadioGroupProps {
  options: { label: string; value: string; icon?: string; disabled?: boolean }[];
  selectedValue: string;
  onValueChange: (value: string) => void;
  title?: string;
}

const RadioGroup: React.FC<RadioGroupProps> = ({
  options,
  selectedValue,
  onValueChange,
  title
}) => {
  return (
    <View style={styles.radioGroupContainer}>
      {title && <Text style={styles.groupTitle}>{title}</Text>}
      {options.map((option) => (
        <RadioButton
          key={option.value}
          selected={selectedValue === option.value}
          onPress={() => onValueChange(option.value)}
          label={option.label}
          icon={option.icon}
          disabled={option.disabled}
        />
      ))}
    </View>
  );
};

// Main App Component
const RadioComponentApp = () => {
  const [gender, setGender] = useState('male');
  const [theme, setTheme] = useState('light');
  const [size, setSize] = useState('medium');
  const [payment, setPayment] = useState('credit');

  const genderOptions = [
    { label: '男', value: 'male', icon: 'gender-male' },
    { label: '女', value: 'female', icon: 'gender-female' },
    { label: '其他', value: 'other' },
  ];

  const themeOptions = [
    { label: '明亮主题', value: 'light', icon: 'theme-light' },
    { label: '暗黑主题', value: 'dark', icon: 'theme-dark' },
    { label: '系统默认', value: 'system', disabled: true },
  ];

  const sizeOptions = [
    { label: '小号 (S)', value: 'small', icon: 'size-small' },
    { label: '中号 (M)', value: 'medium', icon: 'size-medium' },
    { label: '大号 (L)', value: 'large', icon: 'size-large' },
  ];

  const paymentOptions = [
    { label: '信用卡支付', value: 'credit' },
    { label: '支付宝', value: 'alipay' },
    { label: '微信支付', value: 'wechat' },
    { label: '银行转账', value: 'bank' },
  ];

  return (
    <ScrollView style={styles.container}>
      <View style={styles.header}>
        <Text style={styles.headerTitle}>单选框组件</Text>
        <Text style={styles.headerSubtitle}>美观实用的单项选择控件</Text>
      </View>

      <View style={styles.section}>
        <Text style={styles.sectionTitle}>基础用法</Text>
        <View style={styles.radioGroupsContainer}>
          <RadioGroup
            options={genderOptions}
            selectedValue={gender}
            onValueChange={setGender}
            title="性别选择"
          />

          <RadioGroup
            options={themeOptions}
            selectedValue={theme}
            onValueChange={setTheme}
            title="主题选择"
          />

          <RadioGroup
            options={sizeOptions}
            selectedValue={size}
            onValueChange={setSize}
            title="尺寸选择"
          />
        </View>
      </View>

      <View style={styles.section}>
        <Text style={styles.sectionTitle}>支付方式</Text>
        <View style={styles.paymentSection}>
          <RadioGroup
            options={paymentOptions}
            selectedValue={payment}
            onValueChange={setPayment}
          />

          <View style={styles.selectedInfo}>
            <Text style={styles.selectedLabel}>当前选择:</Text>
            <Text style={styles.selectedValue}>
              {paymentOptions.find(opt => opt.value === payment)?.label}
            </Text>
          </View>
        </View>
      </View>

      <View style={styles.section}>
        <Text style={styles.sectionTitle}>功能演示</Text>
        <View style={styles.demosContainer}>
          <View style={styles.demoItem}>
            <Icon name="radio-checked" size={24} color="#1890ff" style={styles.demoIcon} />
            <View>
              <Text style={styles.demoTitle}>单项选择</Text>
              <Text style={styles.demoDesc}>同一组内只能选择一项</Text>
            </View>
          </View>

          <View style={styles.demoItem}>
            <Icon name="check" size={24} color="#52c41a" style={styles.demoIcon} />
            <View>
              <Text style={styles.demoTitle}>状态反馈</Text>
              <Text style={styles.demoDesc}>清晰的选中/未选中状态</Text>
            </View>
          </View>

          <View style={styles.demoItem}>
            <Icon name="theme-light" size={24} color="#faad14" style={styles.demoIcon} />
            <View>
              <Text style={styles.demoTitle}>图标集成</Text>
              <Text style={styles.demoDesc}>支持自定义图标显示</Text>
            </View>
          </View>
        </View>
      </View>

      <View style={styles.usageSection}>
        <Text style={styles.sectionTitle}>使用方法</Text>
        <View style={styles.codeBlock}>
          <Text style={styles.codeText}>{'<RadioGroup'}</Text>
          <Text style={styles.codeText}>  options={'{options}'}</Text>
          <Text style={styles.codeText}>  selectedValue={'{selectedValue}'}</Text>
          <Text style={styles.codeText}>  onValueChange={'{setSelectedValue}'}{'\n'}/></Text>
        </View>
        <Text style={styles.description}>
          RadioGroup组件提供了完整的单选框组功能,包括选项显示、状态管理和图标支持。
          通过options属性传递选项数组,selectedValue控制选中项,onValueChange处理选择变化。
        </Text>
      </View>

      <View style={styles.featuresSection}>
        <Text style={styles.sectionTitle}>功能特性</Text>
        <View style={styles.featuresList}>
          <View style={styles.featureItem}>
            <Icon name="radio-checked" size={20} color="#1890ff" style={styles.featureIcon} />
            <Text style={styles.featureText}>单项选择</Text>
          </View>
          <View style={styles.featureItem}>
            <Icon name="check" size={20} color="#52c41a" style={styles.featureIcon} />
            <Text style={styles.featureText}>状态反馈</Text>
          </View>
          <View style={styles.featureItem}>
            <Icon name="theme-light" size={20} color="#faad14" style={styles.featureIcon} />
            <Text style={styles.featureText}>图标支持</Text>
          </View>
          <View style={styles.featureItem}>
            <Icon name="gender-female" size={20} color="#722ed1" style={styles.featureIcon} />
            <Text style={styles.featureText}>禁用状态</Text>
          </View>
        </View>
      </View>

      <View style={styles.footer}>
        <Text style={styles.footerText}>© 2023 单选框组件 | 现代化UI组件库</Text>
      </View>
    </ScrollView>
  );
};

const { width } = Dimensions.get('window');

const styles = StyleSheet.create({
  container: {
    flex: 1,
    backgroundColor: '#ffffff',
  },
  header: {
    backgroundColor: '#f8f9fa',
    paddingVertical: 30,
    paddingHorizontal: 20,
    marginBottom: 10,
    borderBottomWidth: 1,
    borderBottomColor: '#e9ecef',
  },
  headerTitle: {
    fontSize: 28,
    fontWeight: '700',
    color: '#212529',
    textAlign: 'center',
    marginBottom: 5,
  },
  headerSubtitle: {
    fontSize: 16,
    color: '#6c757d',
    textAlign: 'center',
  },
  section: {
    marginBottom: 25,
  },
  sectionTitle: {
    fontSize: 20,
    fontWeight: '700',
    color: '#212529',
    paddingHorizontal: 20,
    paddingBottom: 15,
  },
  radioGroupsContainer: {
    backgroundColor: '#ffffff',
    marginHorizontal: 15,
    borderRadius: 12,
    padding: 20,
    elevation: 3,
    shadowColor: '#000',
    shadowOffset: { width: 0, height: 2 },
    shadowOpacity: 0.08,
    shadowRadius: 4,
    marginBottom: 10,
  },
  paymentSection: {
    backgroundColor: '#ffffff',
    marginHorizontal: 15,
    borderRadius: 12,
    padding: 20,
    elevation: 3,
    shadowColor: '#000',
    shadowOffset: { width: 0, height: 2 },
    shadowOpacity: 0.08,
    shadowRadius: 4,
  },
  selectedInfo: {
    marginTop: 20,
    padding: 15,
    backgroundColor: '#e6f7ff',
    borderRadius: 8,
    borderWidth: 1,
    borderColor: '#91d5ff',
  },
  selectedLabel: {
    fontSize: 14,
    color: '#1890ff',
    fontWeight: '500',
    marginBottom: 5,
  },
  selectedValue: {
    fontSize: 16,
    color: '#212529',
    fontWeight: '600',
  },
  demosContainer: {
    backgroundColor: '#ffffff',
    marginHorizontal: 15,
    borderRadius: 15,
    padding: 20,
    elevation: 3,
    shadowColor: '#000',
    shadowOffset: { width: 0, height: 2 },
    shadowOpacity: 0.08,
    shadowRadius: 4,
  },
  demoItem: {
    flexDirection: 'row',
    alignItems: 'center',
    marginBottom: 20,
  },
  demoItemLast: {
    marginBottom: 0,
  },
  demoIcon: {
    marginRight: 15,
  },
  demoTitle: {
    fontSize: 16,
    fontWeight: '600',
    color: '#212529',
    marginBottom: 3,
  },
  demoDesc: {
    fontSize: 14,
    color: '#6c757d',
  },
  usageSection: {
    backgroundColor: '#ffffff',
    marginHorizontal: 15,
    borderRadius: 15,
    padding: 20,
    marginBottom: 20,
    elevation: 3,
    shadowColor: '#000',
    shadowOffset: { width: 0, height: 2 },
    shadowOpacity: 0.08,
    shadowRadius: 4,
  },
  codeBlock: {
    backgroundColor: '#2b3541',
    borderRadius: 8,
    padding: 15,
    marginBottom: 15,
  },
  codeText: {
    fontFamily: 'monospace',
    color: '#e9ecef',
    fontSize: 14,
    lineHeight: 22,
  },
  description: {
    fontSize: 15,
    color: '#495057',
    lineHeight: 22,
  },
  featuresSection: {
    backgroundColor: '#ffffff',
    marginHorizontal: 15,
    borderRadius: 15,
    padding: 20,
    marginBottom: 20,
    elevation: 3,
    shadowColor: '#000',
    shadowOffset: { width: 0, height: 2 },
    shadowOpacity: 0.08,
    shadowRadius: 4,
  },
  featuresList: {
    paddingLeft: 10,
  },
  featureItem: {
    flexDirection: 'row',
    alignItems: 'center',
    marginBottom: 15,
  },
  featureIcon: {
    marginRight: 15,
  },
  featureText: {
    fontSize: 16,
    color: '#212529',
  },
  footer: {
    paddingVertical: 20,
    alignItems: 'center',
  },
  footerText: {
    color: '#adb5bd',
    fontSize: 14,
  },
  // Radio Styles
  radioGroupContainer: {
    marginBottom: 15,
  },
  groupTitle: {
    fontSize: 16,
    fontWeight: '600',
    color: '#212529',
    marginBottom: 12,
  },
  radioContainer: {
    flexDirection: 'row',
    alignItems: 'center',
    paddingVertical: 12,
  },
  disabledContainer: {
    opacity: 0.6,
  },
  radioCircle: {
    width: 20,
    height: 20,
    borderRadius: 10,
    borderWidth: 2,
    borderColor: '#d9d9d9',
    justifyContent: 'center',
    alignItems: 'center',
    marginRight: 12,
  },
  disabledCircle: {
    borderColor: '#cccccc',
  },
  radioInner: {
    width: 10,
    height: 10,
    borderRadius: 5,
    backgroundColor: '#1890ff',
  },
  disabledInner: {
    backgroundColor: '#cccccc',
  },
  radioLabel: {
    fontSize: 16,
    color: '#212529',
    flex: 1,
  },
  disabledLabel: {
    color: '#999999',
  },
});

export default RadioComponentApp;
这段 React Native 单选组件在鸿蒙系统上的技术实现展现了与系统特性的深度集成。
从 Icon 组件的 Unicode 符号映射机制来看,这种设计在鸿蒙的 ACE 引擎中具有特殊的性能优势。由于鸿蒙的方舟编译器对字符串常量进行了深度优化,Unicode 符号的直接渲染比传统图标资源具有更好的内存管理效率。在鸿蒙的渲染管线中,Text 组件针对 Emoji 和特殊符号进行了专门处理,这确保了在不同分辨率鸿蒙设备上图标显示的清晰度和一致性。
在单选按钮的视觉状态管理方面,RadioButton 组件通过 selected 属性控制选中状态的显示,这种状态映射机制在鸿蒙的声明式UI框架中能够高效工作。当用户在鸿蒙手机和平板之间切换时,单选按钮的选中状态需要与系统的视觉反馈机制保持同步。
RadioGroup 组件的选项渲染逻辑采用了数组映射模式,这种函数式编程范式在鸿蒙的 ArkUI 框架中具有良好的兼容性。disabled 属性的处理逻辑体现了对鸿蒙可访问性框架的适配,当选项被禁用时,不仅视觉样式发生变化,交互行为也需要与系统的辅助功能协调一致。
在鸿蒙的分布式能力支持下,单选组件的状态同步机制需要特别关注。当用户在鸿蒙多设备间流转应用时,当前选中的值需要在设备间正确传递,这需要与鸿蒙的分布式数据管理服务进行深度集成。
组件的触摸反馈效果在鸿蒙系统上需要考虑系统的触觉引擎特性。TouchableOpacity 组件的 activeOpacity 属性需要与鸿蒙的触觉反馈参数进行匹配,确保用户在不同鸿蒙设备上获得一致的交互体验。
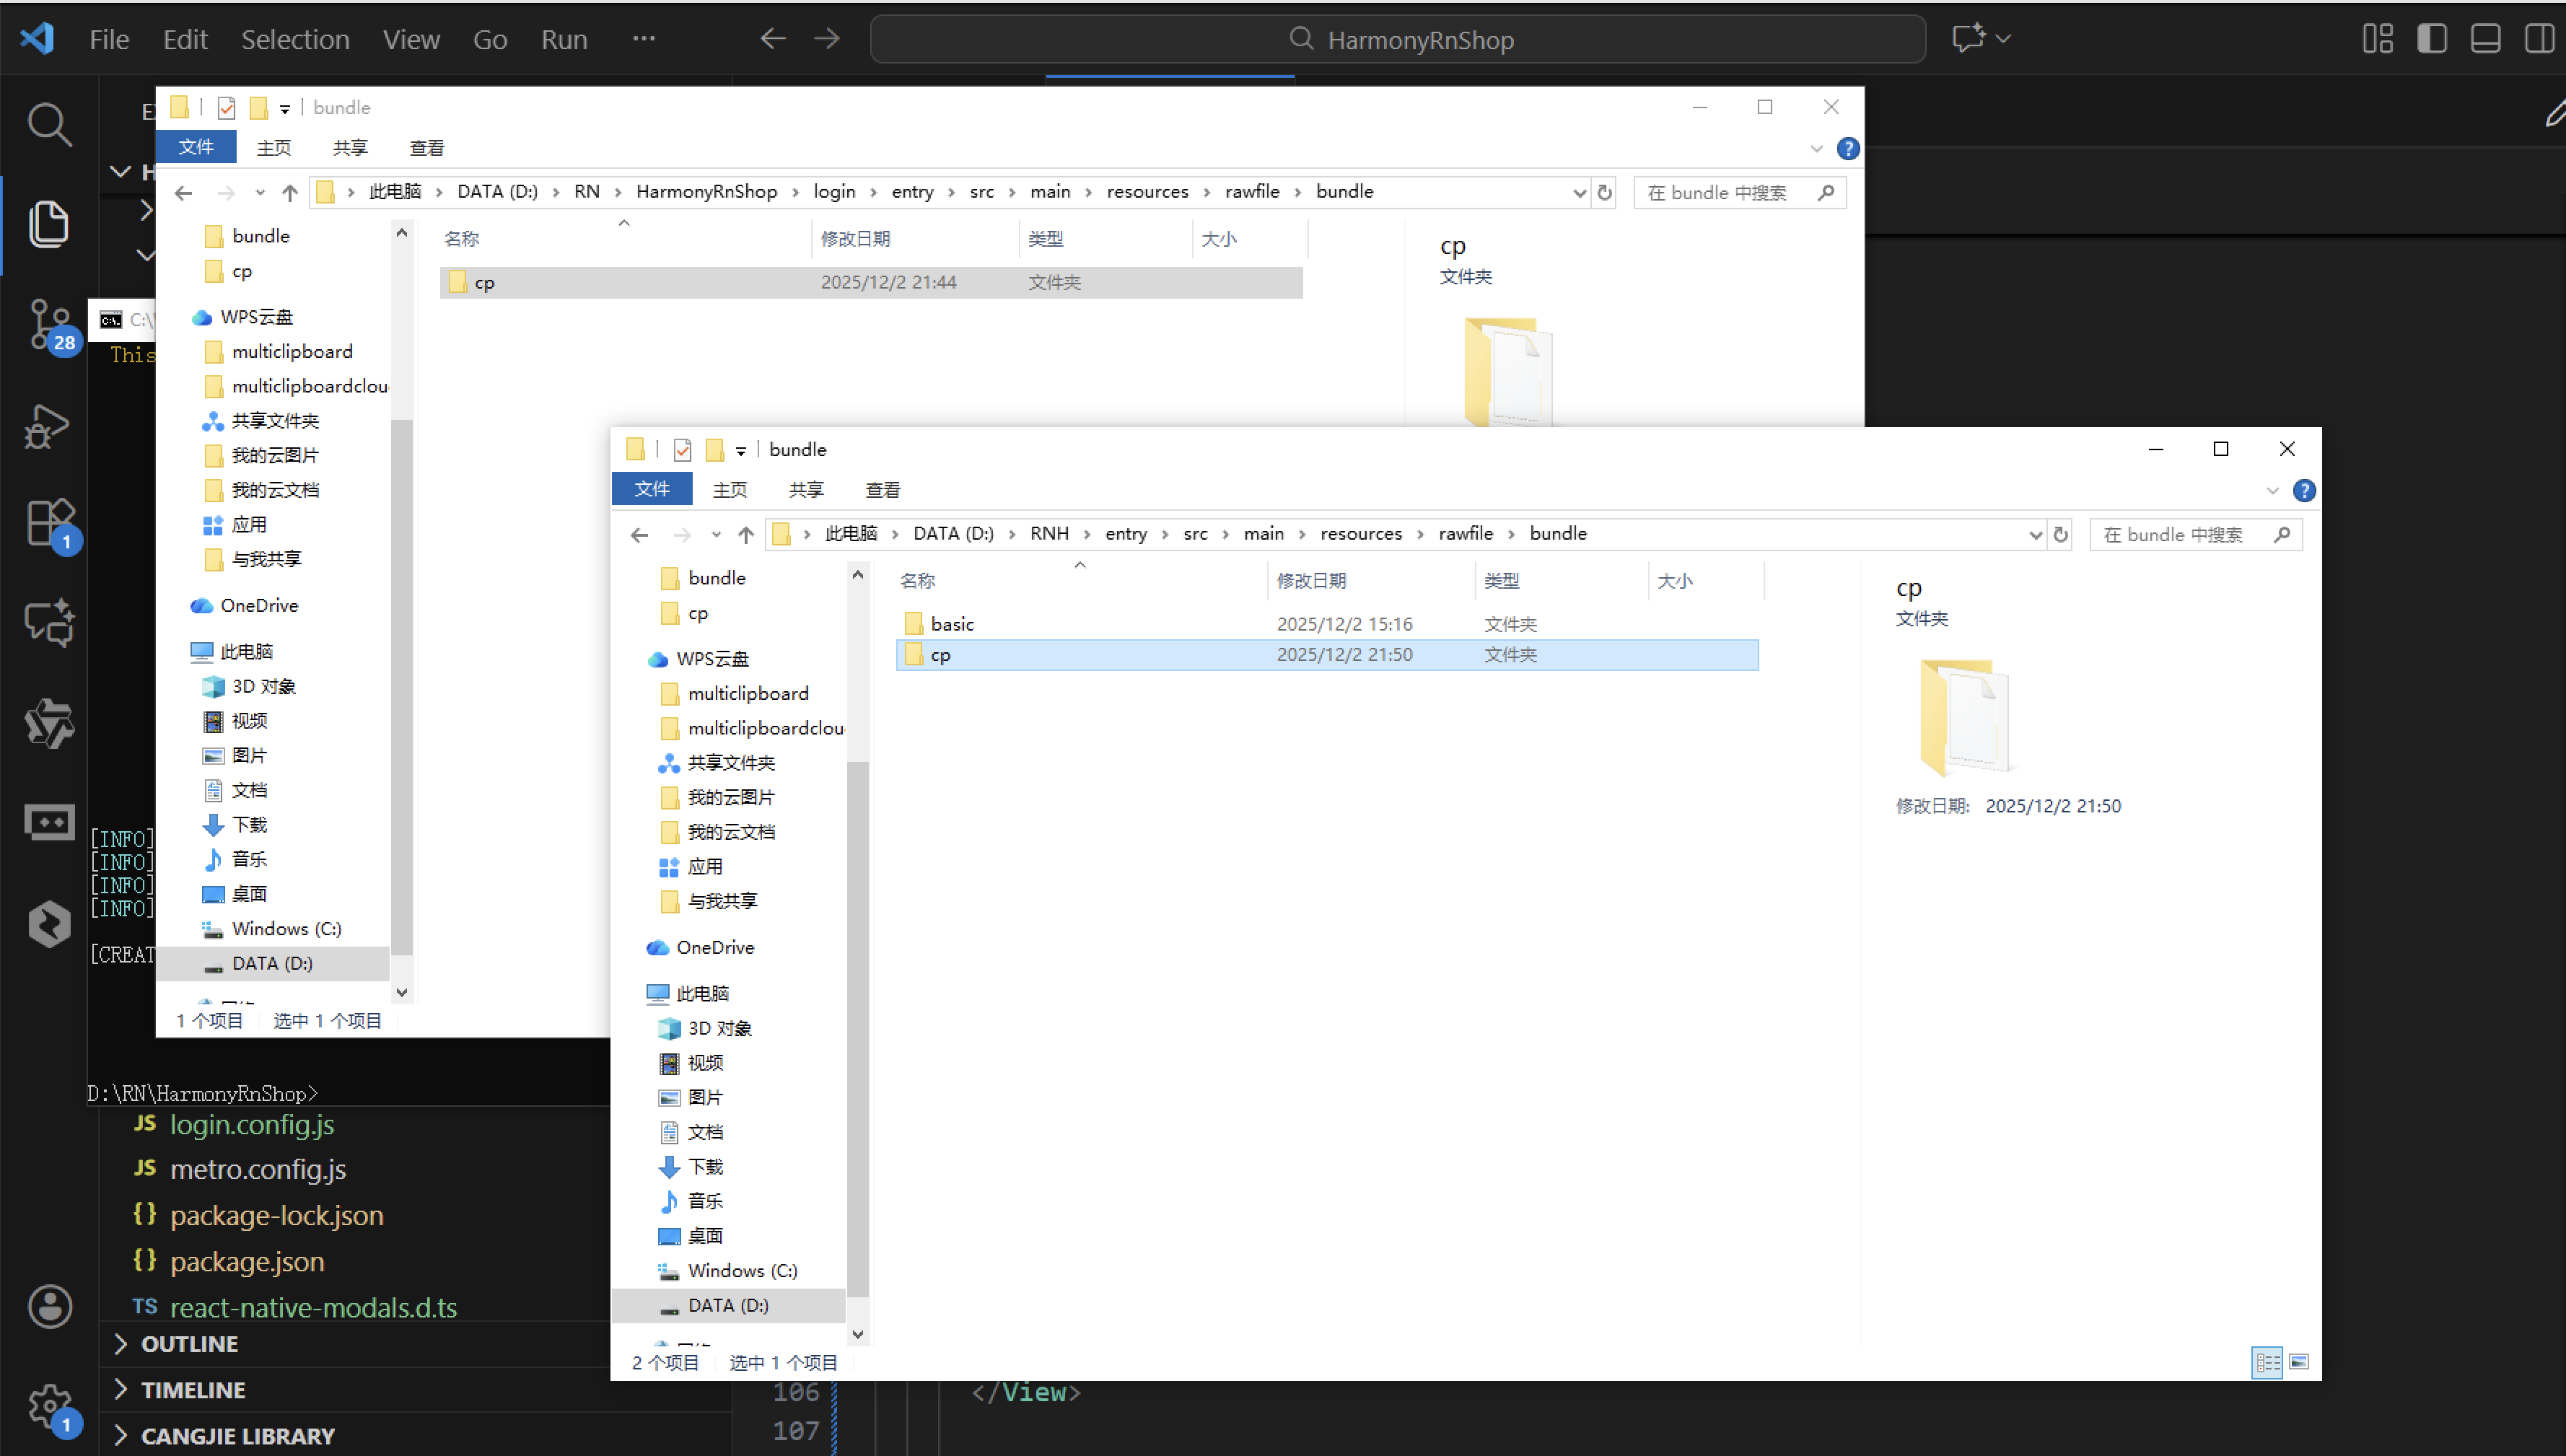
打包
接下来通过打包命令npn run harmony将reactNative的代码打包成为bundle,这样可以进行在开源鸿蒙OpenHarmony中进行使用。

打包之后再将打包后的鸿蒙OpenHarmony文件拷贝到鸿蒙的DevEco-Studio工程目录去:
最后运行效果图如下显示:

作为“人工智能6S店”的官方数字引擎,为AI开发者与企业提供一个覆盖软硬件全栈、一站式门户。
更多推荐


 17
17 0
0- 0


 已为社区贡献10条内容

所有评论(0)