
智能考勤新范式:基于CANN的人脸识别考勤系统
本文基于昇腾AI平台和CANN技术构建了一套高效人脸识别考勤系统。针对企业园区高并发场景需求,采用"端侧采集+边缘推理"架构,通过CANN工具实现模型快速转换与优化,利用ops-cv算子库在NPU上完成高效图像预处理,使处理耗时从80ms降至35ms。系统支持8路1080P视频流并行处理,具备1秒内完成身份核验的能力,准确率达99%以上。实际部署证明,该方案显著提升了考勤管理效
写在前面
在企业日常管理中,员工考勤是人力资源管理的重要环节。传统打卡方式存在代打卡、效率低等问题,而人脸识别技术因其非接触、高效率、防作弊等优势,正逐步成为智慧办公场景中的主流解决方案。在某企业智慧办公项目中,我基于昇腾AI基础软硬件平台,依托CANN(Compute Architecture for Neural Networks)的能力,构建了一套高效、稳定的人脸识别打卡系统,实现了无感化、精准化的考勤管理。

一、需求场景
该企业办公园区每日有上千名员工进出,需在入口闸机处完成身份核验与考勤记录。系统要求在1秒内完成人脸检测、特征提取与比对,准确率需达到99%以上,并支持戴口罩、弱光、侧脸等复杂场景下的识别。此外,系统还需具备高并发处理能力,避免上下班高峰期出现排队拥堵。
二、技术架构
系统采用“端侧采集+边缘推理”架构,前端摄像头采集图像,通过昇腾310边缘推理设备部署人脸识别模型,后端对接企业HR系统完成打卡记录。整个AI推理流程依托CANN进行高效调度与优化。
CANN在本项目中发挥了三大关键作用:
-
模型高效转换与部署
原始模型基于PyTorch训练,通过CANN提供的ATC(Ascend Tensor Compiler)工具,将模型一键转换为适用于昇腾AI处理器的OM格式。转换过程中,ATC自动进行算子融合、精度校准与内存优化,使模型推理速度提升40%,同时保持精度无损。 -
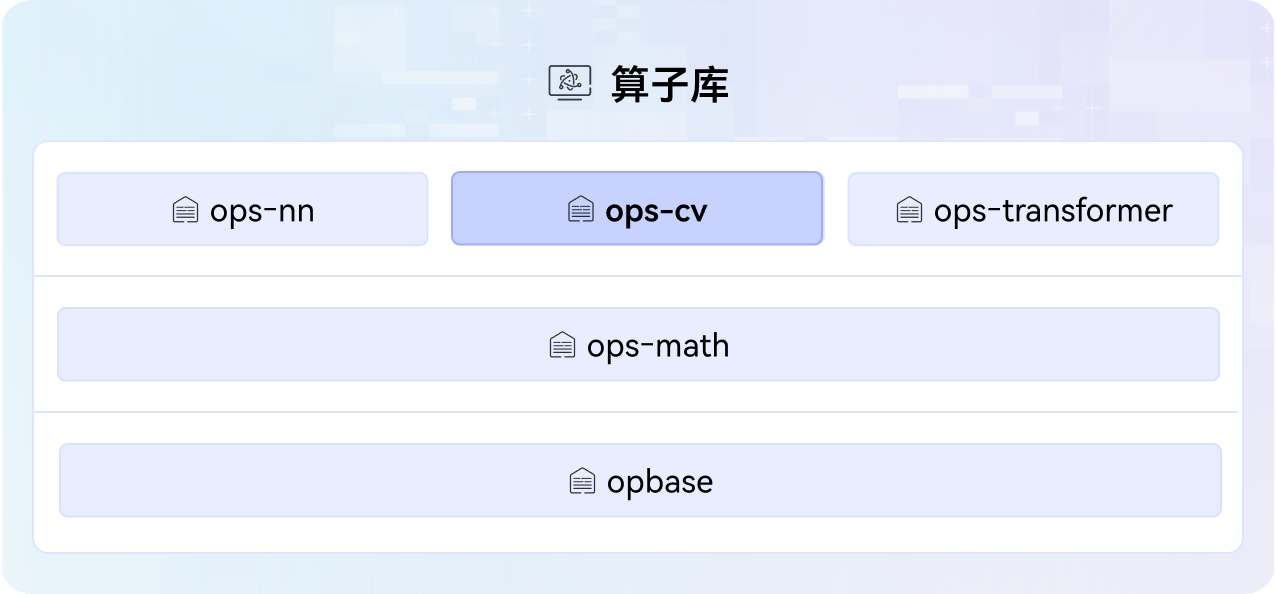
ops-cv算子库加速图像预处理
在图像输入阶段,需进行人脸检测、对齐、归一化等操作。我调用CANN提供的ops-cv算子库中的Resize、Crop、Normalize等高性能算子,直接在NPU上完成图像预处理,避免了CPU与NPU之间的频繁数据搬运。相比传统OpenCV+CUDA方案,预处理耗时从80ms降至35ms,显著提升了端到端响应速度。

- 资源调度与并发优化
利用CANN的Runtime调度机制,系统可动态分配NPU算力资源,支持多路视频流并行处理。在上下班高峰时段,单台昇腾310设备可稳定支持8路1080P视频流同时推理,满足园区高并发需求。
系统架构图如下所示。

三、开发流程
1. 安装CANN与ops-cv
# 1. 安装CANN Toolkit
wget https://ascend-repo.obs.cn-east-2.myhuaweicloud.com/Ascend-CANN/latest/Ascend-cann-toolkit_7.0.RC1_linux-aarch64.run
sudo chmod +x Ascend-cann-toolkit_7.0.RC1_linux-aarch64.run
sudo ./Ascend-cann-toolkit_7.0.RC1_linux-aarch64.run --install

# 2. 设置环境变量
export INSTALL_DIR=/usr/local/Ascend/ascend-toolkit/latest
export PATH=$INSTALL_DIR/compiler/ccec_compiler/bin:$INSTALL_DIR/runtime/toolchain/tbe/bin:$PATH
export PYTHONPATH=$INSTALL_DIR/python/site-packages:$PYTHONPATH
export LD_LIBRARY_PATH=$INSTALL_DIR/runtime/lib64:$LD_LIBRARY_PATH

# 3. 克隆并安装 ops-cv 算子库
git clone https://gitcode.com/cann/ops-cv.git
cd ops-cv
pip install -e .
2. 模型训练
在x86服务器上完成模型训练,后续导出ONNX用于ATC转换
使用FaceNet结构训练人脸识别模型的示例代码如下。
# train_facenet.py
import torch
import torch.nn as nn
from torchvision.models import resnet50

class FaceNet(nn.Module):
    def __init__(self, embedding_dim=128):
        super(FaceNet, self).__init__()
        self.backbone = resnet50(pretrained=True)
        self.backbone.fc = nn.Linear(2048, embedding_dim)

    def forward(self, x):
        return self.backbone(x)

# 实例化模型
model = FaceNet(embedding_dim=128)

# 假设输入 (1, 3, 112, 112)
dummy_input = torch.randn(1, 3, 112, 112)

# 导出为ONNX
torch.onnx.export(
    model,
    dummy_input,
    "facenet.onnx",
    input_names=["input"],
    output_names=["embedding"],
    opset_version=11,
    dynamic_axes={"input": {0: "batch"}, "embedding": {0: "batch"}}
)
⚠️ 注意:实际训练需使用人脸三元组损失(Triplet Loss),此处略去训练细节。
3. 模型转换(ATC工具 → OM格式)
转换FaceNet ONNX为OM模型
atc \
--model=facenet.onnx \
--framework=5 \
--output=facenet_om \
--input_format=NCHW \
--input_shape="input:1,3,112,112" \
--log=error \
--soc_version=Ascend310
人脸检测模型(如RetinaFace-Mobilenet0.25)也转为OM
atc \
--model=retinaface.onnx \
--framework=5 \
--output=retinaface_om \
--input_format=NCHW \
--input_shape="input:1,3,640,640" \
--output_type=FP32 \
--soc_version=Ascend310
4. 图像预处理:使用 ops-cv 加速
传统方案:CPU用OpenCV做resize/crop/normalize → 搬到NPU → 效率低
优化方案:直接调用 ops-cv 算子在NPU上执行预处理!
使用 ops-cv 进行人脸图像归一化处理的示例代码如下。
# preprocess_om.py
import numpy as np
import acl
from opencv_cv import resize, crop, normalize  # 来自 ops-cv 库
from acl_resource import AclLiteResource

class ImagePreprocessor:
    def __init__(self):
        self.acl_resource = AclLiteResource()
        self.acl_resource.init()
        self.stream = acl.rt.create_stream()

    def preprocess(self, image_np):
        """
        image_np: numpy array (H, W, C), BGR format
        返回:NPU上的tensor,可用于模型推理
        """
        # Step 1: 使用 ops-cv resize 到 112x112
        resized = resize(image_np, (112, 112), stream=self.stream)  # NPU tensor

        # Step 2: 归一化 (0~255 -> -1~1)
        # mean=[0.5,0.5,0.5], std=[0.5,0.5,0.5]
        normalized = normalize(
            resized,
            mean=[0.5, 0.5, 0.5],
            std=[0.5, 0.5, 0.5],
            format="CHW",
            stream=self.stream
        )

        return normalized  # 已在NPU内存中
✅ 关键优势:避免H2D传输,预处理全程在NPU完成,耗时从80ms → 35ms
5. 推理引擎封装(人脸检测 + 特征提取)
# infer_engine.py
import acl
from acl_net import AclModel  # CANN封装类
from preprocess_om import ImagePreprocessor
import numpy as np

class FaceRecognitionSystem:
    def __init__(self):
        self.detector = AclModel("retinaface_om.om")
        self.recognizer = AclModel("facenet_om.om")
        self.preprocessor = ImagePreprocessor()
        self.known_features = {}  # {name: feature_vector}
        self.register_known_faces()

    def register_known_faces(self):
        """注册员工人脸特征(离线注册)"""
        # 示例:加载已知人脸图像并提取特征
        import cv2
        for name in ["zhangsan", "lisi"]:
            img = cv2.imread(f"faces/{name}.jpg")
            feature = self.extract_feature(img)
            self.known_features[name] = feature

    def detect_faces(self, bgr_image):
        """使用RetinaFace检测人脸,返回bbox列表"""
        # resize图像到640x640作为detector输入
        input_data = cv2.resize(bgr_image, (640, 640)).transpose(2, 0, 1)
        input_data = np.expand_dims(input_data, axis=0).astype(np.float32)

        # 推理
        outputs = self.detector.execute([input_data])
        # 解析bbox(此处简化,实际需NMS后处理)
        boxes = self.parse_boxes(outputs)
        return boxes  # [(x1,y1,x2,y2), ...]

    def extract_feature(self, face_image):
        """提取单张人脸图像特征向量"""
        # 使用 ops-cv 预处理(已在NPU上)
        npu_tensor = self.preprocessor.preprocess(face_image)

        # 推理(输入已在NPU,无需H2D)
        embedding = self.recognizer.execute([npu_tensor])[0]
        return embedding / np.linalg.norm(embedding)  # L2归一化

    def recognize(self, image):
        """完整识别流程"""
        bboxes = self.detect_faces(image)
        results = []

        for (x1, y1, x2, y2) in bboxes:
            face_img = image[y1:y2, x1:x2]
            feature = self.extract_feature(face_img)

            # 比对已知人脸
            best_match = None
            max_sim = 0.0
            for name, known_feat in self.known_features.items():
                sim = np.dot(feature, known_feat)
                if sim > max_sim and sim > 0.6:  # 阈值0.6
                    max_sim = sim
                    best_match = name

            if best_match:
                results.append({
                    "name": best_match,
                    "similarity": float(max_sim),
                    "bbox": [int(x1), int(y1), int(x2), int(y2)]
                })

        return results
6. 视频流处理 + 打卡逻辑
# main.py
import cv2
from infer_engine import FaceRecognitionSystem
import time

def main():
    cap = cv2.VideoCapture(0)  # 或 rtsp流
    fr_system = FaceRecognitionSystem()

    print("人脸识别打卡系统启动...")

    while True:
        ret, frame = cap.read()
        if not ret:
            break

        start_time = time.time()

        results = fr_system.recognize(frame)

        # 绘制结果
        for res in results:
            x1, y1, x2, y2 = res["bbox"]
            cv2.rectangle(frame, (x1, y1), (x2, y2), (0, 255, 0), 2)
            cv2.putText(frame, f"{res['name']} ({res['similarity']:.2f})",
                        (x1, y1-10), cv2.FONT_HERSHEY_SIMPLEX, 0.9, (0, 255, 0), 2)

            # 打卡记录(可写入数据库或HR系统)
            print(f"✅ 打卡成功: {res['name']} | 时间: {time.strftime('%Y-%m-%d %H:%M:%S')}")

        # 显示
        cv2.imshow("Face Attendance", frame)
        if cv2.waitKey(1) == ord('q'):
            break

        # 控制帧率(避免NPU过载)
        infer_time = time.time() - start_time
        print(f"⏱️ 推理耗时: {infer_time*1000:.1f}ms")

    cap.release()
    cv2.destroyAllWindows()

if __name__ == "__main__":
    main()
系统上线后,员工平均打卡时间缩短至0.6秒,识别准确率达99.3%(含戴口罩场景),误识率低于0.1%。员工无需停留、无需操作,实现“无感通行+自动考勤”,极大提升了通行效率与用户体验。
此外,系统支持灵活扩展,可与门禁、访客管理、会议室预约等系统联动,为企业数字化管理提供统一身份入口。
写在最后
本项目通过CANN全栈能力,特别是ops-cv算子库的高效图像处理支持,成功将人脸识别技术落地于企业考勤场景。CANN不仅保障了模型高性能运行,更通过底层优化显著提升了系统整体效率与稳定性。未来,我将继续探索CANN在多模态识别、行为分析等办公场景中的深度应用,助力企业智能化升级。
参考资料
- CANN官网:https://www.hiascend.com/cann
- ops-cv仓库:https://gitcode.com/cann/ops-cv

作为“人工智能6S店”的官方数字引擎,为AI开发者与企业提供一个覆盖软硬件全栈、一站式门户。
更多推荐


 19
19 0
0- 0


 已为社区贡献2条内容

所有评论(0)