
网络拦截器 - Flutter在鸿蒙平台处理HTTP请求
·
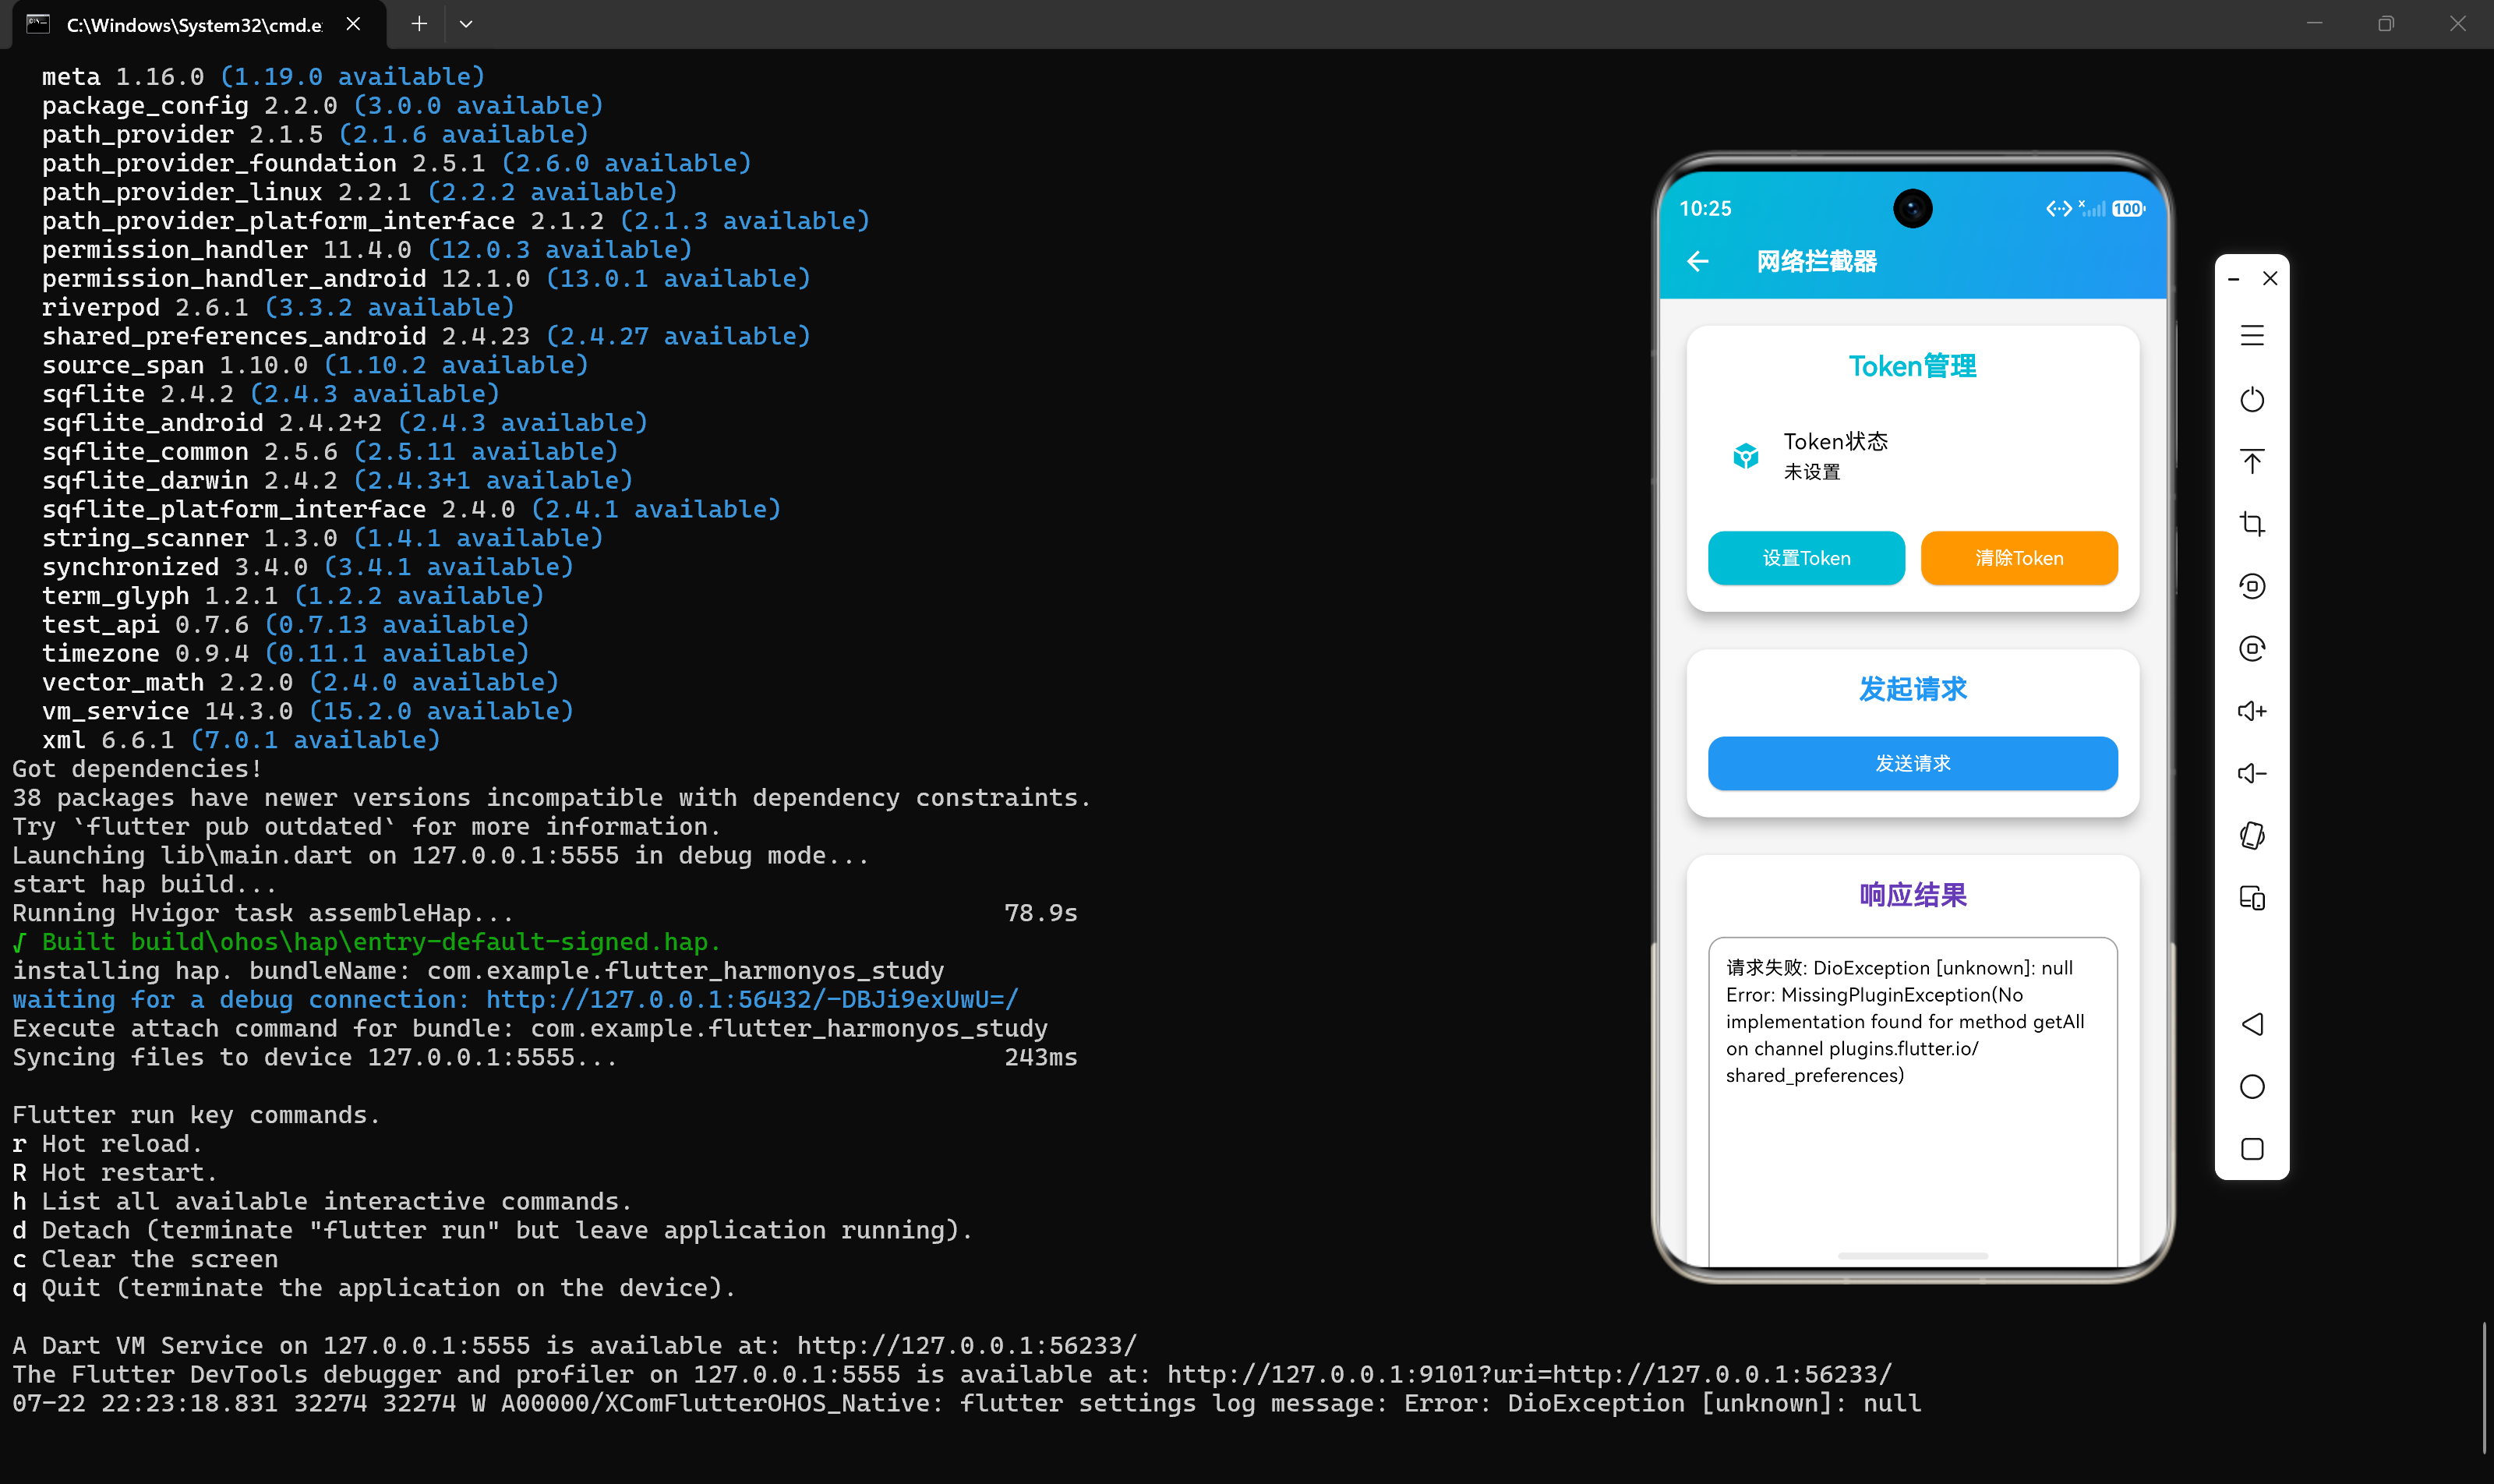
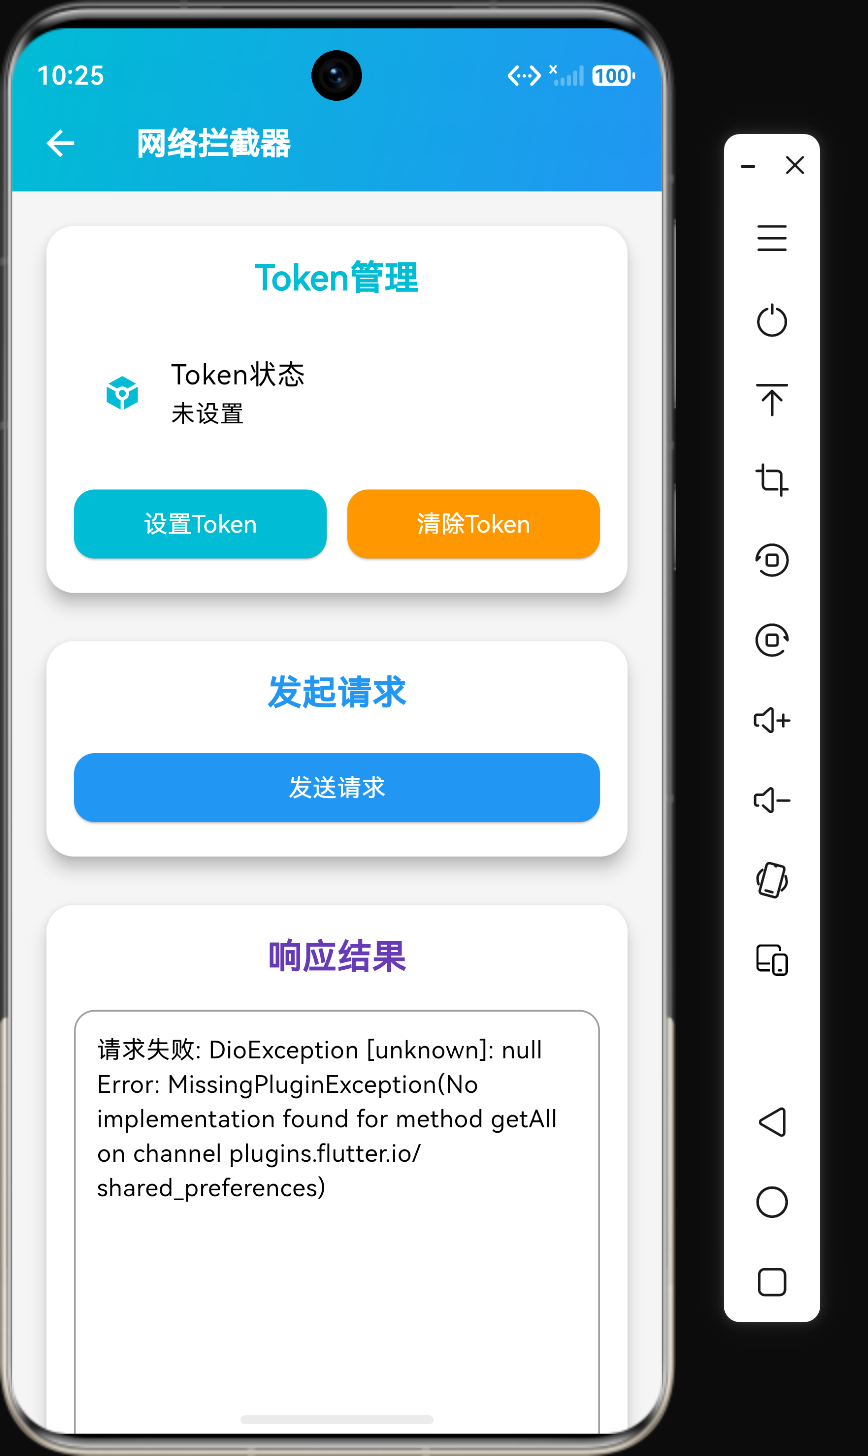
概述
在Flutter应用开发中,网络请求是不可或缺的一部分。为了统一处理HTTP请求的认证、日志、错误处理等逻辑,使用拦截器是一个很好的实践。Dio库提供了强大的拦截器机制,可以在请求发送前、响应返回后、错误发生时进行统一处理。
本文将详细介绍网络拦截器的核心概念、使用方法、高级特性以及在鸿蒙平台上的实现细节。
核心概念
什么是网络拦截器
网络拦截器是一种中间件机制,允许在HTTP请求的各个阶段插入自定义逻辑:
| 阶段 | 拦截器类型 | 作用 |
|---|---|---|
| 请求发送前 | 请求拦截器 | 添加认证信息、日志记录、参数加密 |
| 响应返回后 | 响应拦截器 | 数据解析、日志记录、错误处理 |
| 错误发生时 | 错误拦截器 | 错误重试、错误转换、错误上报 |
拦截器的优势
- 代码复用:将通用逻辑抽离到拦截器中
- 统一处理:集中处理认证、日志、错误等逻辑
- 易于维护:修改逻辑只需改动拦截器
- 解耦合:业务代码与网络层解耦
拦截器链
多个拦截器可以组成一个拦截器链,按照顺序执行:
请求 → 拦截器1 → 拦截器2 → ... → 服务器
响应 → 拦截器n → 拦截器n-1 → ... → 业务代码
基本使用
安装依赖
dependencies:
  dio: ^5.4.0
创建请求拦截器
import 'package:dio/dio.dart';
class AuthInterceptor extends Interceptor {
void onRequest(RequestOptions options, RequestInterceptorHandler handler) {
options.headers['Authorization'] = 'Bearer token';
super.onRequest(options, handler);
}
}
创建响应拦截器
class LoggingInterceptor extends Interceptor {
void onResponse(Response response, ResponseInterceptorHandler handler) {
print('RESPONSE: ${response.data}');
super.onResponse(response, handler);
}
}
添加拦截器到Dio
final dio = Dio();
dio.interceptors.add(AuthInterceptor());
dio.interceptors.add(LoggingInterceptor());
核心代码示例
代码示例1:认证拦截器
import 'package:dio/dio.dart';
import 'package:shared_preferences/shared_preferences.dart';
class AuthInterceptor extends Interceptor {
void onRequest(RequestOptions options, RequestInterceptorHandler handler) async {
final prefs = await SharedPreferences.getInstance();
final token = prefs.getString('access_token');
if (token != null) {
options.headers['Authorization'] = 'Bearer $token';
}
options.headers['Content-Type'] = 'application/json';
super.onRequest(options, handler);
}
void onResponse(Response response, ResponseInterceptorHandler handler) {
if (response.statusCode == 401) {
}
super.onResponse(response, handler);
}
void onError(DioException err, ErrorInterceptorHandler handler) {
if (err.response?.statusCode == 401) {
}
super.onError(err, handler);
}
}
代码说明:
- 请求拦截:在请求发送前添加认证token和Content-Type
- 响应拦截:处理401状态码(token过期)
- 错误拦截:处理请求错误时的401状态码
- 异步操作:使用SharedPreferences获取token
代码示例2:日志拦截器
class LoggingInterceptor extends Interceptor {
void onRequest(RequestOptions options, RequestInterceptorHandler handler) {
print('REQUEST[${options.method}] => PATH: ${options.path}');
print('HEADERS: ${options.headers}');
if (options.data != null) {
print('BODY: ${options.data}');
}
super.onRequest(options, handler);
}
void onResponse(Response response, ResponseInterceptorHandler handler) {
print('RESPONSE[${response.statusCode}] => PATH: ${response.requestOptions.path}');
print('DATA: ${response.data}');
super.onResponse(response, handler);
}
void onError(DioException err, ErrorInterceptorHandler handler) {
print('ERROR[${err.response?.statusCode}] => PATH: ${err.requestOptions.path}');
print('ERROR: $err');
super.onError(err, handler);
}
}
代码说明:
- 请求日志:记录请求方法、路径、头信息和请求体
- 响应日志:记录响应状态码、路径和响应数据
- 错误日志:记录错误状态码、路径和错误信息
- 调试方便:帮助开发者调试网络请求
代码示例3:API客户端封装
import 'package:dio/dio.dart';

class ApiClient {
  static late Dio _dio;

  static void init() {
    _dio = Dio(BaseOptions(
      baseUrl: 'https://api.example.com',
      connectTimeout: const Duration(seconds: 10),
      receiveTimeout: const Duration(seconds: 10),
    ));

    _dio.interceptors.add(AuthInterceptor());
    _dio.interceptors.add(LoggingInterceptor());
    _dio.interceptors.add(RetryInterceptor(
      dio: _dio,
      options: const RetryOptions(
        retries: 3,
        retryInterval: Duration(seconds: 1),
        retryEvaluator: _defaultRetryEvaluator,
      ),
    ));
  }

  static bool _defaultRetryEvaluator(DioException error) {
    return error.type == DioExceptionType.connectionTimeout ||
        error.type == DioExceptionType.receiveTimeout ||
        error.type == DioExceptionType.sendTimeout;
  }

  static Dio get instance => _dio;

  static Future<Response> get(String path, {Map<String, dynamic>? queryParameters}) async {
    return await _dio.get(path, queryParameters: queryParameters);
  }

  static Future<Response> post(String path, {dynamic data}) async {
    return await _dio.post(path, data: data);
  }

  static Future<Response> put(String path, {dynamic data}) async {
    return await _dio.put(path, data: data);
  }

  static Future<Response> delete(String path) async {
    return await _dio.delete(path);
  }
}
代码说明:
- 单例模式:使用静态实例避免重复创建
- 基础配置:设置baseUrl、超时时间
- 拦截器链:添加认证、日志、重试拦截器
- 请求方法:封装GET、POST、PUT、DELETE方法
- 重试逻辑:对超时错误自动重试3次
代码示例4:错误处理拦截器
class ErrorInterceptor extends Interceptor {
void onError(DioException err, ErrorInterceptorHandler handler) {
final errorMessage = _getErrorMessage(err);
print('Error: $errorMessage');
final customError = ApiError(
code: err.response?.statusCode ?? -1,
message: errorMessage,
originalError: err,
);
handler.reject(DioException(
requestOptions: err.requestOptions,
error: customError,
type: err.type,
response: err.response,
));
}
String _getErrorMessage(DioException err) {
switch (err.type) {
case DioExceptionType.connectionTimeout:
return '连接超时';
case DioExceptionType.sendTimeout:
return '发送超时';
case DioExceptionType.receiveTimeout:
return '接收超时';
case DioExceptionType.badResponse:
return '服务器错误 ${err.response?.statusCode}';
case DioExceptionType.cancel:
return '请求已取消';
case DioExceptionType.connectionError:
return '网络连接错误';
default:
return '未知错误';
}
}
}
class ApiError {
final int code;
final String message;
final DioException originalError;
ApiError({
required this.code,
required this.message,
required this.originalError,
});
}
代码说明:
- 错误转换:将DioException转换为自定义ApiError
- 错误消息:根据错误类型提供友好的错误消息
- 错误信息:保存原始错误信息便于调试
- 错误码:提取HTTP状态码
高级特性
1. 请求重试
dio.interceptors.add(RetryInterceptor(
  dio: dio,
  options: const RetryOptions(
    retries: 3,
    retryInterval: Duration(seconds: 1),
    retryEvaluator: (error) => error.type == DioExceptionType.connectionTimeout,
  ),
));
2. 请求缓存
class CacheInterceptor extends Interceptor {
final Map<String, Response> _cache = {};
void onRequest(RequestOptions options, RequestInterceptorHandler handler) {
if (options.method == 'GET') {
final cachedResponse = _cache[options.path];
if (cachedResponse != null) {
handler.resolve(cachedResponse);
return;
}
}
handler.next(options);
}
void onResponse(Response response, ResponseInterceptorHandler handler) {
if (response.requestOptions.method == 'GET') {
_cache[response.requestOptions.path] = response;
}
handler.next(response);
}
}
3. 请求限流
class RateLimitInterceptor extends Interceptor {
int _requestCount = 0;
DateTime? _lastResetTime;
void onRequest(RequestOptions options, RequestInterceptorHandler handler) {
final now = DateTime.now();
if (_lastResetTime == null || now.difference(_lastResetTime!) > const Duration(seconds: 1)) {
_requestCount = 0;
_lastResetTime = now;
}
if (_requestCount >= 10) {
handler.reject(DioException(
requestOptions: options,
error: 'Rate limit exceeded',
));
} else {
_requestCount++;
handler.next(options);
}
}
}
4. 参数加密
class EncryptionInterceptor extends Interceptor {
void onRequest(RequestOptions options, RequestInterceptorHandler handler) {
if (options.data != null) {
options.data = _encrypt(options.data);
}
handler.next(options);
}
dynamic _encrypt(dynamic data) {
return data;
}
}
在鸿蒙平台的实现
鸿蒙平台适配
鸿蒙平台对Flutter网络请求的支持与Android类似,因为鸿蒙兼容Android应用。需要注意以下几点:
- 网络权限:需要在
module.json5中声明网络权限 - HTTPS支持:鸿蒙平台支持HTTPS请求
- 网络代理:可以配置网络代理进行调试
鸿蒙平台权限配置
在module.json5中配置网络权限:
{
  "module": {
    "requestPermissions": [
      {
        "name": "ohos.permission.INTERNET",
        "reason": "需要网络权限发送HTTP请求",
        "usedScene": {
          "ability": [
            {
              "name": "MainAbility",
              "when": "inuse"
            }
          ],
          "permissionFlags": [
            "grantMode:system_grant"
          ]
        }
      }
    ]
  }
}
鸿蒙平台注意事项
- 网络安全:鸿蒙平台要求使用HTTPS连接
- 证书验证:需要正确配置SSL证书
- 代理配置:调试时可以配置网络代理
性能对比
| 操作 | 无拦截器 | 有拦截器 |
|---|---|---|
| 请求时间 | 正常 | 略有增加(毫秒级) |
| 代码复杂度 | 高(重复逻辑) | 低(统一处理) |
| 可维护性 | 差 | 好 |
最佳实践
1. 封装API客户端
将所有网络请求封装在API客户端中:
class ApiClient {
  static Future<User> getUser(int id) async {
    final response = await _dio.get('/users/$id');
    return User.fromJson(response.data);
  }

  static Future<List<User>> getUsers() async {
    final response = await _dio.get('/users');
    return (response.data as List).map((e) => User.fromJson(e)).toList();
  }
}
2. 统一错误处理
在错误拦截器中统一处理错误:
class ErrorInterceptor extends Interceptor {
void onError(DioException err, ErrorInterceptorHandler handler) {
final error = _handleError(err);
handler.reject(error);
}
DioException _handleError(DioException err) {
// 统一错误处理逻辑
return err;
}
}
3. 合理使用拦截器
根据需求选择合适的拦截器:
dio.interceptors.add(AuthInterceptor());
dio.interceptors.add(LoggingInterceptor());
dio.interceptors.add(ErrorInterceptor());
4. 避免重复拦截
不要在多个地方添加相同的拦截器:
// 错误示例
dio.interceptors.add(AuthInterceptor());
dio.interceptors.add(AuthInterceptor()); // 重复添加
5. 测试拦截器
编写测试用例验证拦截器功能:
void main() {
  test('AuthInterceptor adds token', () async {
    final dio = Dio();
    dio.interceptors.add(AuthInterceptor());

    // 测试拦截器是否正确添加token
  });
}
常见问题
Q1: 拦截器不生效怎么办?
A:检查以下几点:
- 是否正确添加了拦截器到Dio实例
- 拦截器的顺序是否正确
- 是否调用了handler.next()或handler.resolve()
Q2: 如何在拦截器中获取上下文?
A:可以通过RequestOptions的extra参数传递上下文:
dio.get('/users', options: Options(extra: {'context': context}));
Q3: 拦截器可以异步操作吗?
A:可以,请求拦截器支持异步操作:
void onRequest(RequestOptions options, RequestInterceptorHandler handler) async {
final token = await getToken();
options.headers['Authorization'] = token;
handler.next(options);
}
Q4: 如何取消请求?
A:使用CancelToken取消请求:
final cancelToken = CancelToken();
dio.get('/users', cancelToken: cancelToken);
cancelToken.cancel('Request cancelled');
Q5: 如何处理HTTPS证书问题?
A:可以通过配置Dio的HttpClientAdapter来处理:
dio.httpClientAdapter = Http2Adapter(
  ConnectionManager(
    idleTimeout: const Duration(seconds: 10),
  ),
);
总结
网络拦截器是Flutter应用中处理HTTP请求的重要机制,通过Dio库的拦截器可以实现认证、日志、错误处理等统一逻辑。在鸿蒙平台上,网络拦截器的实现与Android类似,但需要注意网络权限和HTTPS配置。
选择合适的拦截器需要根据应用需求来决定:
| 拦截器 | 适用场景 | 特点 |
|---|---|---|
| 认证拦截器 | 需要登录的应用 | 自动添加认证信息 |
| 日志拦截器 | 开发调试 | 记录请求和响应信息 |
| 错误拦截器 | 所有应用 | 统一错误处理 |
| 重试拦截器 | 不稳定网络 | 自动重试失败请求 |
希望本文能帮助你更好地理解和使用网络拦截器在Flutter应用中处理HTTP请求。

作为“人工智能6S店”的官方数字引擎,为AI开发者与企业提供一个覆盖软硬件全栈、一站式门户。
更多推荐


 1
1 0
0- 0


 已为社区贡献96条内容

所有评论(0)