
React Native鸿蒙跨平台采用了条件渲染技术,根据isLoggedIn状态动态切换界面元素。展开运算符确保了状态更新的原子性
本文分析的是一个基于React Native构建的科技新闻应用,集成了用户认证、动态内容展示和多层级导航等核心功能。该应用采用了现代化的UI设计、状态管理机制和安全的表单处理,展现了信息类应用的典型技术架构。在鸿蒙OS的跨端适配场景中,这种涉及用户认证和动态内容展示的应用具有重要的技术参考价值。
概述
这个页面以“登录弹窗 + 新闻列表 + 底部导航”为骨架,核心技术点围绕模态交互、表单输入治理、认证流程的可扩展性,以及列表渲染与跨端桥接的一致性。重点是把 React Native 的组件语义与鸿蒙 ArkUI 的能力映射起来,让弹窗、输入、列表、导航在两端既一致又可维护。
模态交互的工程化设计
- 登录弹窗使用 Modal 承载,transparent + fade 的组合实现遮罩与入场动画,onRequestClose 处理 Android 返回;在鸿蒙端建议统一为 Dialog/CustomDialog,保持焦点顺序、返回手势、无障碍语义一致
- 关闭按钮、标题、副标题、输入区与操作区在弹窗内部组成“可聚焦的栈”,RN 端通过组件顺序保证焦点流,ArkUI 端应显式声明焦点顺序,避免无障碍读屏出现跳跃
- Modal 的遮罩层负责阻断背景触控;在 ArkUI 端要确保只拦截触控不拦截系统返回,避免“遮罩吞掉返回事件”的费解体验
<Modal transparent visible={visible} onRequestClose={onClose}>
  <View>{/* overlay + container + inputs + actions */}</View>
</Modal>
输入治理与 IME
- 邮箱与密码分别使用 TextInput,email-address 键盘类型在各端键盘布局不同,应将自动首字母大写禁用(autoCapitalize=‘none’)保证一致输入
- 密码显示切换依赖 secureTextEntry,这个属性在部分旧端实现存在焦点与光标位置的差异;建议在 RN 端保持状态切换的轻量化,并在鸿蒙桥接侧测试焦点与光标行为一致
- 中文 IME 合成态需要“双缓冲”策略:合成态更新 UI,提交态更新业务值;校验在提交动作集中执行,避免边输入边打断,ArkUI 侧同样要对 composition 事件做一致处理
认证流程与校验
- 校验采用正则 emailRegex 做基本格式检查,仅做前端兜底;生产场景建议统一“校验服务”,覆盖格式、黑名单域、长度与不可见字符剔除,并提供一致的错误码与文案
- 登录处理 onLogin 在示例中仅模拟状态更新;工程化应抽象“认证服务层”,支持异步请求、失败重试、错误语义、令牌持久化与刷新策略;RN 端与鸿蒙端共享同一服务 API,桥接层处理平台能力差异
- 登录成功后的状态与 email 存储不应留在易读内存,至少采用安全存储或加密(RN 可选 SecureStore/Keystore;鸿蒙端走平台安全能力),并在退出时清理
const handleLogin = (email: string, password: string) => {
  // 认证服务:请求、校验、令牌持久化、错误语义
  setIsLoggedIn(true)
  setUserEmail(email)
  setLoginModalVisible(false)
}
新闻列表的渲染语义
- 新闻卡片通过 map 渲染,适合中小数据量;在跨端一致性与性能考虑下建议改为 FlatList,提供稳定 keyExtractor 和可预测高度时的 getItemLayout,以保证滚动与回收行为一致
- 列表项内容保持纯展示组件 NewsCard,避免在 render 内部创建临时对象与匿名函数,减少无效重渲染;ArkUI 侧映射为 List/ForEach,数据与模板分离,利于声明式优化
<FlatList
  data={newsData}
  keyExtractor={item => String(item.id)}
  renderItem={({ item }) => <NewsCard {...item} />}
/>
ArkUI 映射策略
- 模态:React Native Modal → ArkUI Dialog/CustomDialog,统一遮罩、入场动画、焦点与返回手势
- 输入:TextInput → ArkUI TextField;secureTextEntry、keyboardType、autoCapitalize 的语义在桥接层保持一致,处理 composition 事件
- 列表:View + map → ArkUI List/ForEach;当数据规模扩大,声明式列表更易做窗口化与回收
- 导航:底部导航可抽象为“轻路由服务”,RN 端表达跳转意图,鸿蒙端映射 Tab/Router 能力,保证返回手势与状态保存一致
React Native科技新闻应用与鸿蒙跨端适配技术深度解析
概述
本文分析的是一个基于React Native构建的科技新闻应用,集成了用户认证、动态内容展示和多层级导航等核心功能。该应用采用了现代化的UI设计、状态管理机制和安全的表单处理,展现了信息类应用的典型技术架构。在鸿蒙OS的跨端适配场景中,这种涉及用户认证和动态内容展示的应用具有重要的技术参考价值。
核心架构设计深度解析
用户认证系统设计
应用实现了完整的用户登录流程:
const LoginModal = ({ visible, onClose, onLogin }) => {
const [email, setEmail] = useState('');
const [password, setPassword] = useState('');
const [showPassword, setShowPassword] = useState(false);
const handleLogin = () => {
if (!email || !password) {
Alert.alert('提示', '请输入邮箱和密码');
return;
}
// 简单的邮箱格式验证
const emailRegex = /^[^\s@]+@[^\s@]+\.[^\s@]+$/;
if (!emailRegex.test(email)) {
Alert.alert('提示', '请输入有效的邮箱地址');
return;
}
// 模拟登录
onLogin(email, password);
};
return (
<Modal
animationType="fade"
transparent={true}
visible={visible}
onRequestClose={onClose}
>
<View style={styles.modalOverlay}>
<View style={styles.modalContainer}>
<TouchableOpacity style={styles.closeButton} onPress={onClose}>
<Text style={styles.closeButtonText}>{ICONS.close}</Text>
</TouchableOpacity>
<Text style={styles.modalTitle}>用户登录</Text>
<Text style={styles.modalSubtitle}>欢迎使用科技新闻App</Text>
<View style={styles.inputGroup}>
<Text style={styles.inputLabel}>{ICONS.email} 邮箱</Text>
<TextInput
style={styles.input}
placeholder="请输入邮箱地址"
value={email}
onChangeText={setEmail}
keyboardType="email-address"
autoCapitalize="none"
/>
</View>
<View style={styles.inputGroup}>
<Text style={styles.inputLabel}>{ICONS.lock} 密码</Text>
<View style={styles.passwordContainer}>
<TextInput
style={[styles.input, styles.passwordInput]}
placeholder="请输入密码"
value={password}
onChangeText={setPassword}
secureTextEntry={!showPassword}
/>
<TouchableOpacity
style={styles.eyeButton}
onPress={() => setShowPassword(!showPassword)}
>
<Text style={styles.eyeText}>{showPassword ? '👁️' : '👁️🗨️'}</Text>
</TouchableOpacity>
</View>
</View>
<TouchableOpacity style={styles.loginButton} onPress={handleLogin}>
<Text style={styles.loginButtonText}>登录</Text>
</TouchableOpacity>
<View style={styles.footerLinks}>
<TouchableOpacity onPress={() => Alert.alert('找回密码', '跳转到找回密码页面')}>
<Text style={styles.linkText}>忘记密码?</Text>
</TouchableOpacity>
<TouchableOpacity onPress={() => Alert.alert('注册', '跳转到注册页面')}>
<Text style={styles.linkText}>注册账号</Text>
</TouchableOpacity>
</View>
</View>
</View>
</Modal>
);
};
这种设计采用了多层验证机制:首先检查输入完整性,然后进行邮箱格式验证,最后执行登录逻辑。secureTextEntry属性确保了密码输入的安全性,eye按钮提供了密码可见性切换功能。
在鸿蒙ArkUI体系中,接口定义保持了相同的结构:
@Component
struct LoginDialog {
  @Prop visible: boolean = false;
  @Event onClose: () => void;
  @Event onLogin: (email: string, password: string) => void;

  @State email: string = '';
  @State password: string = '';
  @State showPassword: boolean = false;

  build() {
    if (this.visible) {
      Column() {
        // 对话框内容
        TextInput({ text: this.email })
          .inputType(InputType.Email)
          .autoCapitalize(AutoCapitalize.None)

        TextInput({ text: this.password })
          .inputType(InputType.Password)
          .secure(true)

        Button('登录', { type: ButtonType.Normal })
          .onClick(() => {
            this.onLogin(this.email, this.password);
          })
      }
      .zIndex(100)
    }
  }
}
动态内容展示系统
NewsCard组件实现了新闻卡片的标准化展示:
const NewsCard = ({ title, summary, time }) => {
  return (
    <View style={styles.newsCard}>
      <Text style={styles.newsTitle}>{title}</Text>
      <Text style={styles.newsSummary}>{summary}</Text>
      <Text style={styles.newsTime}>{time}</Text>
    </View>
  );
};
这种设计采用了信息分层原则:标题突出显示,摘要提供详细内容,时间信息标识发布时效。样式系统通过CSS-in-JS实现,支持响应式布局。
鸿蒙的实现需要将样式逻辑转换为声明式结构:
@Component
struct NewsCard {
  @Prop title: string;
  @Prop summary: string;
  @Prop time: string;

  build() {
    Column() {
      Text(this.title)
        .fontSize(16)
        .fontWeight(FontWeight.Bold)

      Text(this.summary)
        .fontSize(14)
        .color(Color.Gray)
        .lineHeight(20)

      Text(this.time)
        .fontSize(12)
        .color(Color.Gray)
    }
  }
}
状态管理与条件渲染
应用实现了基于状态的条件渲染:
{isLoggedIn ? (
  <View style={styles.userContainer}>
    <Text style={styles.userEmail}>{userEmail}</Text>
    <TouchableOpacity style={styles.logoutButton} onPress={handleLogout}>
      <Text style={styles.logoutButtonText}>退出</Text>
    </TouchableOpacity>
  </View>
) : (
  <TouchableOpacity style={styles.loginButtonHeader} onPress={() => setLoginModalVisible(true)}>
    <Text style={styles.loginButtonTextHeader}>登录</Text>
  </TouchableOpacity>
)}
这种设计采用了条件渲染技术,根据isLoggedIn状态动态切换界面元素。展开运算符确保了状态更新的原子性。
鸿蒙的实现采用条件渲染结构:
@State isLoggedIn: boolean = false;
@State userEmail: string = '';

build() {
  if (this.isLoggedIn) {
    Row() {
      Text(this.userEmail)
      Button('退出', { type: ButtonType.Normal })
        .onClick(() => {
          this.isLoggedIn = false;
          this.userEmail = '';
        })
    }
  } else {
    Button('登录', { type: ButtonType.Normal })
      .onClick(() => {
        this.isLoggedIn = true;
      })
  }
}
跨端适配技术方案
组件映射策略
| React Native组件 | 鸿蒙ArkUI组件 | 关键适配点 |
|---|---|---|
| Modal | Dialog | 模态交互实现差异 |
| TextInput | TextInput | 输入属性基本一致 |
| TouchableOpacity | Button | 交互反馈机制不同 |
| View | Column/Row/Stack | 布局系统转换 |
样式系统转换
// React Native
newsCard: {
  backgroundColor: '#ffffff',
  borderRadius: 12,
  padding: 16,
  elevation: 2,
  shadowColor: '#000',
},

// 鸿蒙
Column()
  .backgroundColor(Color.White)
  .borderRadius(12)
  .padding(16)
  .shadow({ radius: 2 })
性能优化与最佳实践
模态框优化
使用animationType="fade"实现平滑的动画效果:
<Modal
  animationType="fade"
  transparent={true}
  visible={visible}
  onRequestClose={onClose}
>
完整代码演示:
// app.tsx
import React, { useState } from 'react';
import { SafeAreaView, View, Text, StyleSheet, TouchableOpacity, Modal, TextInput, Dimensions, Alert } from 'react-native';
// 图标库
const ICONS = {
user: '👤',
lock: '🔒',
email: '📧',
eye: '👁️',
close: '✕',
home: '🏠',
news: '📰',
setting: '⚙️',
};
const { width, height } = Dimensions.get('window');
// 登录弹窗组件
const LoginModal = ({
visible,
onClose,
onLogin
}: {
visible: boolean;
onClose: () => void;
onLogin: (email: string, password: string) => void
}) => {
const [email, setEmail] = useState('');
const [password, setPassword] = useState('');
const [showPassword, setShowPassword] = useState(false);
const handleLogin = () => {
if (!email || !password) {
Alert.alert('提示', '请输入邮箱和密码');
return;
}
// 简单的邮箱格式验证
const emailRegex = /^[^\s@]+@[^\s@]+\.[^\s@]+$/;
if (!emailRegex.test(email)) {
Alert.alert('提示', '请输入有效的邮箱地址');
return;
}
// 模拟登录
onLogin(email, password);
};
return (
<Modal
animationType="fade"
transparent={true}
visible={visible}
onRequestClose={onClose}
>
<View style={styles.modalOverlay}>
<View style={styles.modalContainer}>
<TouchableOpacity style={styles.closeButton} onPress={onClose}>
<Text style={styles.closeButtonText}>{ICONS.close}</Text>
</TouchableOpacity>
<Text style={styles.modalTitle}>用户登录</Text>
<Text style={styles.modalSubtitle}>欢迎使用科技新闻App</Text>
<View style={styles.inputGroup}>
<Text style={styles.inputLabel}>{ICONS.email} 邮箱</Text>
<TextInput
style={styles.input}
placeholder="请输入邮箱地址"
value={email}
onChangeText={setEmail}
keyboardType="email-address"
autoCapitalize="none"
/>
</View>
<View style={styles.inputGroup}>
<Text style={styles.inputLabel}>{ICONS.lock} 密码</Text>
<View style={styles.passwordContainer}>
<TextInput
style={[styles.input, styles.passwordInput]}
placeholder="请输入密码"
value={password}
onChangeText={setPassword}
secureTextEntry={!showPassword}
/>
<TouchableOpacity
style={styles.eyeButton}
onPress={() => setShowPassword(!showPassword)}
>
<Text style={styles.eyeText}>{showPassword ? '👁️' : '👁️🗨️'}</Text>
</TouchableOpacity>
</View>
</View>
<TouchableOpacity style={styles.loginButton} onPress={handleLogin}>
<Text style={styles.loginButtonText}>登录</Text>
</TouchableOpacity>
<View style={styles.footerLinks}>
<TouchableOpacity onPress={() => Alert.alert('找回密码', '跳转到找回密码页面')}>
<Text style={styles.linkText}>忘记密码?</Text>
</TouchableOpacity>
<TouchableOpacity onPress={() => Alert.alert('注册', '跳转到注册页面')}>
<Text style={styles.linkText}>注册账号</Text>
</TouchableOpacity>
</View>
</View>
</View>
</Modal>
);
};
// 新闻卡片组件
const NewsCard = ({
title,
summary,
time
}: {
title: string;
summary: string;
time: string
}) => {
return (
<View style={styles.newsCard}>
<Text style={styles.newsTitle}>{title}</Text>
<Text style={styles.newsSummary}>{summary}</Text>
<Text style={styles.newsTime}>{time}</Text>
</View>
);
};
const NewsApp: React.FC = () => {
const [loginModalVisible, setLoginModalVisible] = useState(false);
const [isLoggedIn, setIsLoggedIn] = useState(false);
const [userEmail, setUserEmail] = useState('');
const handleLogin = (email: string, password: string) => {
// 模拟登录成功
setIsLoggedIn(true);
setUserEmail(email);
setLoginModalVisible(false);
Alert.alert('登录成功', `欢迎回来,${email}`);
};
const handleLogout = () => {
setIsLoggedIn(false);
setUserEmail('');
Alert.alert('已退出', '您已成功退出登录');
};
// 模拟新闻数据
const newsData = [
{
id: 1,
title: '人工智能在医疗领域的新突破',
summary: '最新研究表明,AI技术在疾病诊断方面准确率已达到95%,为医疗行业带来革命性变化。',
time: '2小时前'
},
{
id: 2,
title: '全球芯片短缺问题逐步缓解',
summary: '半导体行业分析师预测,芯片供应将在今年年底恢复正常,智能手机等电子产品价格有望下降。',
time: '4小时前'
},
{
id: 3,
title: '量子计算技术取得重要进展',
summary: '某科技公司宣布其量子计算机在特定任务上比传统计算机快100万倍,标志着量子计算进入新阶段。',
time: '6小时前'
},
{
id: 4,
title: '虚拟现实技术在教育领域应用扩大',
summary: '越来越多的学校开始采用VR技术进行教学,为学生提供沉浸式学习体验。',
time: '8小时前'
}
];
return (
<SafeAreaView style={styles.container}>
{/* 头部 */}
<View style={styles.header}>
<Text style={styles.title}>科技新闻</Text>
<Text style={styles.subtitle}>获取最新科技资讯</Text>
{isLoggedIn ? (
<View style={styles.userContainer}>
<Text style={styles.userEmail}>{userEmail}</Text>
<TouchableOpacity style={styles.logoutButton} onPress={handleLogout}>
<Text style={styles.logoutButtonText}>退出</Text>
</TouchableOpacity>
</View>
) : (
<TouchableOpacity style={styles.loginButtonHeader} onPress={() => setLoginModalVisible(true)}>
<Text style={styles.loginButtonTextHeader}>登录</Text>
</TouchableOpacity>
)}
</View>
{/* 新闻列表 */}
<View style={styles.content}>
{newsData.map((news) => (
<NewsCard
key={news.id}
title={news.title}
summary={news.summary}
time={news.time}
/>
))}
</View>
{/* 登录弹窗 */}
<LoginModal
visible={loginModalVisible}
onClose={() => setLoginModalVisible(false)}
onLogin={handleLogin}
/>
{/* 底部导航 */}
<View style={styles.bottomNav}>
<TouchableOpacity style={styles.navItem}>
<Text style={styles.navIcon}>{ICONS.home}</Text>
<Text style={styles.navText}>首页</Text>
</TouchableOpacity>
<TouchableOpacity style={styles.navItem}>
<Text style={styles.navIcon}>{ICONS.news}</Text>
<Text style={styles.navText}>新闻</Text>
</TouchableOpacity>
<TouchableOpacity style={styles.navItem}>
<Text style={styles.navIcon}>{ICONS.setting}</Text>
<Text style={styles.navText}>设置</Text>
</TouchableOpacity>
<TouchableOpacity style={styles.navItem}>
<Text style={styles.navIcon}>{ICONS.user}</Text>
<Text style={styles.navText}>我的</Text>
</TouchableOpacity>
</View>
</SafeAreaView>
);
};
const styles = StyleSheet.create({
container: {
flex: 1,
backgroundColor: '#f8fafc',
},
header: {
padding: 20,
backgroundColor: '#ffffff',
borderBottomWidth: 1,
borderBottomColor: '#e2e8f0',
},
title: {
fontSize: 24,
fontWeight: 'bold',
color: '#1e293b',
marginBottom: 4,
},
subtitle: {
fontSize: 14,
color: '#64748b',
marginBottom: 16,
},
userContainer: {
flexDirection: 'row',
justifyContent: 'space-between',
alignItems: 'center',
},
userEmail: {
fontSize: 16,
color: '#1e293b',
flex: 1,
},
logoutButton: {
backgroundColor: '#f1f5f9',
paddingHorizontal: 16,
paddingVertical: 8,
borderRadius: 6,
},
logoutButtonText: {
color: '#ef4444',
fontSize: 14,
fontWeight: '500',
},
loginButtonHeader: {
backgroundColor: '#3b82f6',
paddingHorizontal: 20,
paddingVertical: 10,
borderRadius: 6,
alignSelf: 'flex-start',
},
loginButtonTextHeader: {
color: '#ffffff',
fontSize: 14,
fontWeight: '500',
},
content: {
flex: 1,
padding: 16,
},
newsCard: {
backgroundColor: '#ffffff',
borderRadius: 12,
padding: 16,
marginBottom: 16,
elevation: 2,
shadowColor: '#000',
shadowOffset: { width: 0, height: 1 },
shadowOpacity: 0.1,
shadowRadius: 2,
},
newsTitle: {
fontSize: 16,
fontWeight: 'bold',
color: '#1e293b',
marginBottom: 8,
},
newsSummary: {
fontSize: 14,
color: '#64748b',
lineHeight: 20,
marginBottom: 8,
},
newsTime: {
fontSize: 12,
color: '#94a3b8',
},
modalOverlay: {
flex: 1,
backgroundColor: 'rgba(0,0,0,0.5)',
justifyContent: 'center',
alignItems: 'center',
},
modalContainer: {
width: width * 0.8,
maxWidth: 400,
backgroundColor: '#ffffff',
borderRadius: 12,
padding: 24,
position: 'relative',
},
closeButton: {
position: 'absolute',
top: 10,
right: 10,
zIndex: 1,
},
closeButtonText: {
fontSize: 18,
color: '#64748b',
},
modalTitle: {
fontSize: 20,
fontWeight: 'bold',
color: '#1e293b',
textAlign: 'center',
marginBottom: 8,
},
modalSubtitle: {
fontSize: 14,
color: '#64748b',
textAlign: 'center',
marginBottom: 24,
},
inputGroup: {
marginBottom: 16,
},
inputLabel: {
fontSize: 14,
fontWeight: '500',
color: '#1e293b',
marginBottom: 8,
},
input: {
borderWidth: 1,
borderColor: '#cbd5e1',
borderRadius: 8,
padding: 12,
fontSize: 16,
backgroundColor: '#f8fafc',
},
passwordContainer: {
flexDirection: 'row',
alignItems: 'center',
},
passwordInput: {
flex: 1,
},
eyeButton: {
position: 'absolute',
right: 12,
padding: 8,
},
eyeText: {
fontSize: 18,
},
loginButton: {
backgroundColor: '#3b82f6',
paddingVertical: 14,
borderRadius: 8,
alignItems: 'center',
marginTop: 8,
},
loginButtonText: {
color: '#ffffff',
fontSize: 16,
fontWeight: '500',
},
footerLinks: {
flexDirection: 'row',
justifyContent: 'space-between',
marginTop: 16,
},
linkText: {
color: '#3b82f6',
fontSize: 14,
},
bottomNav: {
flexDirection: 'row',
justifyContent: 'space-around',
backgroundColor: '#ffffff',
borderTopWidth: 1,
borderTopColor: '#e2e8f0',
paddingVertical: 12,
},
navItem: {
alignItems: 'center',
},
navIcon: {
fontSize: 20,
color: '#94a3b8',
marginBottom: 4,
},
navText: {
fontSize: 12,
color: '#94a3b8',
},
});
export default NewsApp;

打包
接下来通过打包命令npn run harmony将reactNative的代码打包成为bundle,这样可以进行在开源鸿蒙OpenHarmony中进行使用。

打包之后再将打包后的鸿蒙OpenHarmony文件拷贝到鸿蒙的DevEco-Studio工程目录去:
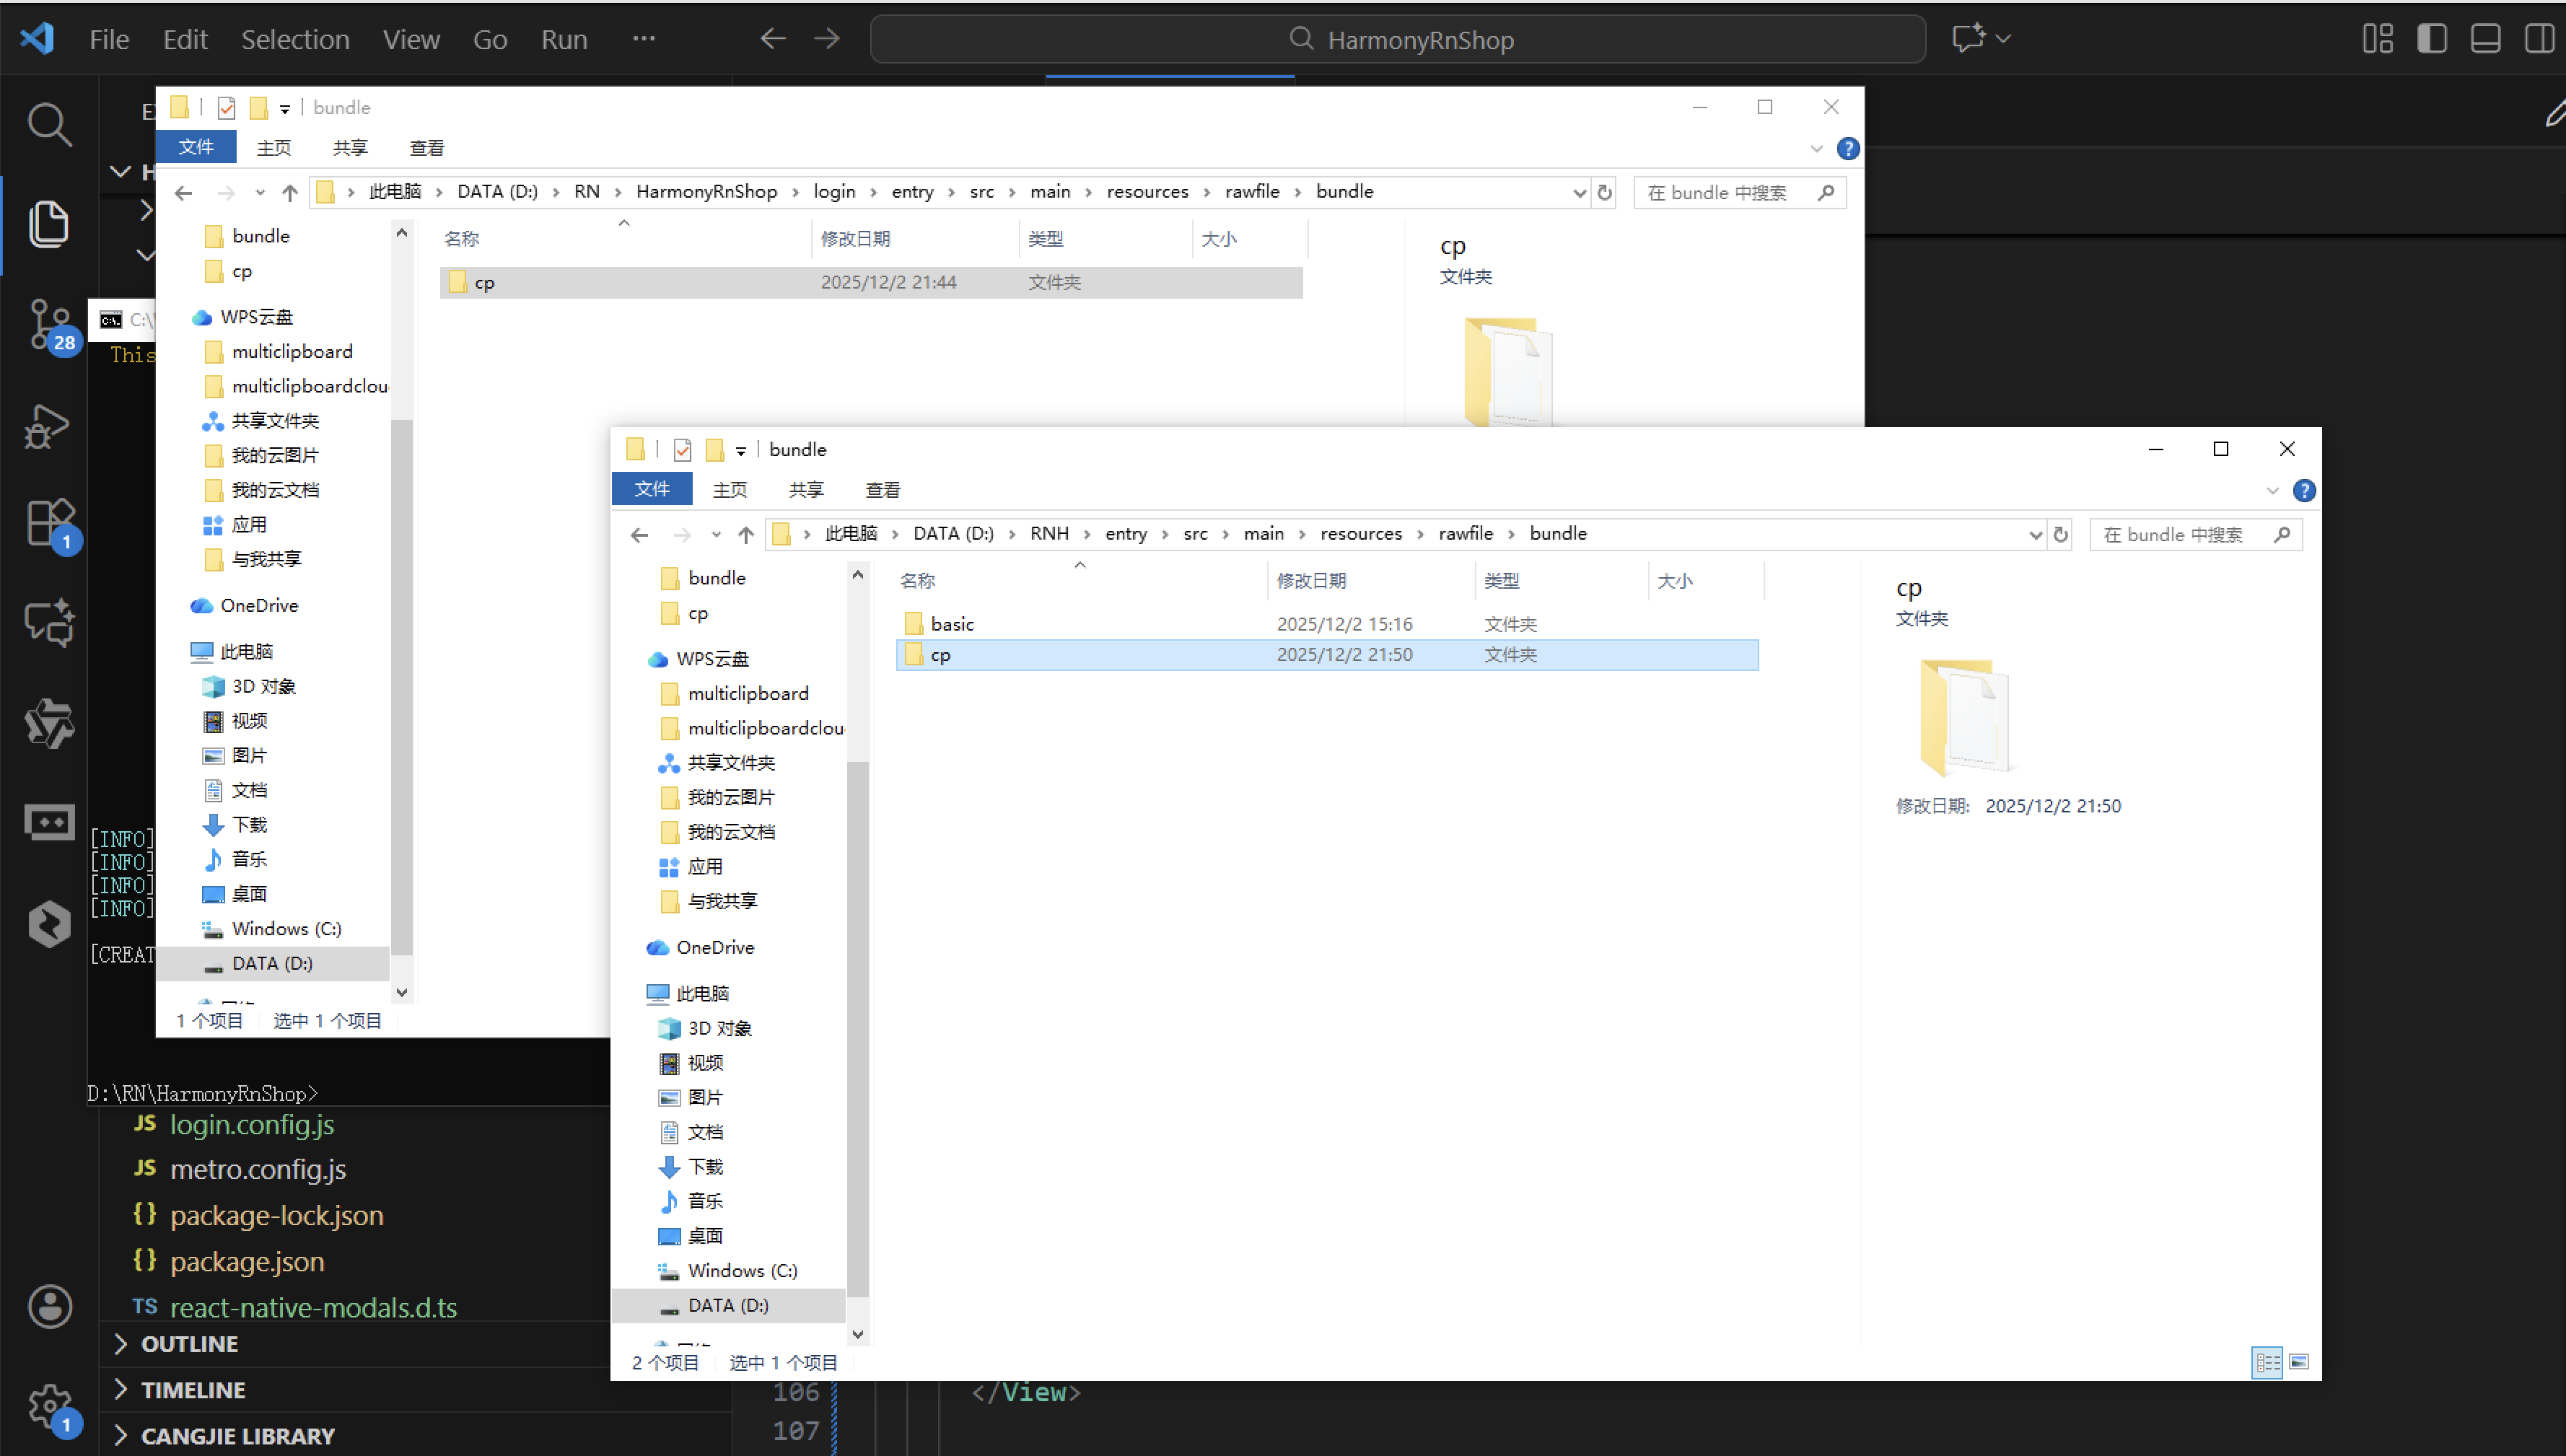
最后运行效果图如下显示:
欢迎大家加入开源鸿蒙跨平台开发者社区,一起共建开源鸿蒙跨平台生态。

作为“人工智能6S店”的官方数字引擎,为AI开发者与企业提供一个覆盖软硬件全栈、一站式门户。
更多推荐


 16
16 0
0- 0


 已为社区贡献10条内容

所有评论(0)