
鸿蒙PC应用:工程结构解析与配置文件详解
本文详细解析了鸿蒙PC应用工程的核心结构,从应用级配置到模块级实现。主要包含: 工程整体结构:AppScope定义应用级信息,entry模块实现PC端UI 关键配置文件: app.json5 - 应用身份信息 module.json5 - 模块配置,指定入口Ability main_pages.json - 页面路由配置 启动流程: EntryAbility加载窗口 通过main_pages.js
前言
在真正动手开发鸿蒙PC应用之前,读懂工程结构和关键配置文件非常重要。只有搞清楚每个目录、每个 JSON5 配置、每个入口 Ability 与页面之间的关系,我们才能做到“改哪里心里有数”,避免一上来就被各种路径、页面路由搞懵。
本篇文章基于一个简单的鸿蒙PC应用工程(例如当前的 hongmengPC 工程),从整体结构到关键配置文件,逐层拆解鸿蒙PC应用是如何启动到 Index.ets 页面,并在 PC 窗口中展示 UI 的。
阅读完本篇,你将能够:
- 说清楚鸿蒙PC应用工程整体目录的含义;
- 理解 AppScope、entry 模块以及资源目录的职责;
- 明白
app.json5、module.json5、main_pages.json等配置文件的作用; - 理解入口
EntryAbility如何加载pages/Index页面; - 为后续扩展多页面、多模块的鸿蒙PC应用打下结构基础。
目录
- 鸿蒙PC应用工程整体结构概览
- 应用级配置:AppScope 与 app.json5
- 模块级配置:entry 模块与 module.json5
- 页面入口配置:main_pages.json 与页面路由
- UI 入口代码:EntryAbility 与 Index.ets
- 关键配置文件表格总览
- UML 结构类图(mermaid)
- 总结
一、鸿蒙PC应用工程整体结构概览
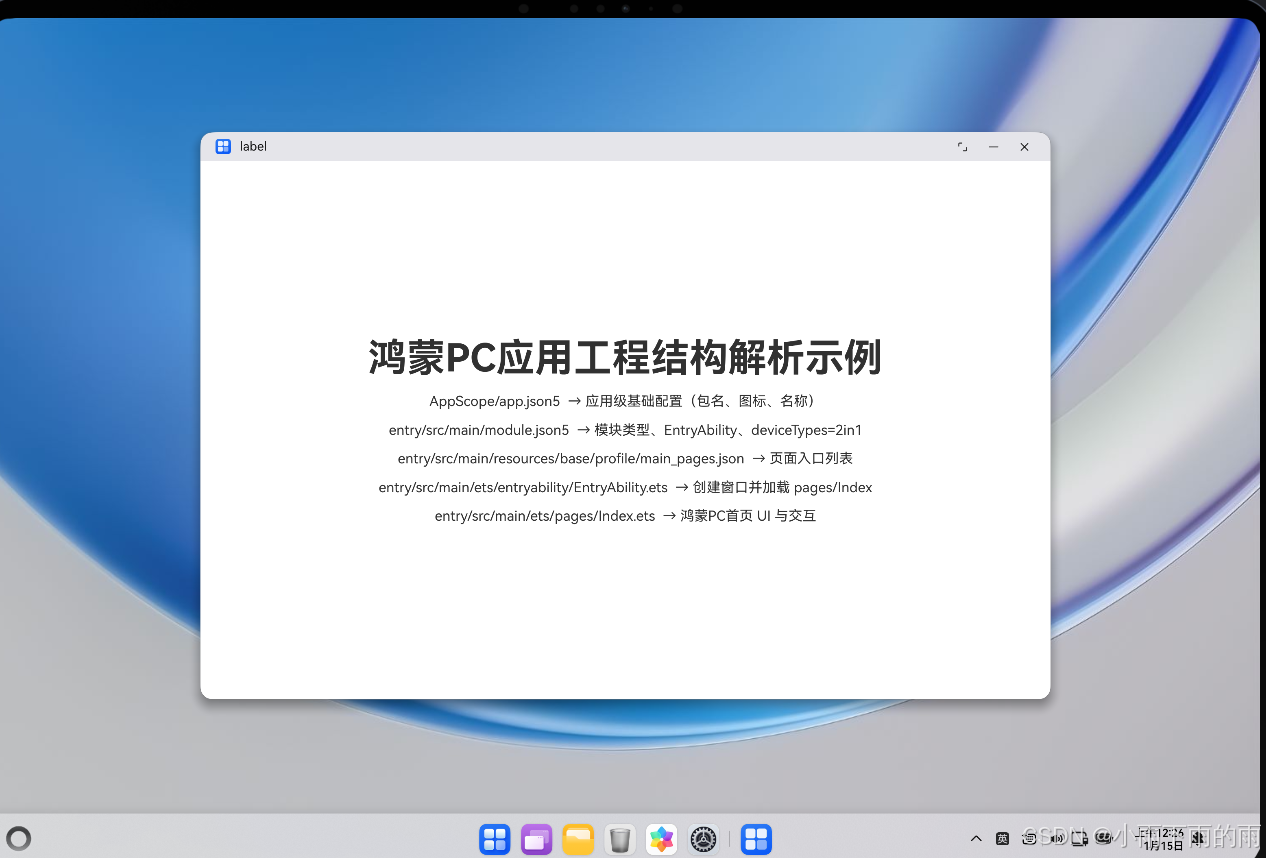
下面以 hongmengPC 工程为例,简要看一下与鸿蒙PC应用最相关的核心目录(只列出和本篇主题相关的部分):
AppScope/app.json5:应用级配置(包名、应用名、图标等)resources/:应用级资源(字符串、图标等)
entry/src/main/ets/entryability/EntryAbility.ets:入口 UIAbilitysrc/main/ets/pages/Index.ets:主页面(当前 Hello World 页面)src/main/module.json5:模块级配置,指定EntryAbility、设备类型2in1等src/main/resources/base/profile/main_pages.json:页面列表及入口页面src/main/resources/base/element/*.json:模块级资源(字符串、颜色、float 等)
从结构上看:
- AppScope 层:描述整个鸿蒙PC应用的“壳”信息(app 名称、icon、包名);
- entry 模块:是真正承载 PC 端 UI 和逻辑的“入口模块”;
- ets/pages:页面级 UI 代码,如
Index.ets; - 各种配置文件把“应用 → 模块 → Ability → 页面”这一链路串起来。
二、应用级配置:AppScope 与 app.json5
应用级配置文件位于:
AppScope/app.json5
示例内容(和工程实际类似):
{
  "app": {
    "bundleName": "com.example.hongmengpc",
    "vendor": "example",
    "versionCode": 1000000,
    "versionName": "1.0.0",
    "icon": "$media:layered_image",
    "label": "$string:app_name"
  }
}
这里的关键字段:
bundleName:应用包名,系统用来唯一标识应用;icon:应用图标资源引用;label:应用展示名称,引用字符串资源app_name(在AppScope/resources/base/element/string.json中定义)。
你可以把 AppScope 理解为整个鸿蒙PC应用的“身份证”。
三、模块级配置:entry 模块与 module.json5
鸿蒙PC应用的 UI 通常实现在入口模块 entry 中,对应配置文件:
entry/src/main/module.json5
示例内容(截取核心部分):
{
  "module": {
    "name": "entry",
    "type": "entry",
    "description": "$string:module_desc",
    "mainElement": "EntryAbility",
    "deviceTypes": [
      "2in1"
    ],
    "deliveryWithInstall": true,
    "installationFree": false,
    "pages": "$profile:main_pages",
    "abilities": [
      {
        "name": "EntryAbility",
        "srcEntry": "./ets/entryability/EntryAbility.ets",
        "description": "$string:EntryAbility_desc",
        "icon": "$media:layered_image",
        "label": "$string:EntryAbility_label",
        "startWindowIcon": "$media:startIcon",
        "startWindowBackground": "$color:start_window_background",
        "exported": true,
        "skills": [
          {
            "entities": [
              "entity.system.home"
            ],
            "actions": [
              "ohos.want.action.home"
            ]
          }
        ]
      }
    ]
  }
}
几个重点字段:
type: "entry":说明这是一个入口模块;mainElement: "EntryAbility":指定默认启动的 Ability 名称;deviceTypes: ["2in1"]:表明这是面向鸿蒙PC/二合一设备的应用;pages: "$profile:main_pages":指定页面列表配置文件;abilities:定义具体 Ability 列表,其中name: "EntryAbility"与mainElement对应;srcEntry指向EntryAbility.ets源文件;skills中配置了entity.system.home和ohos.want.action.home,表示可作为系统首页能力。
在 PC 端场景下,deviceTypes 写成 "2in1" 是关键,使得应用可以在对应形态的设备上安装/运行。
四、页面入口配置:main_pages.json 与页面路由
模块级页面入口由 profile 文件控制:
entry/src/main/resources/base/profile/main_pages.json
示例内容:
{
  "src": [
    "pages/Index"
  ]
}
这里的含义很直接:
src数组中的每一项代表一个页面路径;"pages/Index"对应entry/src/main/ets/pages/Index.ets;- 第一项通常作为默认页面,即应用启动时加载的页面。
当系统启动 EntryAbility 后,会根据 module.json5 中的 pages 字段找到 main_pages.json,再根据这里的 "pages/Index" 加载 Index 页面。
五、UI 入口代码:EntryAbility 与 Index.ets
5.1 EntryAbility:连接窗口与页面
入口 Ability 代码路径:
entry/src/main/ets/entryability/EntryAbility.ets
核心片段如下(示例简化版):
import { AbilityConstant, ConfigurationConstant, UIAbility, Want } from '@kit.AbilityKit';
import { hilog } from '@kit.PerformanceAnalysisKit';
import { window } from '@kit.ArkUI';

const DOMAIN = 0x0000;

export default class EntryAbility extends UIAbility {
  onCreate(want: Want, launchParam: AbilityConstant.LaunchParam): void {
    try {
      this.context.getApplicationContext().setColorMode(ConfigurationConstant.ColorMode.COLOR_MODE_NOT_SET);
    } catch (err) {
      hilog.error(DOMAIN, 'testTag', 'Failed to set colorMode. Cause: %{public}s', JSON.stringify(err));
    }
  }

  onWindowStageCreate(windowStage: window.WindowStage): void {
    windowStage.loadContent('pages/Index', (err) => {
      if (err.code) {
        hilog.error(DOMAIN, 'testTag', 'Failed to load the content. Cause: %{public}s', JSON.stringify(err));
        return;
      }
      hilog.info(DOMAIN, 'testTag', 'Succeeded in loading the content.');
    });
  }
}
关键点:
EntryAbility继承自UIAbility,是 UI 的入口;onWindowStageCreate中,通过windowStage.loadContent('pages/Index', ...)显式加载页面;- 参数
'pages/Index'与main_pages.json的页面路径保持一致。
这一步完成了从 Ability 到具体页面组件的映射。
5.2 Index.ets:PC 页面本身(示例延续第 1 篇)
首页 UI 实现在:
entry/src/main/ets/pages/Index.ets
示例代码(与第 1 篇保持一致):
@Entry
@Component
struct Index {
  @State message: string = 'Hello World';

  build() {
    RelativeContainer() {
      Text(this.message)
        .id('HelloWorld')
        .fontSize($r('app.float.page_text_font_size'))
        .fontWeight(FontWeight.Bold)
        .alignRules({
          center: { anchor: '__container__', align: VerticalAlign.Center },
          middle: { anchor: '__container__', align: HorizontalAlign.Center }
        })
        .onClick(() => {
          this.message = 'Welcome';
        })
    }
    .height('100%')
    .width('100%')
  }
}
该页面做了两件事:
- 使用
RelativeContainer在 PC 窗口中心居中显示一段文本; - 通过
@State管理message,点击文本后从Hello World改为Welcome。
从“配置角度”看,Index.ets 是被 EntryAbility 以及一系列 JSON5 配置文件串联起来的最终 UI 终点。
六、关键配置文件表格总览
下面用一个表格快速回顾本篇涉及的关键配置文件及其作用。
| 文件路径 | 角色层级 | 主要作用 | 与 PC 形态关系 |
|---|---|---|---|
AppScope/app.json5 |
应用级 | 定义应用包名、版本、图标、显示名称等 | 与 PC 形态无直接耦合 |
entry/src/main/module.json5 |
模块级 | 定义入口模块、Abilities、设备类型、页面配置引用 | 通过 deviceTypes: ["2in1"] 绑定 PC |
entry/src/main/resources/base/profile/main_pages.json |
页面列表 | 指定模块可用页面及默认入口页面 | 间接决定启动后加载的 PC 页面 |
entry/src/main/ets/entryability/EntryAbility.ets |
Ability | 创建窗口,调用 loadContent 加载页面 |
负责在 PC 窗口中加载具体页面组件 |
entry/src/main/ets/pages/Index.ets |
页面 | 实际呈现 UI 的页面组件(Hello World 示例) | 决定 PC 窗口中看到的具体内容与交互 |
entry/src/main/resources/base/element/string.json |
资源 | 存放模块级字符串资源(如 module_desc 等) |
可用于 PC 应用的文案国际化与显示 |
AppScope/resources/base/element/string.json |
资源 | 存放应用级字符串资源(如 app_name) |
决定 PC 应用名称等展示信息 |
七、UML 结构类图(mermaid)
八、总结
本篇从“结构”和“配置”的视角,系统梳理了一个鸿蒙PC应用从 AppScope 到页面的完整链路:
- 工程整体结构:AppScope、entry 模块、ets 与 resources 的分工;
- 应用级配置:
app.json5描述应用的基本信息; - 模块级配置:
module.json5决定入口 Ability、设备类型(PC/2in1)、页面 profile; - 页面入口配置:
main_pages.json列出页面并指定默认入口; - UI 入口代码:
EntryAbility通过loadContent('pages/Index')加载页面; - 页面实现:
Index.ets用 ArkUI 声明式写法构建鸿蒙PC窗口里的具体 UI。
通过结构图和流程图,你可以对鸿蒙PC应用的“启动链路”形成一个完整的心智模型:
从 app.json5 → module.json5 → main_pages.json → EntryAbility.ets → Index.ets,每一步都清晰可控。
在后续文章中,我们可以在这个结构基础上继续扩展:增加更多页面、拆分模块、引入多窗口、多语言、多环境配置等,让鸿蒙PC应用工程保持清晰、可演进。
欢迎加入开源鸿蒙跨平台社区:https://openharmonycrossplatform.csdn.net

作为“人工智能6S店”的官方数字引擎,为AI开发者与企业提供一个覆盖软硬件全栈、一站式门户。
更多推荐
 8
8 0
0- 0


 已为社区贡献3条内容

所有评论(0)