
【精通篇】打造React Native鸿蒙跨平台开发高级复合组件库开发系列:Loading 加载(加载中的过渡状态)
本文介绍了在鸿蒙系统上开发React Native应用的关键步骤:1) 环境准备需安装Node.js、React Native和华为DevEco Studio;2) 创建React Native项目后,需修改build.gradle和AndroidManifest.xml文件以支持鸿蒙;3) 集成鸿蒙特有API如华为Push Kit;4) 使用DevEco Studio进行测试调试;5) 发布到华
要在鸿蒙(HarmonyOS)上进行React Native应用开发,你需要遵循一系列的步骤来确保你的应用可以兼容鸿蒙操作系统。鸿蒙操作系统是基于开源的Linux内核,并为开发者提供了类似于Android的开发环境。以下是一些关键的步骤和考虑因素,帮助你开始在鸿蒙上开发React Native应用:
- 环境准备
安装Node.js和React Native
确保你的开发环境中安装了Node.js和React Native。你可以通过npm(Node Package Manager)来安装React Native:
npm install -g react-native-cli
安装鸿蒙开发工具
鸿蒙开发主要使用DevEco Studio,这是华为提供的官方开发环境。前往华为开发者官网下载并安装DevEco Studio。
- 创建React Native项目
使用React Native CLI创建一个新的项目:
react-native init MyHarmonyApp
- 配置项目以支持鸿蒙
修改OpenHarmonyapp/build.gradle文件
为了使你的React Native应用能够在鸿蒙设备上运行,你需要修改OpenHarmonyapp/build.gradle文件,确保它包含了鸿蒙兼容的配置。例如,添加对华为编译SDK的引用:
dependencies {
    // 其他依赖...
    implementation 'com.huawei.agconnect:agconnect-core:1.4.2.300' // 检查最新版本
}
修改OpenHarmonyapp/src/main/AndroidManifest.xml
确保你的AndroidManifest.xml文件中包含了必要的权限和配置,例如网络权限、读写权限等。
- 集成鸿蒙特有的APIs和功能
由于鸿蒙操作系统有其独特的APIs和组件,你可能需要使用一些特定的库或API来访问这些功能。例如,使用华为的Push Kit来支持推送通知:
implementation 'com.huawei.hms:push:5.0.2.300' // 检查最新版本
-
测试和调试
使用DevEco Studio进行应用的测试和调试。你可以通过模拟器或真实的鸿蒙设备来测试你的应用。确保在测试时考虑不同屏幕尺寸和分辨率。 -
发布应用到华为应用市场
完成开发和测试后,你可以将应用打包并提交到华为应用市场进行审核和发布。华为应用市场提供了专门的工具来帮助开发者管理和发布应用。 -
持续集成和更新
随着鸿蒙生态的发展,持续关注华为开发者社区和官方文档,以便及时更新你的应用以支持新的特性和修复已知问题。
通过以上步骤,你可以开始在鸿蒙操作系统上开发React Native应用。记住,由于鸿蒙操作系统与Android有一定的差异,特别是在底层APIs和系统组件方面,因此确保你的应用能够适应这些差异是非常重要的。
真实组件案列演示:
import React, { useState } from 'react';
import { View, Text, StyleSheet, ScrollView, Dimensions, TouchableOpacity, Modal, Animated, Easing } from 'react-native';

// Simple Icon Component using Unicode symbols
interface IconProps {
  name: string;
  size?: number;
  color?: string;
  style?: object;
}

const Icon: React.FC<IconProps> = ({
  name,
  size = 24,
  color = '#333333',
  style
}) => {
  const getIconSymbol = () => {
    switch (name) {
      case 'loading': return '🔄';
      case 'spinner': return '⏳';
      case 'progress': return '📊';
      case 'check': return '✓';
      case 'error': return '❌';
      case 'info': return 'ℹ️';
      case 'warning': return '⚠️';
      case 'success': return '✅';
      case 'refresh': return '↻';
      default: return '🔄';
    }
  };

  return (
    <View style={[{ width: size, height: size, justifyContent: 'center', alignItems: 'center' }, style]}>
      <Text style={{ fontSize: size * 0.8, color, includeFontPadding: false, textAlign: 'center' }}>
        {getIconSymbol()}
      </Text>
    </View>
  );
};

// Loading Component
interface LoadingProps {
  visible: boolean;
  type?: 'spinner' | 'bar' | 'circle' | 'dots';
  text?: string;
  size?: 'small' | 'medium' | 'large';
  color?: string;
  backgroundColor?: string;
  modal?: boolean;
}

const Loading: React.FC<LoadingProps> = ({
  visible,
  type = 'spinner',
  text = '加载中...',
  size = 'medium',
  color = '#1890ff',
  backgroundColor = 'rgba(0, 0, 0, 0.7)',
  modal = true
}) => {
  const [spinValue] = useState(new Animated.Value(0));
  const [dotAnim1] = useState(new Animated.Value(0));
  const [dotAnim2] = useState(new Animated.Value(0));
  const [dotAnim3] = useState(new Animated.Value(0));

  React.useEffect(() => {
    if (visible) {
      startAnimations();
    }
  }, [visible]);

  const startAnimations = () => {
    // Spinner rotation animation
    Animated.loop(
      Animated.timing(spinValue, {
        toValue: 1,
        duration: 1000,
        easing: Easing.linear,
        useNativeDriver: true
      })
    ).start();

    // Dots animation
    const dotAnimation = () => {
      Animated.sequence([
        Animated.timing(dotAnim1, {
          toValue: 1,
          duration: 400,
          useNativeDriver: true
        }),
        Animated.timing(dotAnim2, {
          toValue: 1,
          duration: 400,
          useNativeDriver: true
        }),
        Animated.timing(dotAnim3, {
          toValue: 1,
          duration: 400,
          useNativeDriver: true
        }),
        Animated.timing(dotAnim1, {
          toValue: 0,
          duration: 400,
          useNativeDriver: true
        }),
        Animated.timing(dotAnim2, {
          toValue: 0,
          duration: 400,
          useNativeDriver: true
        }),
        Animated.timing(dotAnim3, {
          toValue: 0,
          duration: 400,
          useNativeDriver: true
        })
      ]).start(() => {
        if (visible) dotAnimation();
      });
    };

    if (type === 'dots') {
      dotAnimation();
    }
  };

  const spin = spinValue.interpolate({
    inputRange: [0, 1],
    outputRange: ['0deg', '360deg']
  });

  const getSizeStyle = () => {
    switch (size) {
      case 'small': return { width: 30, height: 30 };
      case 'large': return { width: 60, height: 60 };
      default: return { width: 45, height: 45 };
    }
  };

  const renderLoader = () => {
    const sizeStyle = getSizeStyle();

    switch (type) {
      case 'spinner':
        return (
          <Animated.View
            style={[
              styles.spinner,
              sizeStyle,
              {
                transform: [{ rotate: spin }],
                borderColor: color
              }
            ]}
          />
        );

      case 'circle':
        return (
          <Animated.View
            style={[
              styles.circleLoader,
              sizeStyle,
              {
                transform: [{ rotate: spin }],
                borderColor: color
              }
            ]}
          />
        );

      case 'bar':
        return (
          <View style={[styles.barContainer, sizeStyle]}>
            <View style={[styles.barTrack, { backgroundColor: `${color}20` }]}>
              <Animated.View
                style={[
                  styles.barProgress,
                  {
                    backgroundColor: color,
                    width: '70%'
                  }
                ]}
              />
            </View>
          </View>
        );

      case 'dots':
        return (
          <View style={styles.dotsContainer}>
            <Animated.View
              style={[
                styles.dot,
                {
                  backgroundColor: color,
                  transform: [{ scale: dotAnim1.interpolate({
                    inputRange: [0, 1],
                    outputRange: [1, 1.5]
                  })}]
                }
              ]}
            />
            <Animated.View
              style={[
                styles.dot,
                {
                  backgroundColor: color,
                  transform: [{ scale: dotAnim2.interpolate({
                    inputRange: [0, 1],
                    outputRange: [1, 1.5]
                  })}]
                }
              ]}
            />
            <Animated.View
              style={[
                styles.dot,
                {
                  backgroundColor: color,
                  transform: [{ scale: dotAnim3.interpolate({
                    inputRange: [0, 1],
                    outputRange: [1, 1.5]
                  })}]
                }
              ]}
            />
          </View>
        );

      default:
        return (
          <Animated.View
            style={[
              styles.spinner,
              sizeStyle,
              {
                transform: [{ rotate: spin }],
                borderColor: color
              }
            ]}
          />
        );
    }
  };

  if (!modal) {
    if (!visible) return null;

    return (
      <View style={styles.inlineContainer}>
        {renderLoader()}
        {text ? <Text style={[styles.loadingText, { color }]}>{text}</Text> : null}
      </View>
    );
  }

  return (
    <Modal
      visible={visible}
      transparent
      animationType="fade"
      onRequestClose={() => {}}
    >
      <View style={[styles.overlay, { backgroundColor }]}>
        <View style={styles.loadingContainer}>
          {renderLoader()}
          {text ? <Text style={styles.loadingText}>{text}</Text> : null}
        </View>
      </View>
    </Modal>
  );
};

// Main App Component
const LoadingComponentApp = () => {
  const [spinnerVisible, setSpinnerVisible] = useState(false);
  const [circleVisible, setCircleVisible] = useState(false);
  const [barVisible, setBarVisible] = useState(false);
  const [dotsVisible, setDotsVisible] = useState(false);
  const [inlineVisible, setInlineVisible] = useState(false);

  const showLoading = (setter: React.Dispatch<React.SetStateAction<boolean>>) => {
    setter(true);
    setTimeout(() => setter(false), 3000);
  };

  return (
    <ScrollView style={styles.container}>
      <View style={styles.header}>
        <Text style={styles.headerTitle}>加载组件</Text>
        <Text style={styles.headerSubtitle}>美观实用的加载指示控件</Text>
      </View>

      <View style={styles.section}>
        <Text style={styles.sectionTitle}>基础用法</Text>
        <View style={styles.loadingGroupsContainer}>
          <TouchableOpacity
            style={styles.loadingButton}
            onPress={() => showLoading(setSpinnerVisible)}
          >
            <Text style={styles.loadingButtonText}>旋转加载</Text>
          </TouchableOpacity>

          <TouchableOpacity
            style={styles.loadingButton}
            onPress={() => showLoading(setCircleVisible)}
          >
            <Text style={styles.loadingButtonText}>圆形加载</Text>
          </TouchableOpacity>

          <TouchableOpacity
            style={styles.loadingButton}
            onPress={() => showLoading(setBarVisible)}
          >
            <Text style={styles.loadingButtonText}>进度条加载</Text>
          </TouchableOpacity>

          <TouchableOpacity
            style={styles.loadingButton}
            onPress={() => showLoading(setDotsVisible)}
          >
            <Text style={styles.loadingButtonText}>点状加载</Text>
          </TouchableOpacity>

          <TouchableOpacity
            style={styles.loadingButton}
            onPress={() => showLoading(setInlineVisible)}
          >
            <Text style={styles.loadingButtonText}>内联加载</Text>
          </TouchableOpacity>
        </View>
      </View>

      <View style={styles.section}>
        <Text style={styles.sectionTitle}>应用场景</Text>
        <View style={styles.scenariosContainer}>
          <View style={styles.scenarioCard}>
            <Icon name="loading" size={32} color="#1890ff" style={styles.scenarioIcon} />
            <Text style={styles.scenarioTitle}>数据加载</Text>
            <Text style={styles.scenarioDesc}>页面数据请求</Text>
          </View>

          <View style={styles.scenarioCard}>
            <Icon name="refresh" size={32} color="#52c41a" style={styles.scenarioIcon} />
            <Text style={styles.scenarioTitle}>刷新操作</Text>
            <Text style={styles.scenarioDesc}>下拉刷新数据</Text>
          </View>

          <View style={styles.scenarioCard}>
            <Icon name="progress" size={32} color="#722ed1" style={styles.scenarioIcon} />
            <Text style={styles.scenarioTitle}>进度展示</Text>
            <Text style={styles.scenarioDesc}>任务执行进度</Text>
          </View>
        </View>
      </View>

      <View style={styles.section}>
        <Text style={styles.sectionTitle}>功能演示</Text>
        <View style={styles.demosContainer}>
          <View style={styles.demoItem}>
            <Icon name="spinner" size={24} color="#1890ff" style={styles.demoIcon} />
            <View>
              <Text style={styles.demoTitle}>多种样式</Text>
              <Text style={styles.demoDesc}>支持旋转、圆形、进度条等多种样式</Text>
            </View>
          </View>

          <View style={styles.demoItem}>
            <Icon name="loading" size={24} color="#52c41a" style={styles.demoIcon} />
            <View>
              <Text style={styles.demoTitle}>动画效果</Text>
              <Text style={styles.demoDesc}>流畅的加载动画效果</Text>
            </View>
          </View>

          <View style={styles.demoItem}>
            <Icon name="check" size={24} color="#722ed1" style={styles.demoIcon} />
            <View>
              <Text style={styles.demoTitle}>灵活配置</Text>
              <Text style={styles.demoDesc}>支持自定义颜色、大小和文案</Text>
            </View>
          </View>
        </View>
      </View>

      <View style={styles.usageSection}>
        <Text style={styles.sectionTitle}>使用方法</Text>
        <View style={styles.codeBlock}>
          <Text style={styles.codeText}>{'<Loading'}</Text>
          <Text style={styles.codeText}>  visible={'{isLoading}'}</Text>
          <Text style={styles.codeText}>  type="spinner"</Text>
          <Text style={styles.codeText}>  text="加载中..."{'\n'}/></Text>
        </View>
        <Text style={styles.description}>
          Loading组件提供了完整的加载功能,包括多种加载样式、动画效果和自定义配置。
          通过visible控制显示状态,type指定加载样式,支持自定义颜色、大小和提示文案。
        </Text>
      </View>

      <View style={styles.featuresSection}>
        <Text style={styles.sectionTitle}>功能特性</Text>
        <View style={styles.featuresList}>
          <View style={styles.featureItem}>
            <Icon name="spinner" size={20} color="#1890ff" style={styles.featureIcon} />
            <Text style={styles.featureText}>多种样式</Text>
          </View>
          <View style={styles.featureItem}>
            <Icon name="loading" size={20} color="#52c41a" style={styles.featureIcon} />
            <Text style={styles.featureText}>动画效果</Text>
          </View>
          <View style={styles.featureItem}>
            <Icon name="check" size={20} color="#722ed1" style={styles.featureIcon} />
            <Text style={styles.featureText}>灵活配置</Text>
          </View>
          <View style={styles.featureItem}>
            <Icon name="refresh" size={20} color="#fa8c16" style={styles.featureIcon} />
            <Text style={styles.featureText}>状态控制</Text>
          </View>
        </View>
      </View>

      <View style={styles.footer}>
        <Text style={styles.footerText}>© 2023 加载组件 | 现代化UI组件库</Text>
      </View>

      {/* Loading Components */}
      <Loading
        visible={spinnerVisible}
        type="spinner"
        text="正在加载数据..."
        color="#1890ff"
      />

      <Loading
        visible={circleVisible}
        type="circle"
        text="处理中,请稍候..."
        color="#52c41a"
      />

      <Loading
        visible={barVisible}
        type="bar"
        text="加载进度..."
        color="#722ed1"
      />

      <Loading
        visible={dotsVisible}
        type="dots"
        text="努力加载中..."
        color="#fa8c16"
      />

      <Loading
        visible={inlineVisible}
        type="spinner"
        text="加载中..."
        color="#ff4d4f"
        modal={false}
      />
    </ScrollView>
  );
};

const { width, height } = Dimensions.get('window');

const styles = StyleSheet.create({
  container: {
    flex: 1,
    backgroundColor: '#fff0f6',
  },
  header: {
    backgroundColor: '#ffffff',
    paddingVertical: 30,
    paddingHorizontal: 20,
    marginBottom: 10,
    borderBottomWidth: 1,
    borderBottomColor: '#ffe6f0',
  },
  headerTitle: {
    fontSize: 28,
    fontWeight: '700',
    color: '#c41d7f',
    textAlign: 'center',
    marginBottom: 5,
  },
  headerSubtitle: {
    fontSize: 16,
    color: '#f759ab',
    textAlign: 'center',
  },
  section: {
    marginBottom: 25,
  },
  sectionTitle: {
    fontSize: 20,
    fontWeight: '700',
    color: '#c41d7f',
    paddingHorizontal: 20,
    paddingBottom: 15,
  },
  loadingGroupsContainer: {
    backgroundColor: '#ffffff',
    marginHorizontal: 15,
    borderRadius: 12,
    padding: 20,
    elevation: 3,
    shadowColor: '#000',
    shadowOffset: { width: 0, height: 2 },
    shadowOpacity: 0.08,
    shadowRadius: 4,
    marginBottom: 10,
  },
  loadingButton: {
    backgroundColor: '#fff0f6',
    borderRadius: 8,
    paddingVertical: 15,
    paddingHorizontal: 20,
    marginBottom: 15,
    borderWidth: 1,
    borderColor: '#ffadd2',
  },
  loadingButtonLast: {
    marginBottom: 0,
  },
  loadingButtonText: {
    fontSize: 16,
    color: '#c41d7f',
    fontWeight: '500',
    textAlign: 'center',
  },
  scenariosContainer: {
    flexDirection: 'row',
    justifyContent: 'space-between',
    paddingHorizontal: 15,
  },
  scenarioCard: {
    backgroundColor: '#ffffff',
    borderRadius: 12,
    padding: 20,
    width: (width - 60) / 3,
    alignItems: 'center',
    elevation: 3,
    shadowColor: '#000',
    shadowOffset: { width: 0, height: 2 },
    shadowOpacity: 0.08,
    shadowRadius: 4,
  },
  scenarioIcon: {
    marginBottom: 15,
  },
  scenarioTitle: {
    fontSize: 16,
    fontWeight: '600',
    color: '#5a2d4d',
    marginBottom: 5,
  },
  scenarioDesc: {
    fontSize: 14,
    color: '#f759ab',
    textAlign: 'center',
  },
  demosContainer: {
    backgroundColor: '#ffffff',
    marginHorizontal: 15,
    borderRadius: 15,
    padding: 20,
    elevation: 3,
    shadowColor: '#000',
    shadowOffset: { width: 0, height: 2 },
    shadowOpacity: 0.08,
    shadowRadius: 4,
  },
  demoItem: {
    flexDirection: 'row',
    alignItems: 'center',
    marginBottom: 20,
  },
  demoItemLast: {
    marginBottom: 0,
  },
  demoIcon: {
    marginRight: 15,
  },
  demoTitle: {
    fontSize: 16,
    fontWeight: '600',
    color: '#5a2d4d',
    marginBottom: 3,
  },
  demoDesc: {
    fontSize: 14,
    color: '#f759ab',
  },
  usageSection: {
    backgroundColor: '#ffffff',
    marginHorizontal: 15,
    borderRadius: 15,
    padding: 20,
    marginBottom: 20,
    elevation: 3,
    shadowColor: '#000',
    shadowOffset: { width: 0, height: 2 },
    shadowOpacity: 0.08,
    shadowRadius: 4,
  },
  codeBlock: {
    backgroundColor: '#5a1a3d',
    borderRadius: 8,
    padding: 15,
    marginBottom: 15,
  },
  codeText: {
    fontFamily: 'monospace',
    color: '#ffadd2',
    fontSize: 14,
    lineHeight: 22,
  },
  description: {
    fontSize: 15,
    color: '#c41d7f',
    lineHeight: 22,
  },
  featuresSection: {
    backgroundColor: '#ffffff',
    marginHorizontal: 15,
    borderRadius: 15,
    padding: 20,
    marginBottom: 20,
    elevation: 3,
    shadowColor: '#000',
    shadowOffset: { width: 0, height: 2 },
    shadowOpacity: 0.08,
    shadowRadius: 4,
  },
  featuresList: {
    paddingLeft: 10,
  },
  featureItem: {
    flexDirection: 'row',
    alignItems: 'center',
    marginBottom: 15,
  },
  featureIcon: {
    marginRight: 15,
  },
  featureText: {
    fontSize: 16,
    color: '#5a2d4d',
  },
  footer: {
    paddingVertical: 20,
    alignItems: 'center',
  },
  footerText: {
    color: '#ffadd2',
    fontSize: 14,
  },
  // Loading Styles
  overlay: {
    flex: 1,
    justifyContent: 'center',
    alignItems: 'center',
  },
  loadingContainer: {
    backgroundColor: '#ffffff',
    borderRadius: 12,
    padding: 30,
    alignItems: 'center',
    elevation: 10,
    shadowColor: '#000',
    shadowOffset: { width: 0, height: 5 },
    shadowOpacity: 0.3,
    shadowRadius: 10,
    minWidth: 200,
  },
  inlineContainer: {
    flexDirection: 'row',
    alignItems: 'center',
    padding: 15,
    backgroundColor: '#fff0f6',
    borderRadius: 8,
  },
  spinner: {
    borderWidth: 3,
    borderTopColor: 'transparent',
    borderRadius: 50,
    marginBottom: 20,
  },
  circleLoader: {
    borderWidth: 3,
    borderTopColor: 'transparent',
    borderRightColor: 'transparent',
    borderRadius: 50,
    marginBottom: 20,
  },
  barContainer: {
    justifyContent: 'center',
    marginBottom: 20,
  },
  barTrack: {
    height: 6,
    borderRadius: 3,
    overflow: 'hidden',
  },
  barProgress: {
    height: '100%',
    borderRadius: 3,
  },
  dotsContainer: {
    flexDirection: 'row',
    justifyContent: 'center',
    alignItems: 'center',
    marginBottom: 20,
  },
  dot: {
    width: 12,
    height: 12,
    borderRadius: 6,
    marginHorizontal: 5,
  },
  loadingText: {
    fontSize: 16,
    color: '#5a2d4d',
    fontWeight: '500',
    textAlign: 'center',
  },
});

export default LoadingComponentApp;
这段React Native Loading组件的代码逻辑在鸿蒙ArkUI开发中体现了丰富的动画状态管理机制。Loading组件通过visible状态控制显示与隐藏,这与鸿蒙的@State装饰器管理组件可见性的设计模式完全对应。当visible状态变更时,触发useEffect中的动画启动逻辑,这与鸿蒙的aboutToAppear生命周期函数作用相似。
动画系统采用Animated API实现多种加载效果,spinner类型的旋转动画通过Animated.loop创建无限循环,使用Easing.linear保持匀速旋转,这与鸿蒙动画系统中的插值器配置机制对应。interpolate插值器将0-1的动画值映射为0-360度的旋转角度,实现视觉上的持续转动效果。
dots类型的动画展示了更复杂的序列动画控制,通过三个独立的Animated.Value分别管理每个圆点的动画状态。Animated.sequence确保动画按顺序执行,每个圆点依次显示和隐藏,形成波浪式的动态效果。递归调用dotAnimation函数实现动画的持续循环,这与鸿蒙动画系统中的链式动画设计理念一致。
组件支持多种尺寸配置(small/medium/large),通过getSizeStyle函数返回对应的宽高尺寸,这与鸿蒙的ResourceManager多设备适配机制对应。不同类型加载器的渲染通过renderLoader函数实现条件分支,每个分支返回特定的动画视图结构。
在鸿蒙开发中,这种加载指示器通常通过Progress组件实现,支持环形、线性等多种样式。动画硬件加速通过useNativeDriver: true启用,这与鸿蒙的动画性能优化策略相似。背景遮罩效果通过backgroundColor属性控制,支持半透明覆盖,防止用户交互。
组件架构采用模态对话框模式,当modal属性为true时创建独立的渲染层级,确保加载提示始终位于界面最上层。这种设计在鸿蒙应用中广泛用于数据加载、文件处理、网络请求等需要用户等待的场景。
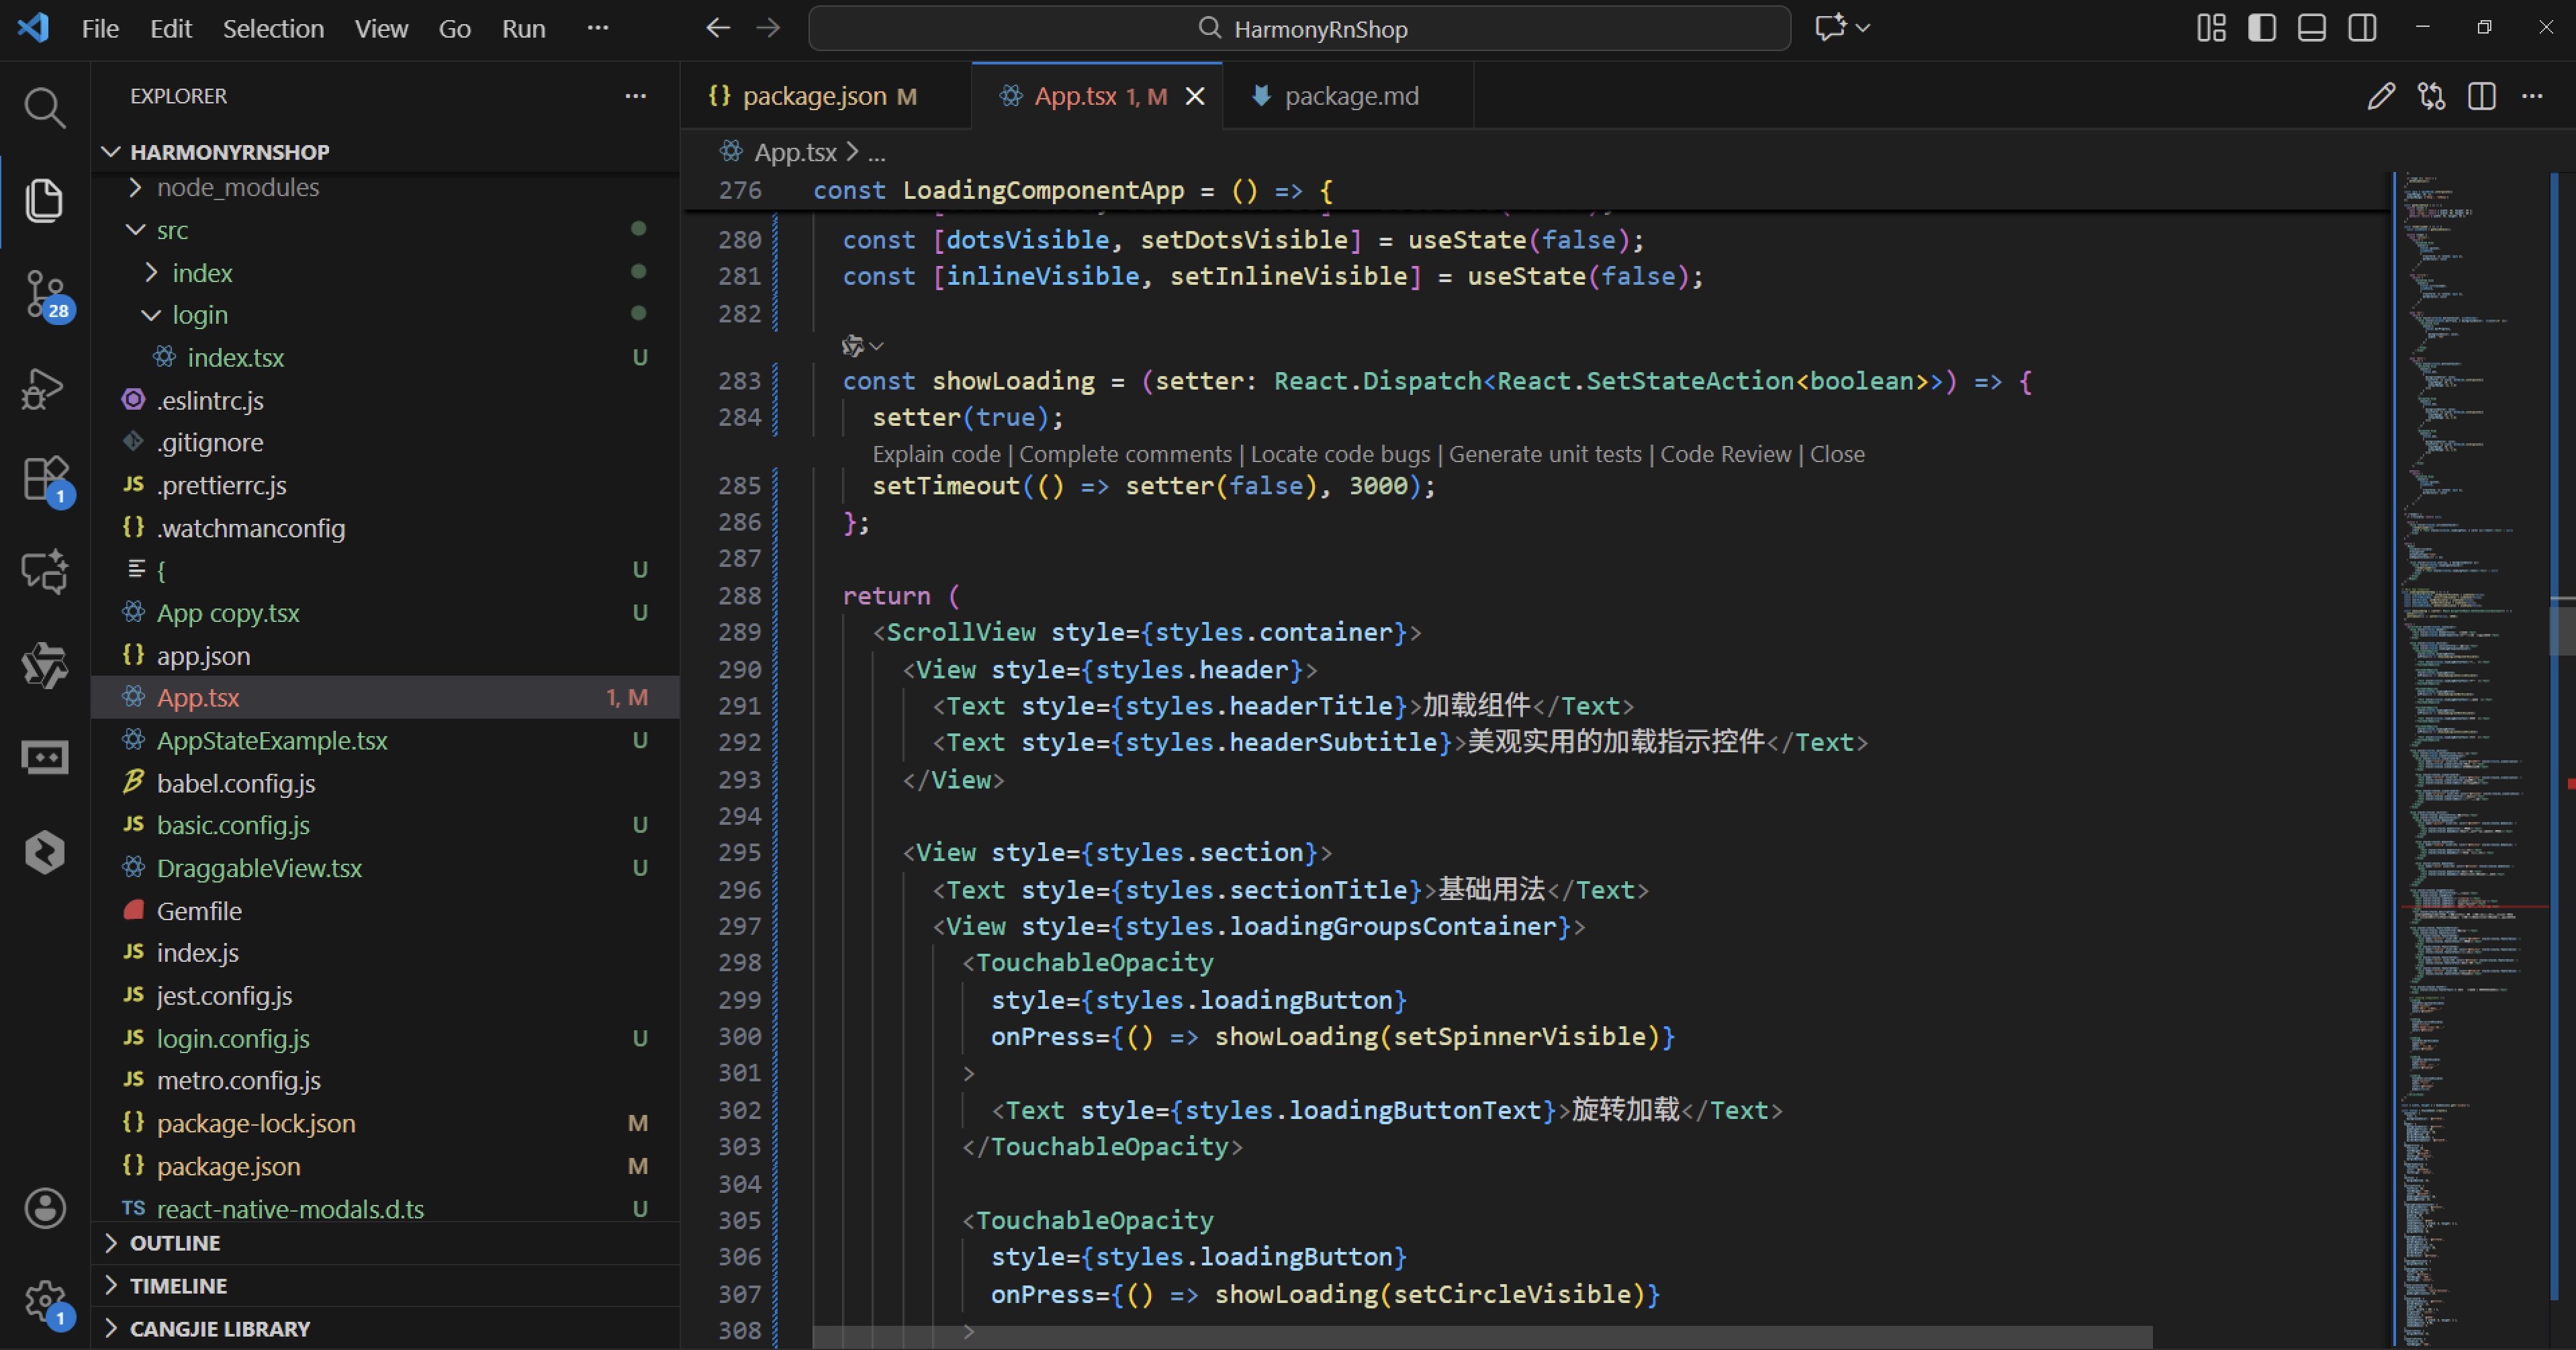
打包
接下来通过打包命令npn run harmony将reactNative的代码打包成为bundle,这样可以进行在开源鸿蒙OpenHarmony中进行使用。

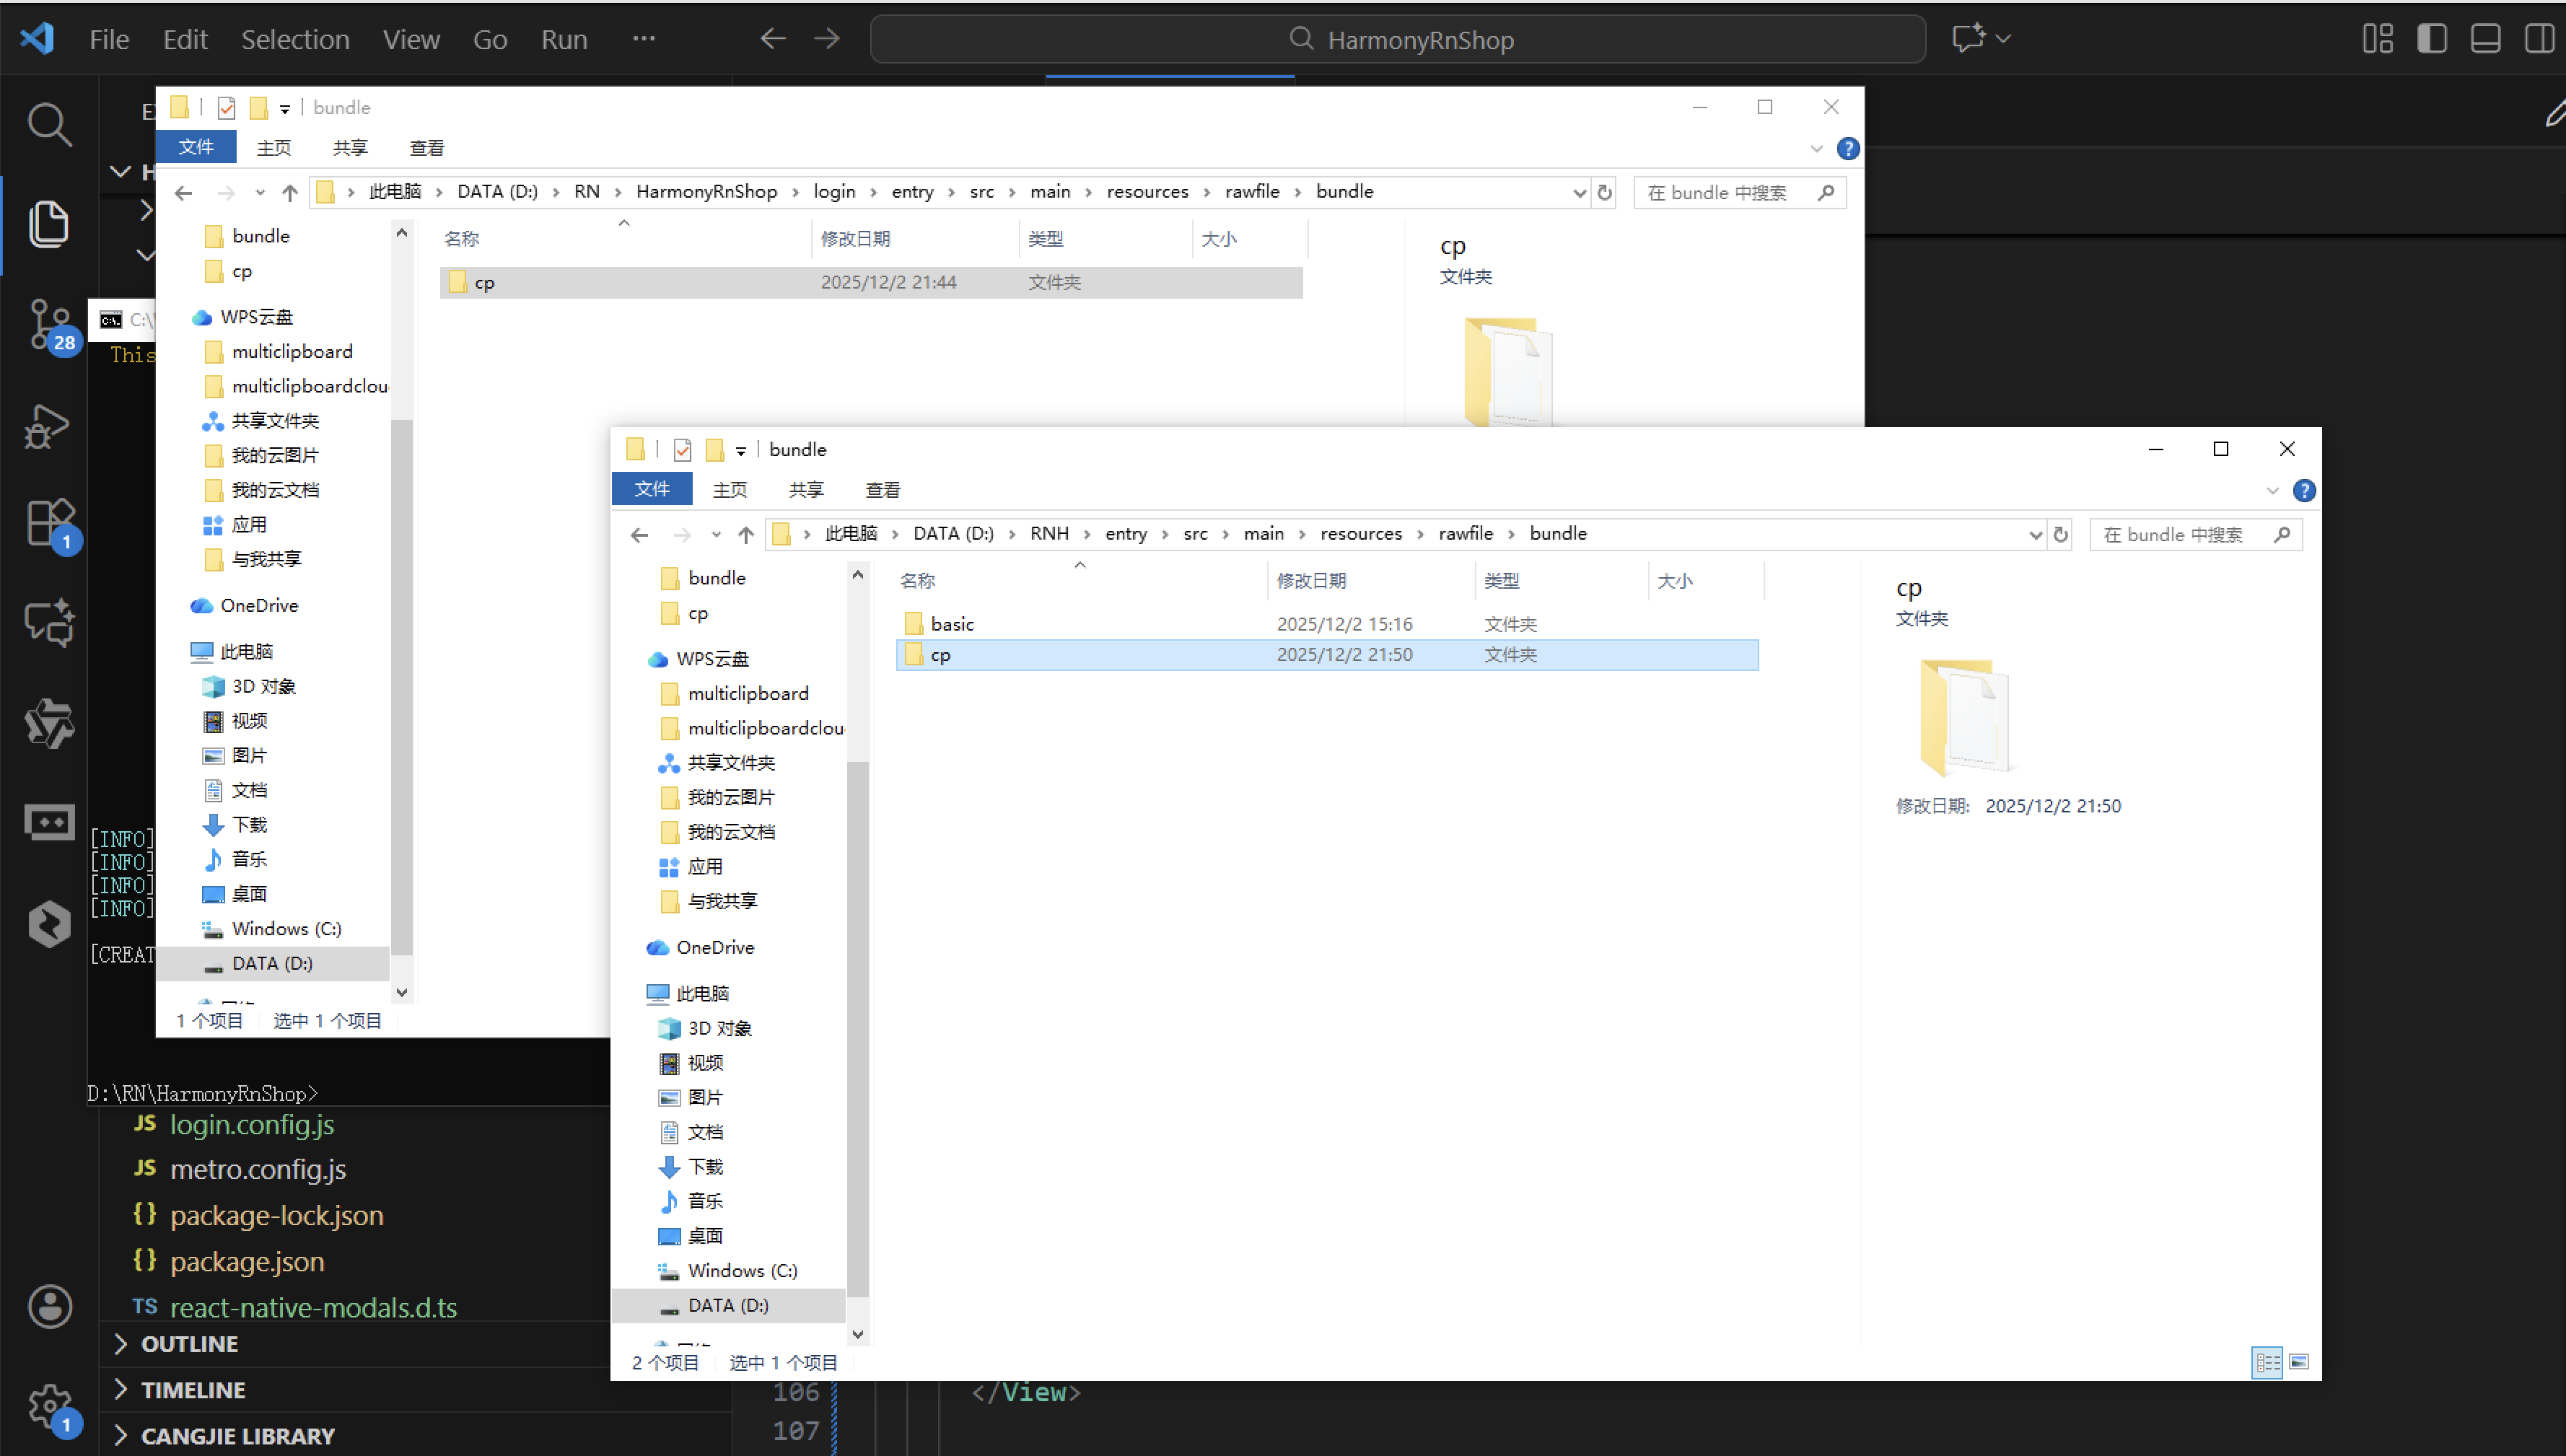
打包之后再将打包后的鸿蒙OpenHarmony文件拷贝到鸿蒙的DevEco-Studio工程目录去:
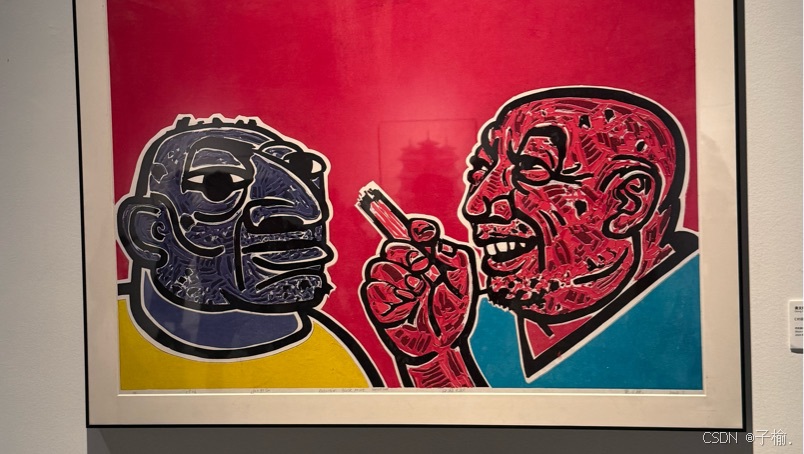
最后运行效果图如下显示:

作为“人工智能6S店”的官方数字引擎,为AI开发者与企业提供一个覆盖软硬件全栈、一站式门户。
更多推荐


 27
27 0
0- 0


 已为社区贡献11条内容

所有评论(0)